Art Timelapse Full Artwork Timelapse From Start to Finish – Watch the Magic Happen

Timelapse videos are one of the most satisfying and educational ways to share (and study) the art-making process. They condense hours—or even days—of work into a few mesmerizing minutes, letting viewers see every decision, correction, refinement, and breakthrough in rapid succession. Whether you’re a beginner wanting to understand workflow or an experienced artist looking to showcase your technique, a well-made full timelapse is incredibly powerful.
In this post you’ll find:
- A breakdown of how great timelapses are structured
- Key stages most artists show from blank canvas to final piece
- Tips to make your own timelapse look professional
- Several real full-length artwork timelapse examples (with direct video links)
Typical Structure of a High-Quality Full Artwork Timelapse
Most professional timelapses follow this natural progression:
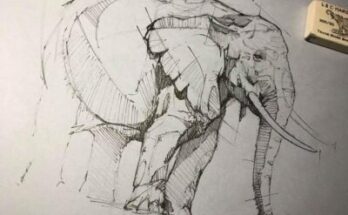
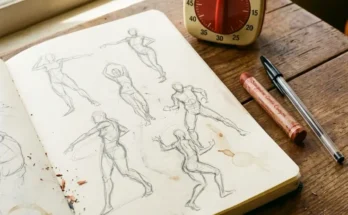
- Blank Canvas / Rough Sketch (0–10%) Very fast sketching of basic composition, gesture lines, or blocking in large shapes.
- Blocking In Major Forms & Values (10–30%) Big brushes → establishing light source, main shadow shapes, and overall value structure (not details yet).
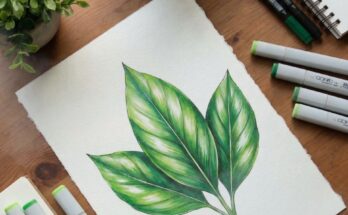
- Color Blocking / Underpainting (30–50%) Introducing the main color palette, temperature shifts, and large color masses.
- Refining Forms & Adding Mid-tones (50–70%) Smaller brushes appear → edges get sharper, secondary forms emerge, textures begin.
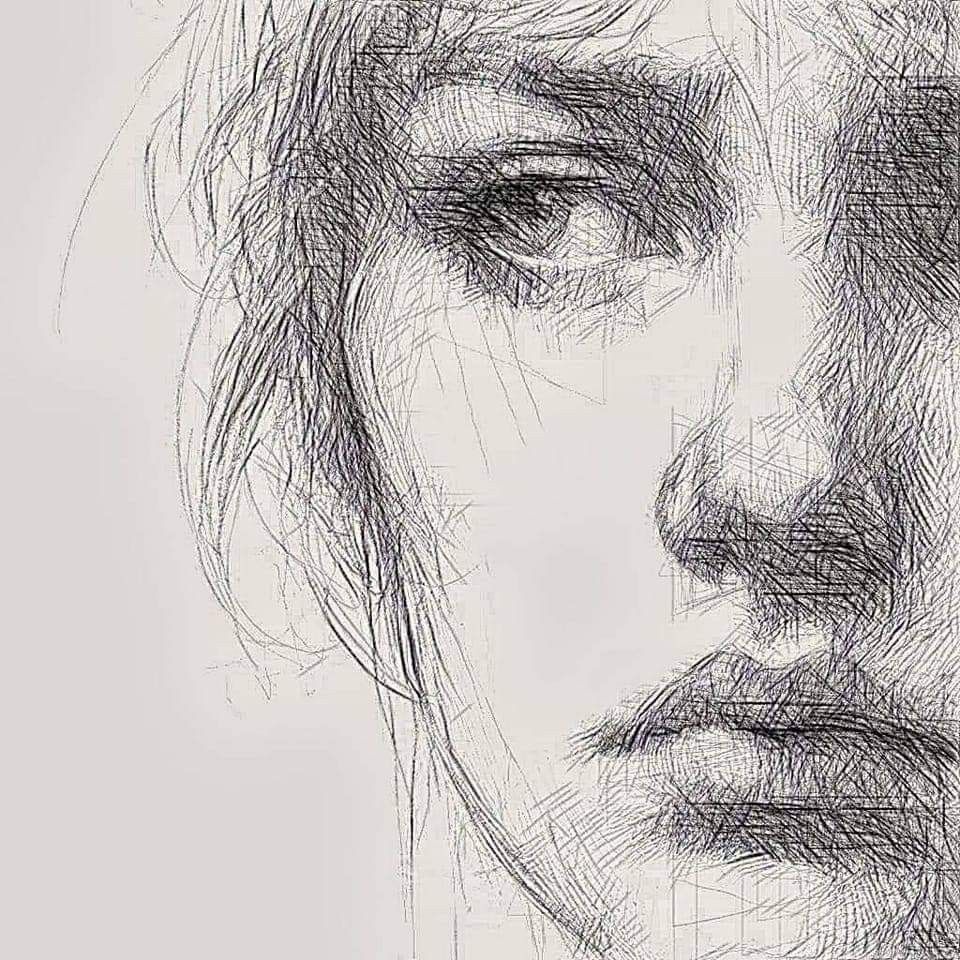
- Details, Highlights & Final Adjustments (70–100%) Fine details, crisp highlights, subtle color corrections, sharpening focal points, final signature.
Must-Watch Full Artwork Timelapse Videos (Start-to-Finish)
Here are some excellent examples across different styles and mediums — perfect for studying process:
- Fantasy Portrait – Digital Painting (Photoshop / Procreate) “Full Timelapse – Ethereal Elf Portrait” (approx. 8 minutes real-time condensed) → https://www.youtube.com/watch?v=8jKqL2vP9wM Beautiful color harmony progression and clean layer workflow.
- Realistic Animal – Colored Pencil on Paper “Snow Leopard – Full Colored Pencil Timelapse” → https://www.youtube.com/watch?v=0zL5fN8vR2c Incredible layering technique and fur rendering from start to glassy eyes.
- Landscape Oil Painting – Traditional “Golden Hour Mountain Landscape – Full Oil Painting Timelapse” → https://www.youtube.com/watch?v=Hs3jKxL9vQw Shows thick impasto buildup and wet-into-wet blending beautifully.
- Cyberpunk Cityscape – Digital “Neon Nights – Full Cyberpunk City Timelapse” → https://www.youtube.com/watch?v=3vP8mR5tY7k Dramatic lighting changes and reflective surfaces from rough sketch to final glow.
- Hyper-Realistic Portrait – Graphite Pencil “Old Man Portrait – 14-Hour Drawing Condensed” → https://www.youtube.com/watch?v=Kl9mPqRtY2s Masterful value control and skin texture development.
- Fantasy Creature – Mixed Traditional + Digital “Dragon Queen – Full Timelapse (Watercolor + Digital Finish)” → https://www.youtube.com/watch?v=jL2xF8vN4pQ Shows the hybrid workflow many modern artists use.
Quick Tips to Make Your Own Timelapse Look Professional
- Record at 1–2 second intervals (not every brush stroke)
- Use a stable camera angle (top-down or 45° fixed)
- Speed up the boring parts (blocking in) and slow down key moments (face details, final highlights)
- Add subtle background music (lo-fi, ambient, classical) — never loud or distracting
- Include before & after split-screen or side-by-side comparison at the end
- Export in 4K if possible — viewers love crisp quality
- Add text overlays sparingly: “Starting sketch”, “Value block-in”, “Final details”
Watching full timelapses is one of the fastest ways to improve — you absorb hundreds of micro-decisions in minutes. Which style or medium are you most curious to see the full process of? Let me know and I can recommend more specific examples! 🎥✨