Drawing From Imagination Step by Step
Drawing from imagination isn’t magic—it’s a skill honed through building a mental “visual library,” breaking ideas into structures, and layering details. Pros like concept artists and illustrators rely on this process to create original scenes, characters, and worlds. This step-by-step guide will walk you through it, whether you’re sketching digitally or traditionally. Start simple, practice consistently, and your ideas will flow more freely.
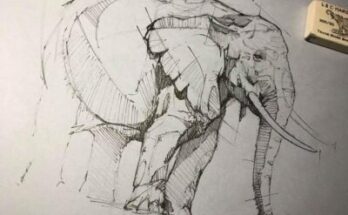
1. Build Your Visual Library – Observe and Internalize
Before drawing purely from your mind, fill it with references. Study real objects, photos, or life drawings to memorize shapes, proportions, and details. Sketch studies of anatomy, environments, or textures daily—don’t copy; analyze (e.g., how light hits a face or fur flows). Over time, this creates a mental database you can pull from.

Tip: Dedicate 20-30 minutes a day to “memory sketches”—look at something for 1 minute, then draw it from recall.
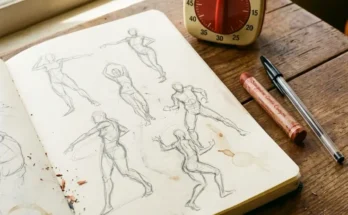
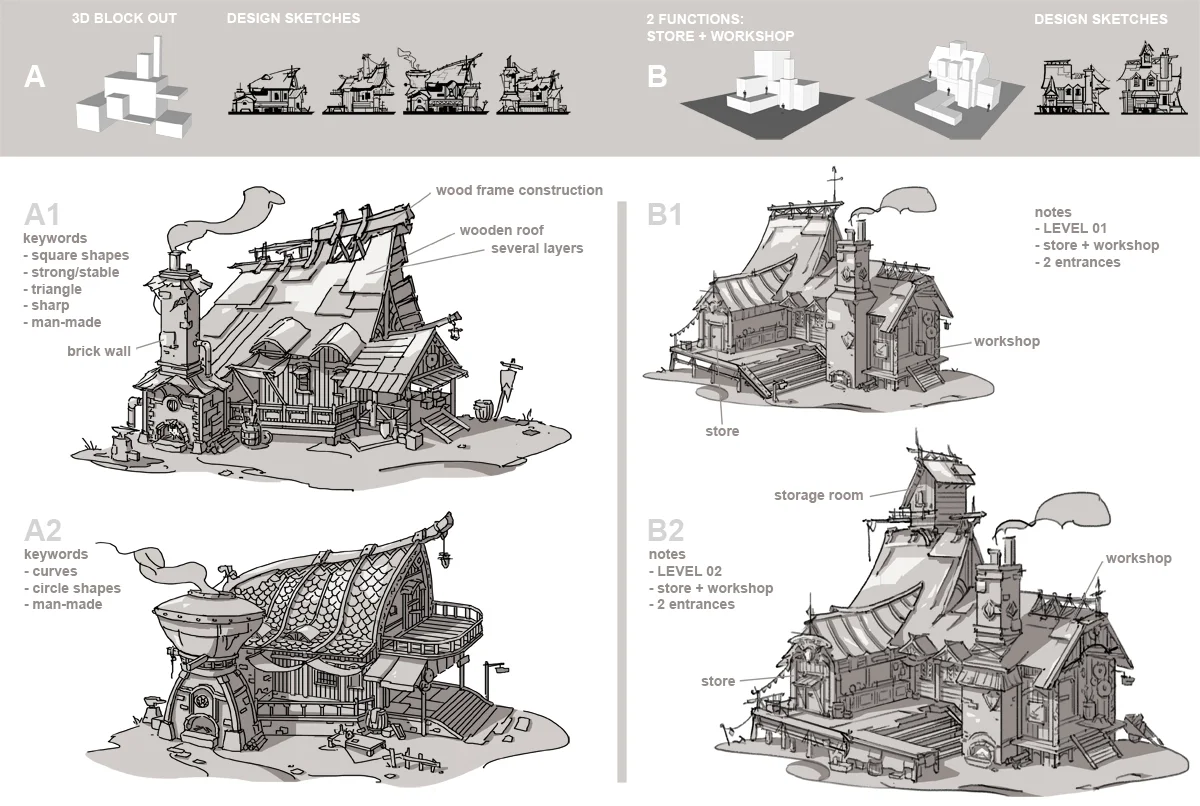
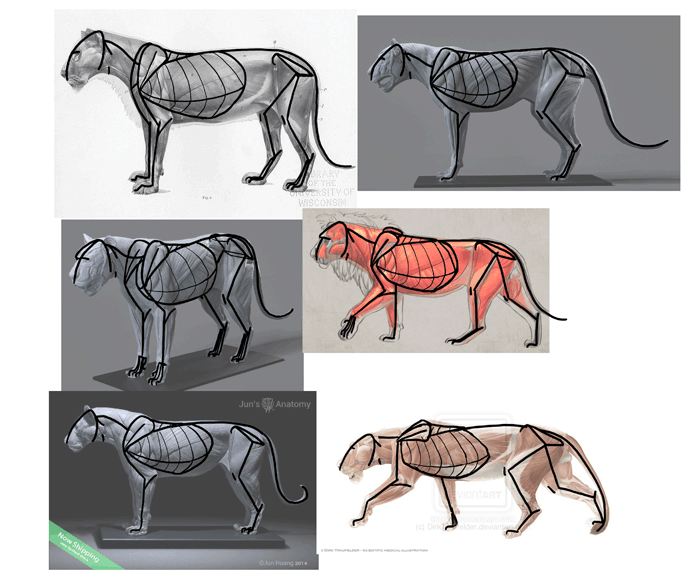
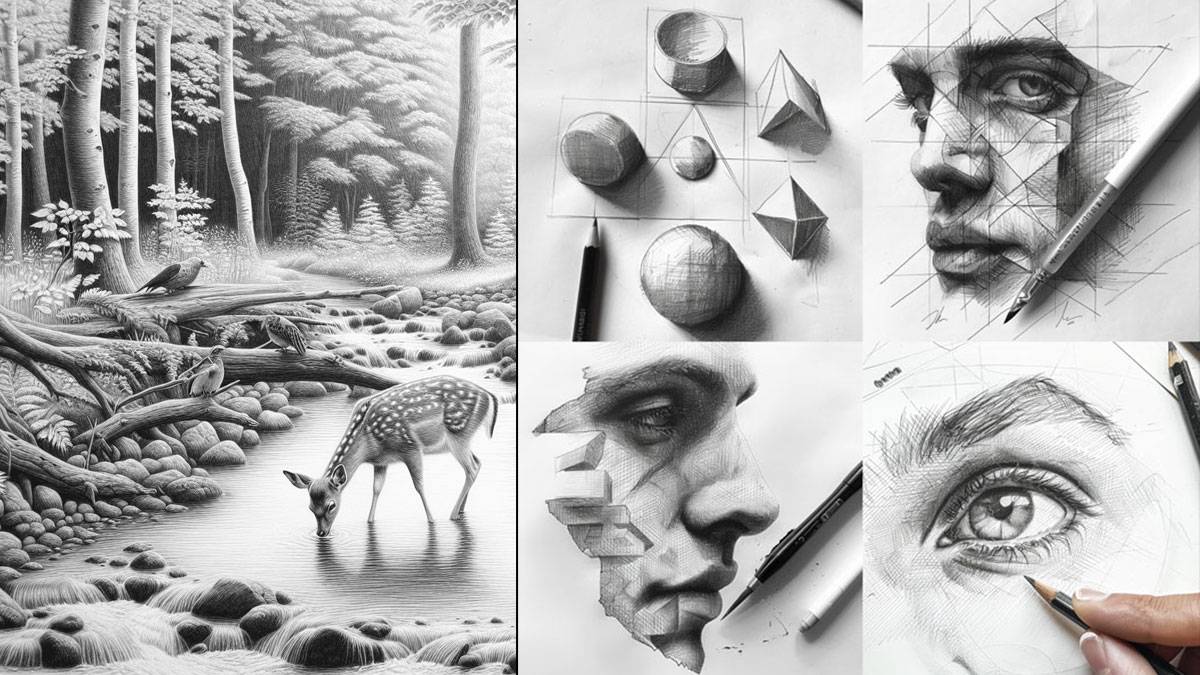
2. Start with Basic Shapes and Gestures – Block In the Foundation
Begin loose: Use primitives (spheres, cubes, cylinders) to construct your idea. For a character, gesture lines capture pose and energy first—focus on flow, not perfection. This prevents stiffness and lets imagination guide the big picture.
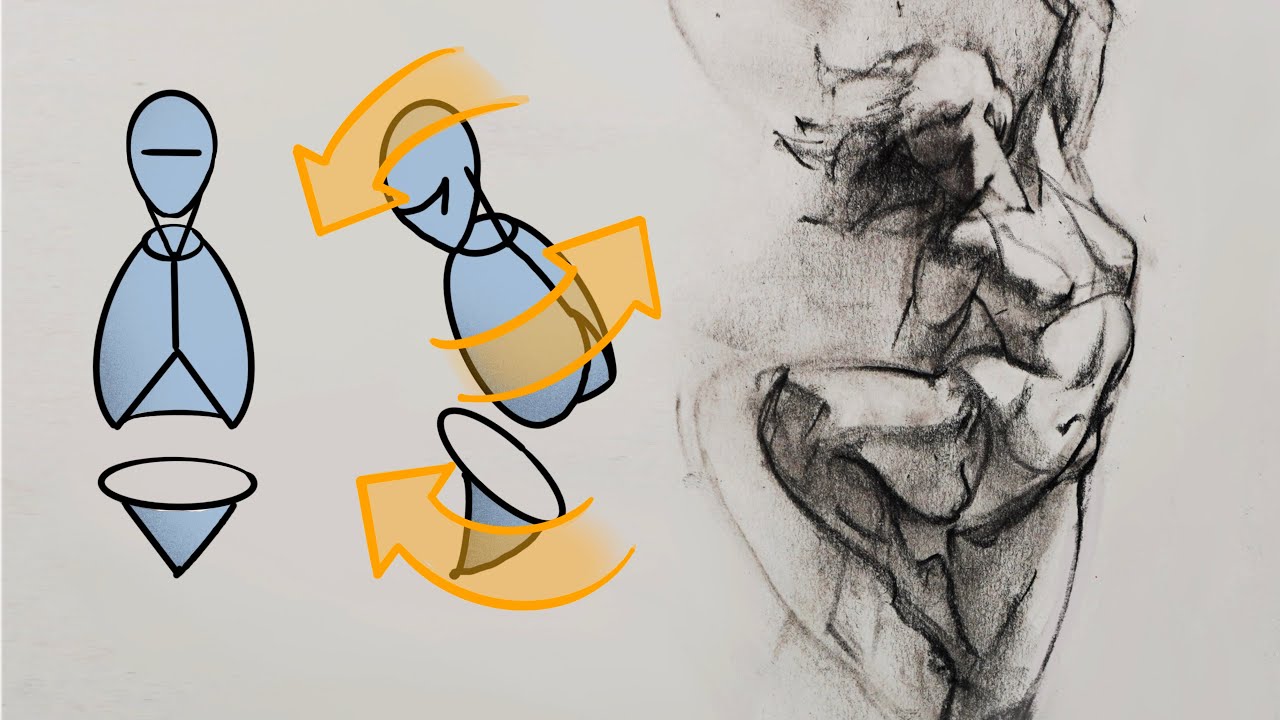


Think 3D: Rotate forms in your mind to ensure perspective works from any angle.
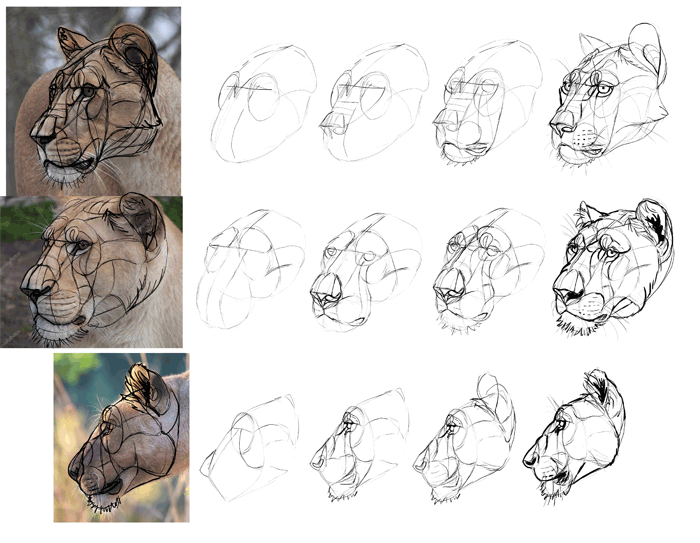
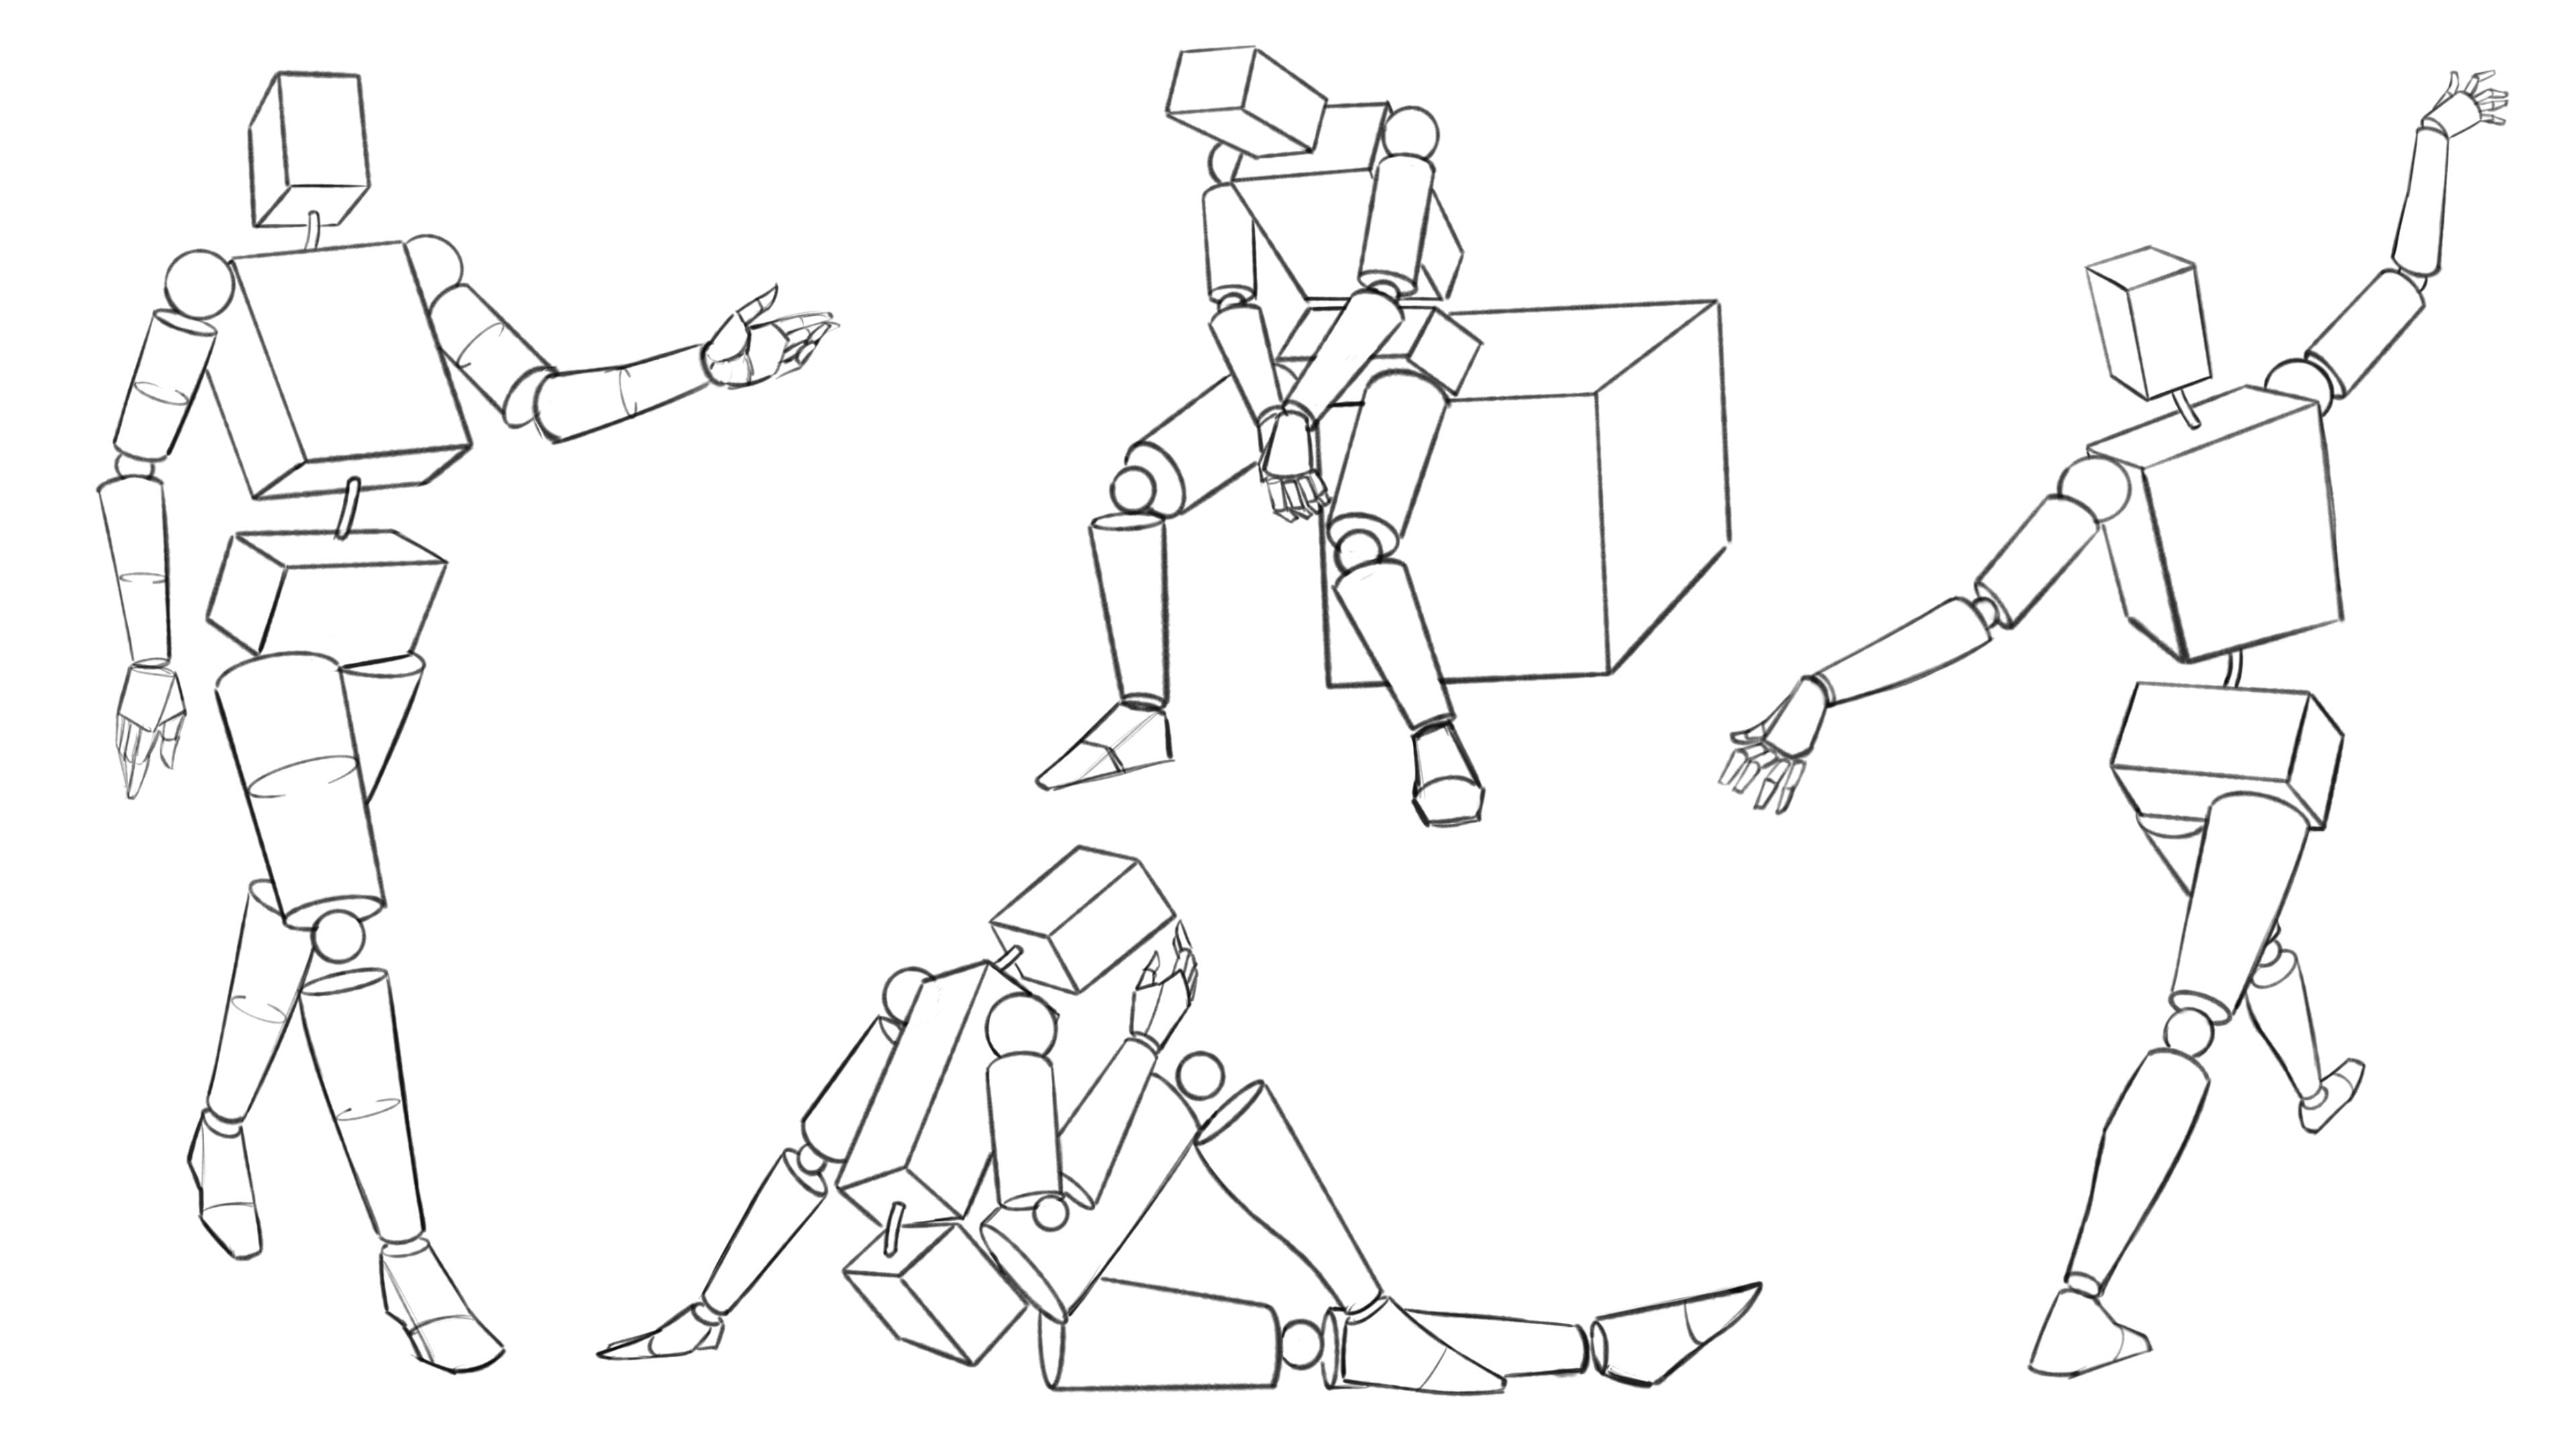
3. Add Anatomy and Details – Flesh Out the Forms
Layer in specifics from your visual library: Muscles, features, clothing, or props. Simplify complex elements (e.g., a hand as a box + cylinders) and vary line weights for emphasis. If something feels off, recall studies—don’t guess blindly.
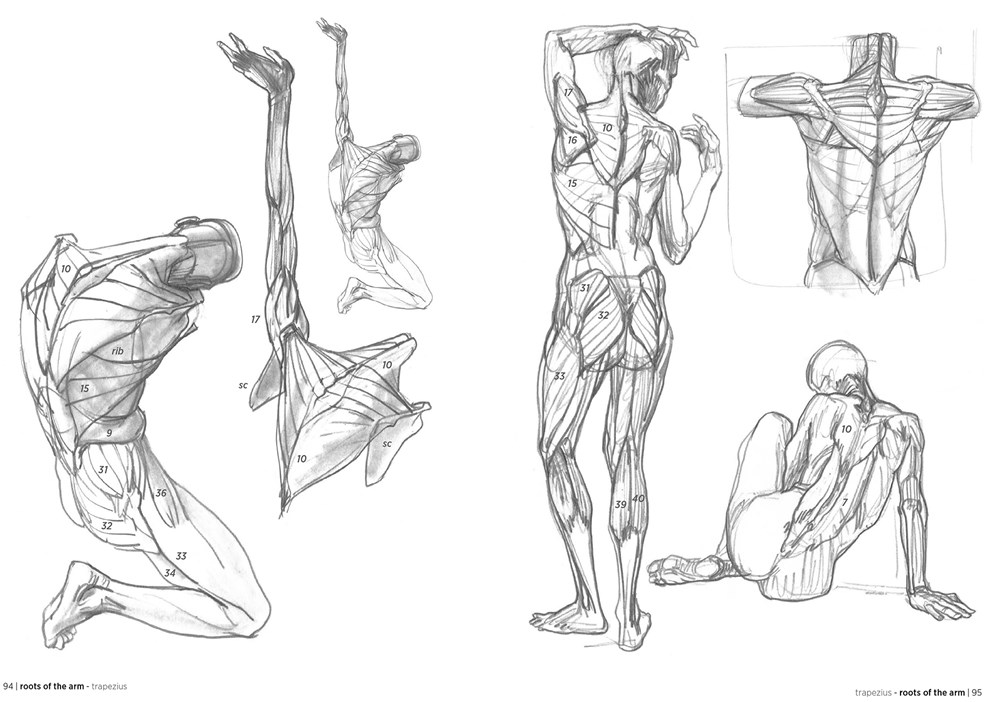

Pro: Exaggerate for style—imagination thrives on pushing realism.
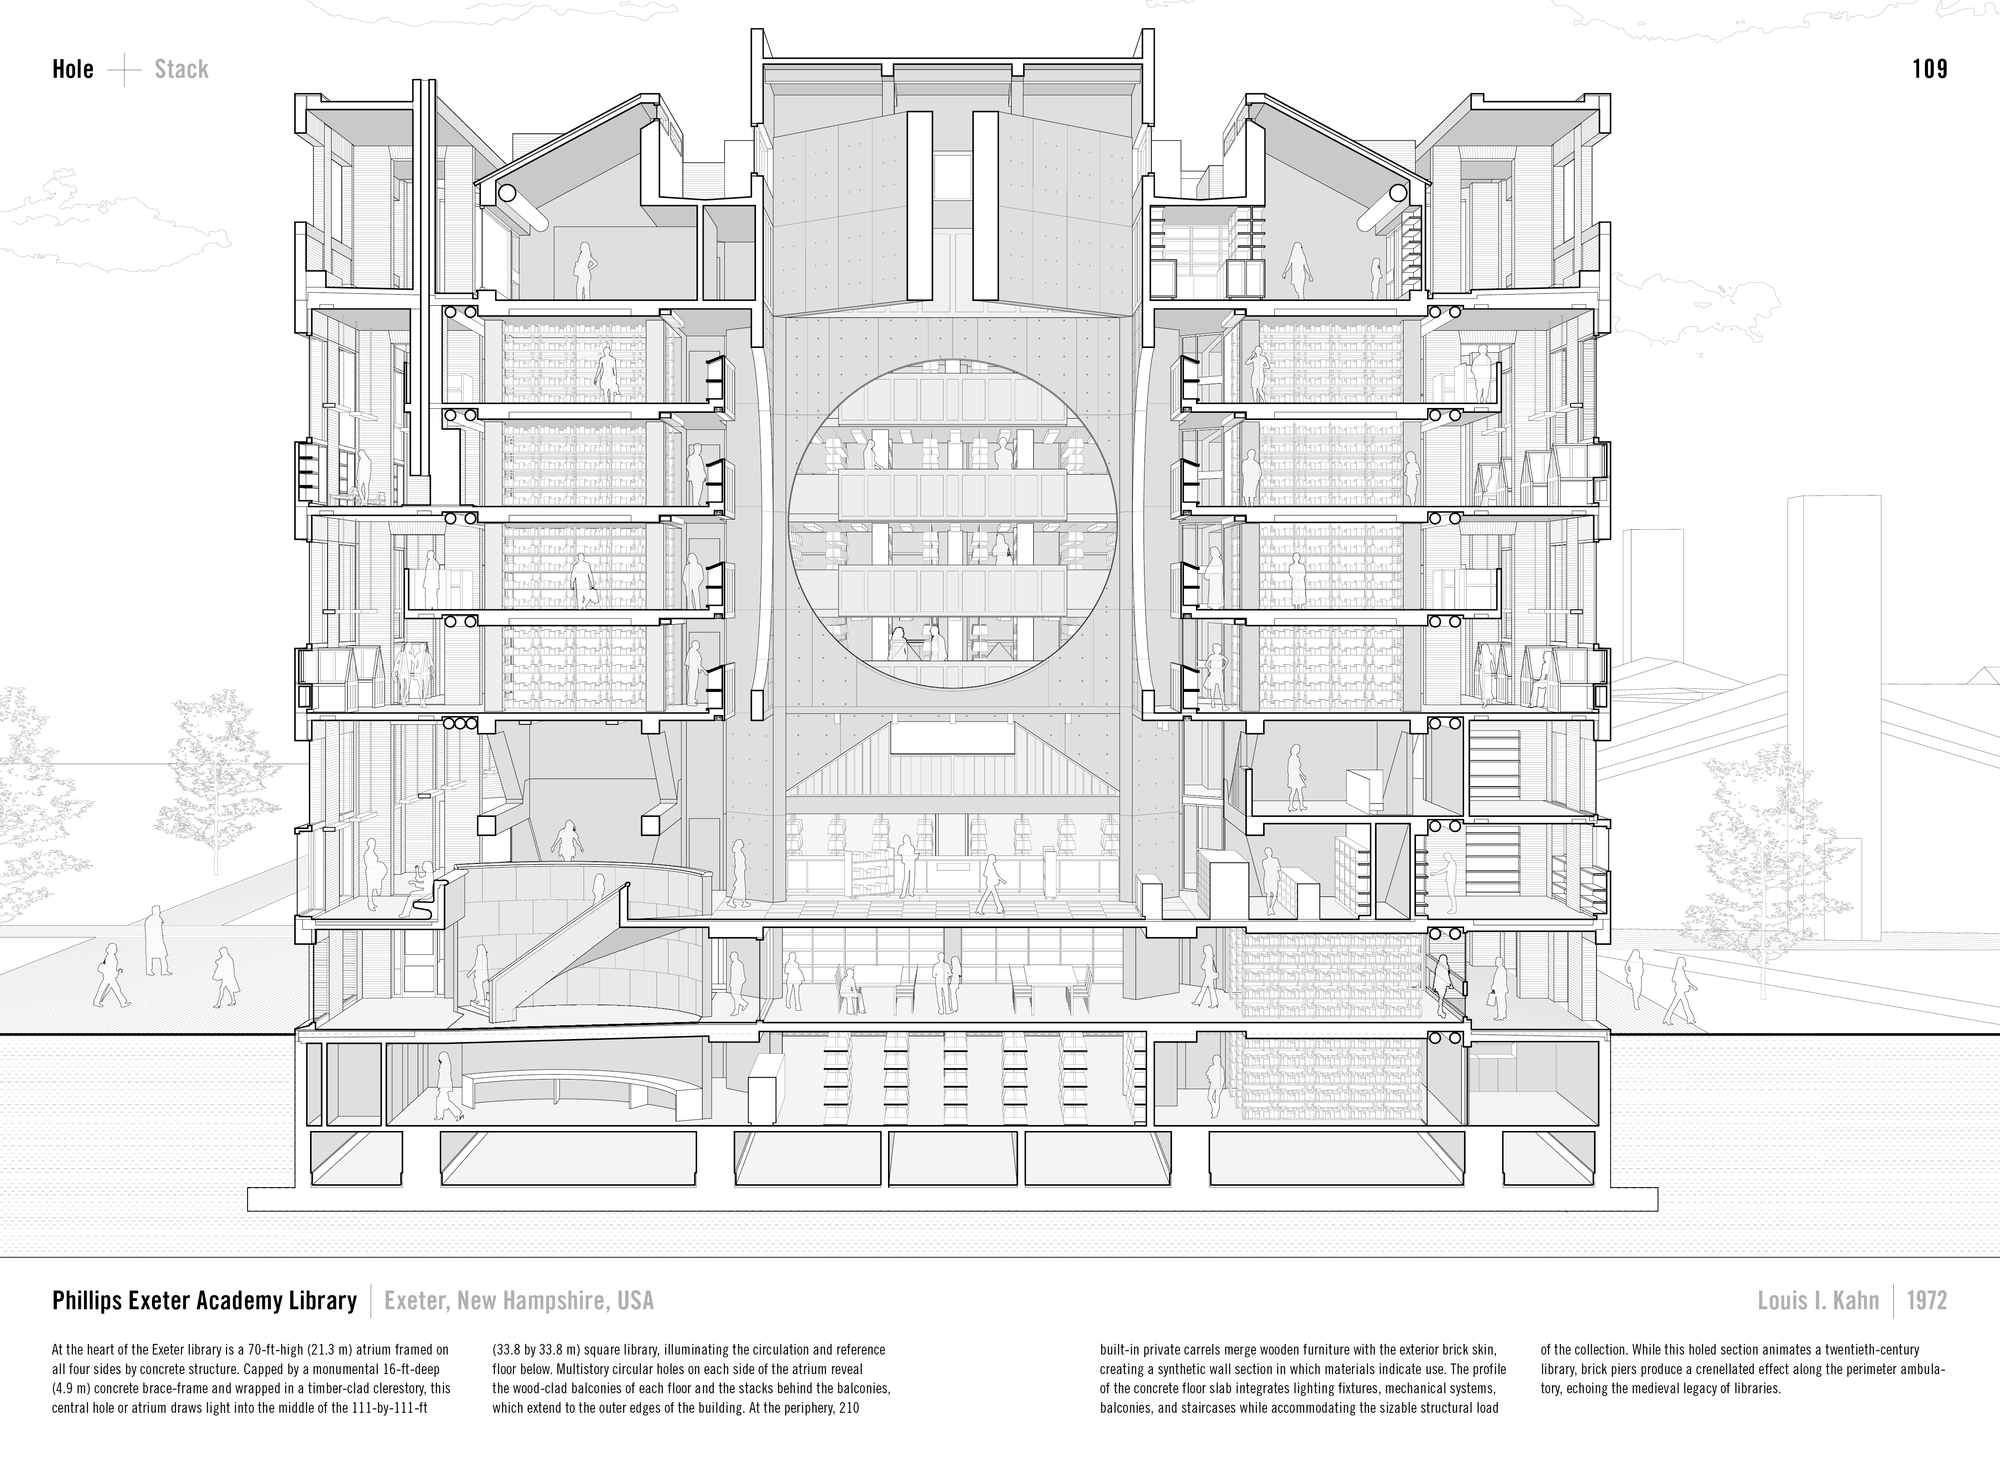
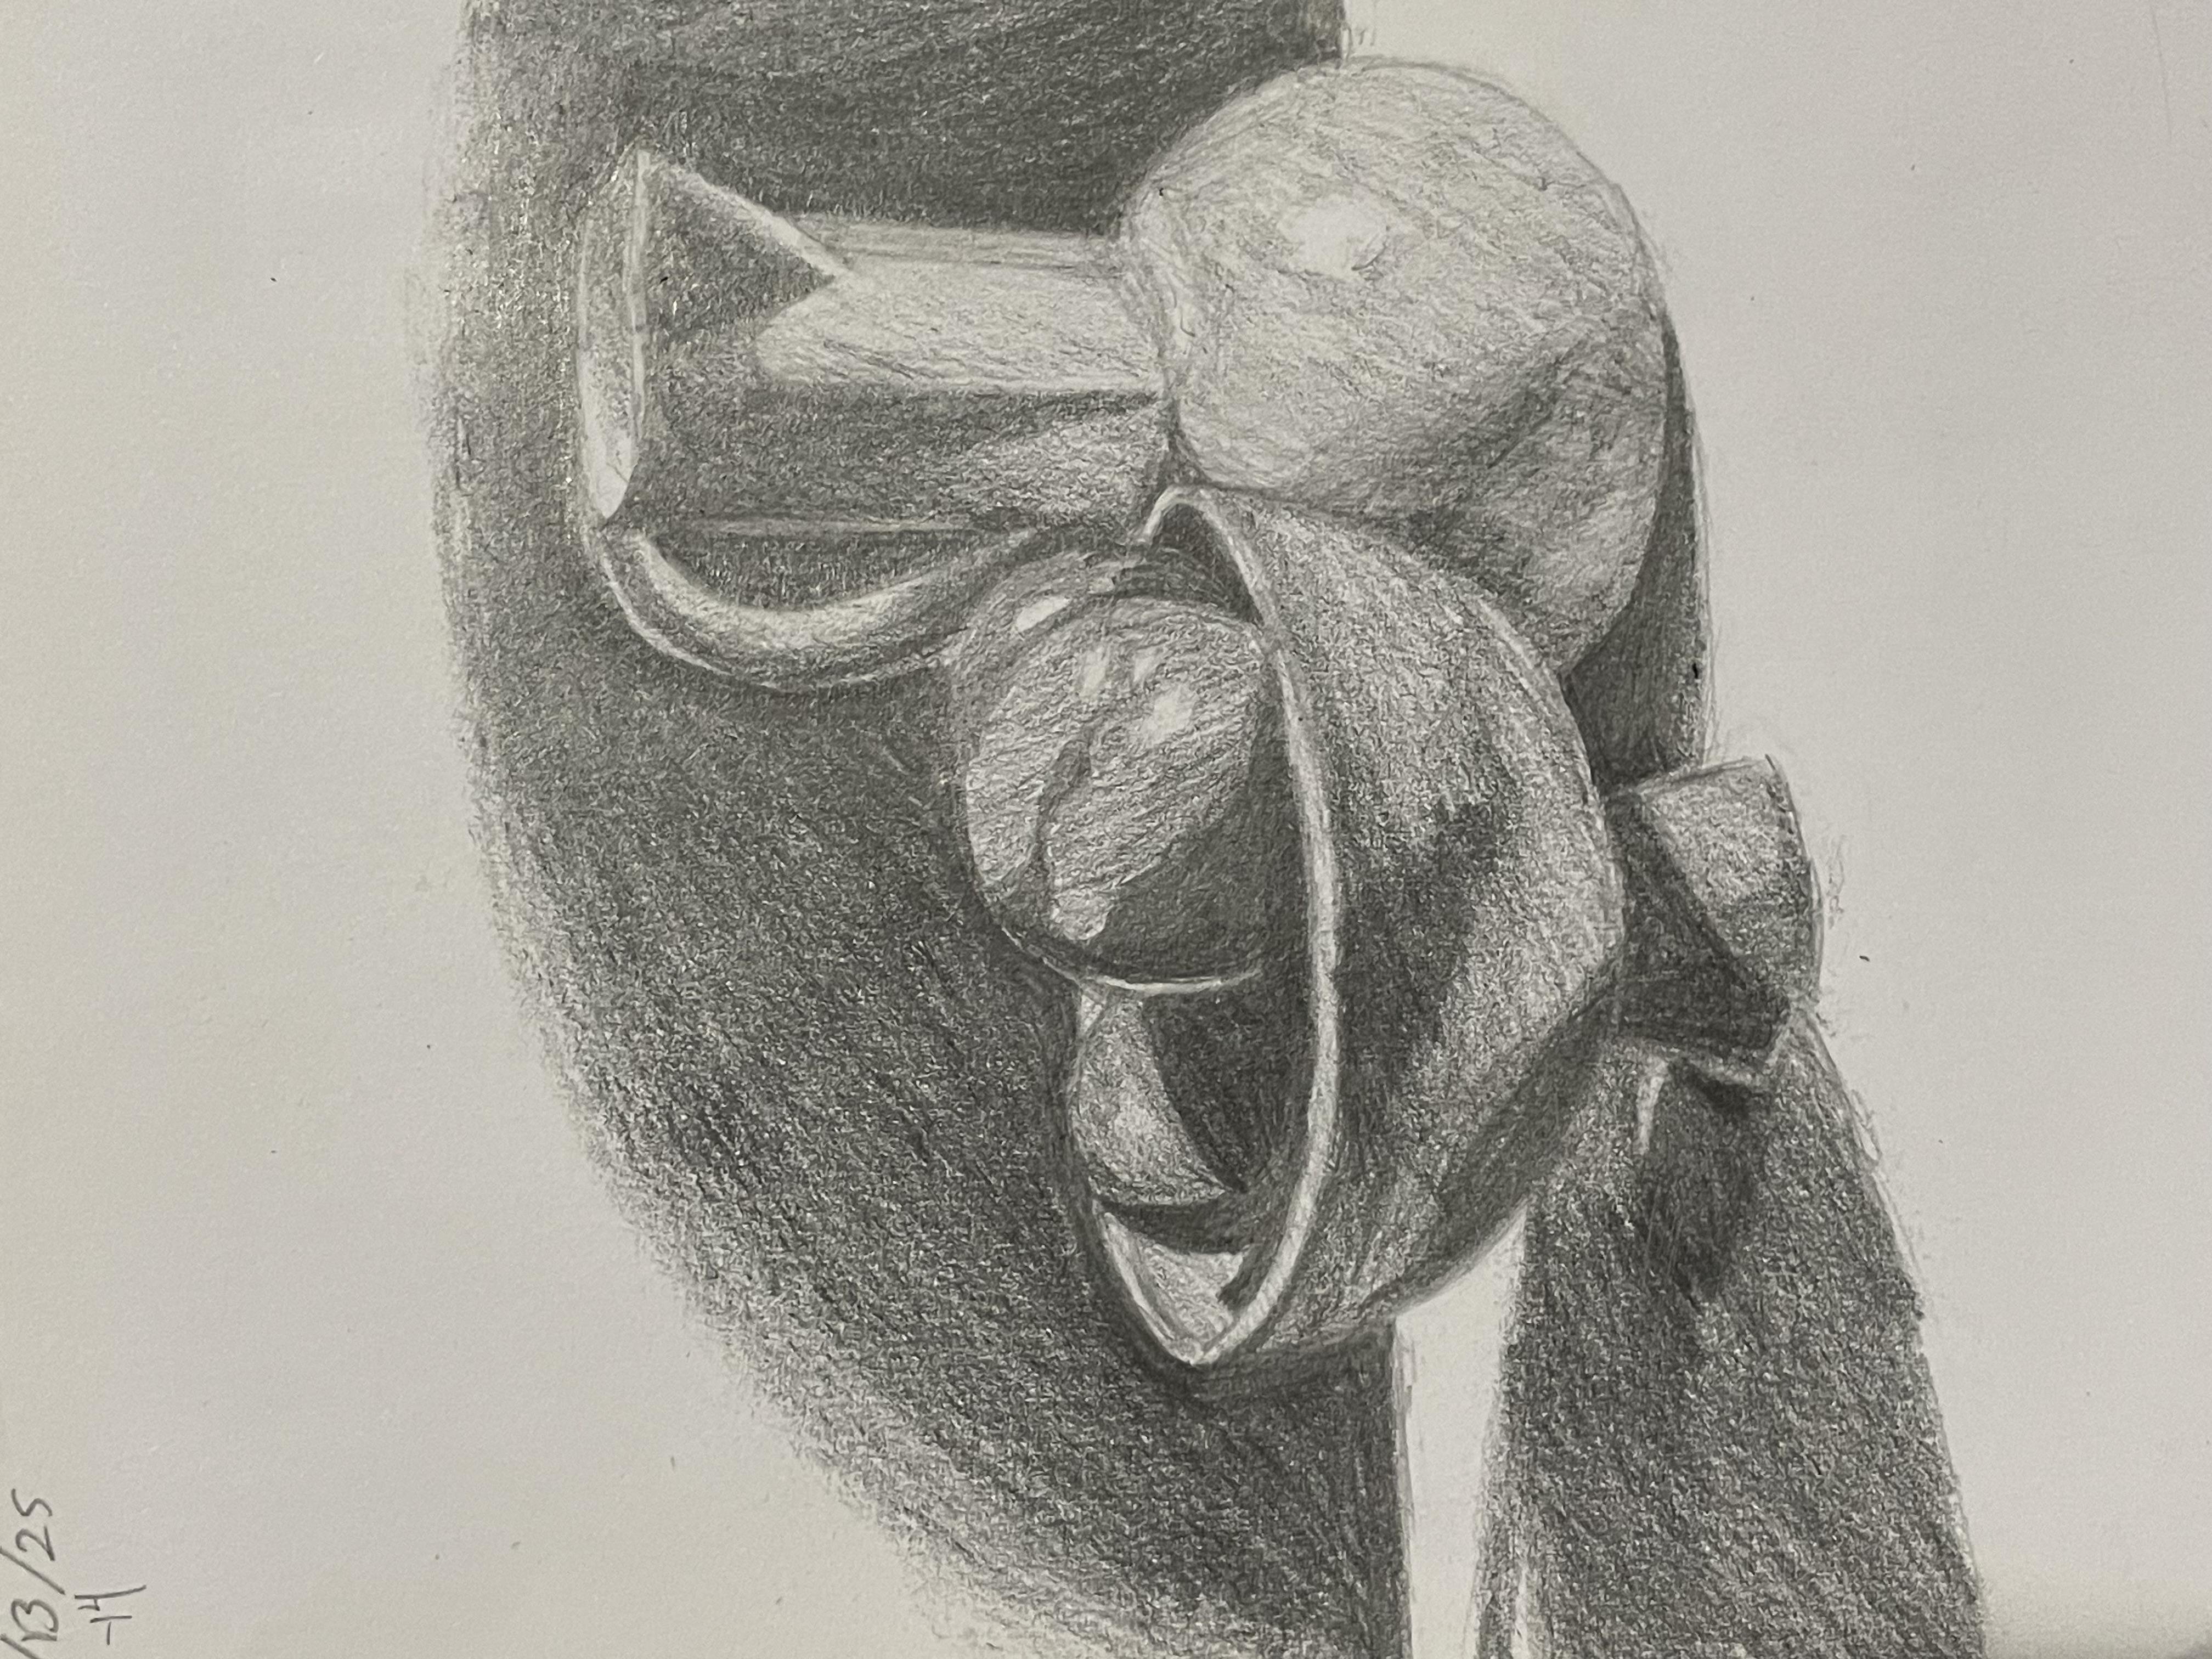
4. Refine Lighting, Shadows, and Textures – Add Depth and Realism
Decide on a light source (e.g., top-down sun) and shade accordingly: Core shadows, cast shadows, highlights. Add textures (rough hatching for fur, smooth gradients for skin) to make it pop. This step turns flat sketches into immersive pieces.
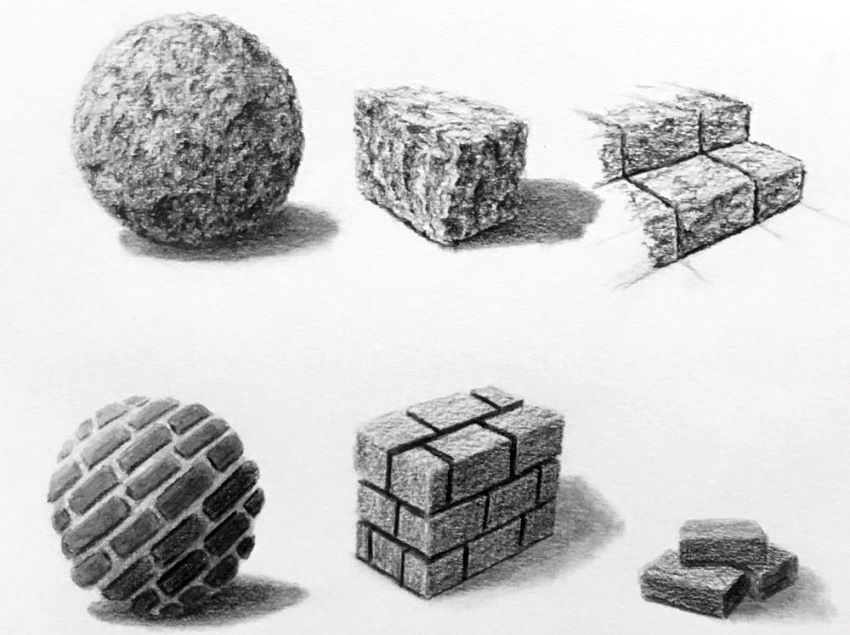

Use value scales: Squint to check contrast and unity.
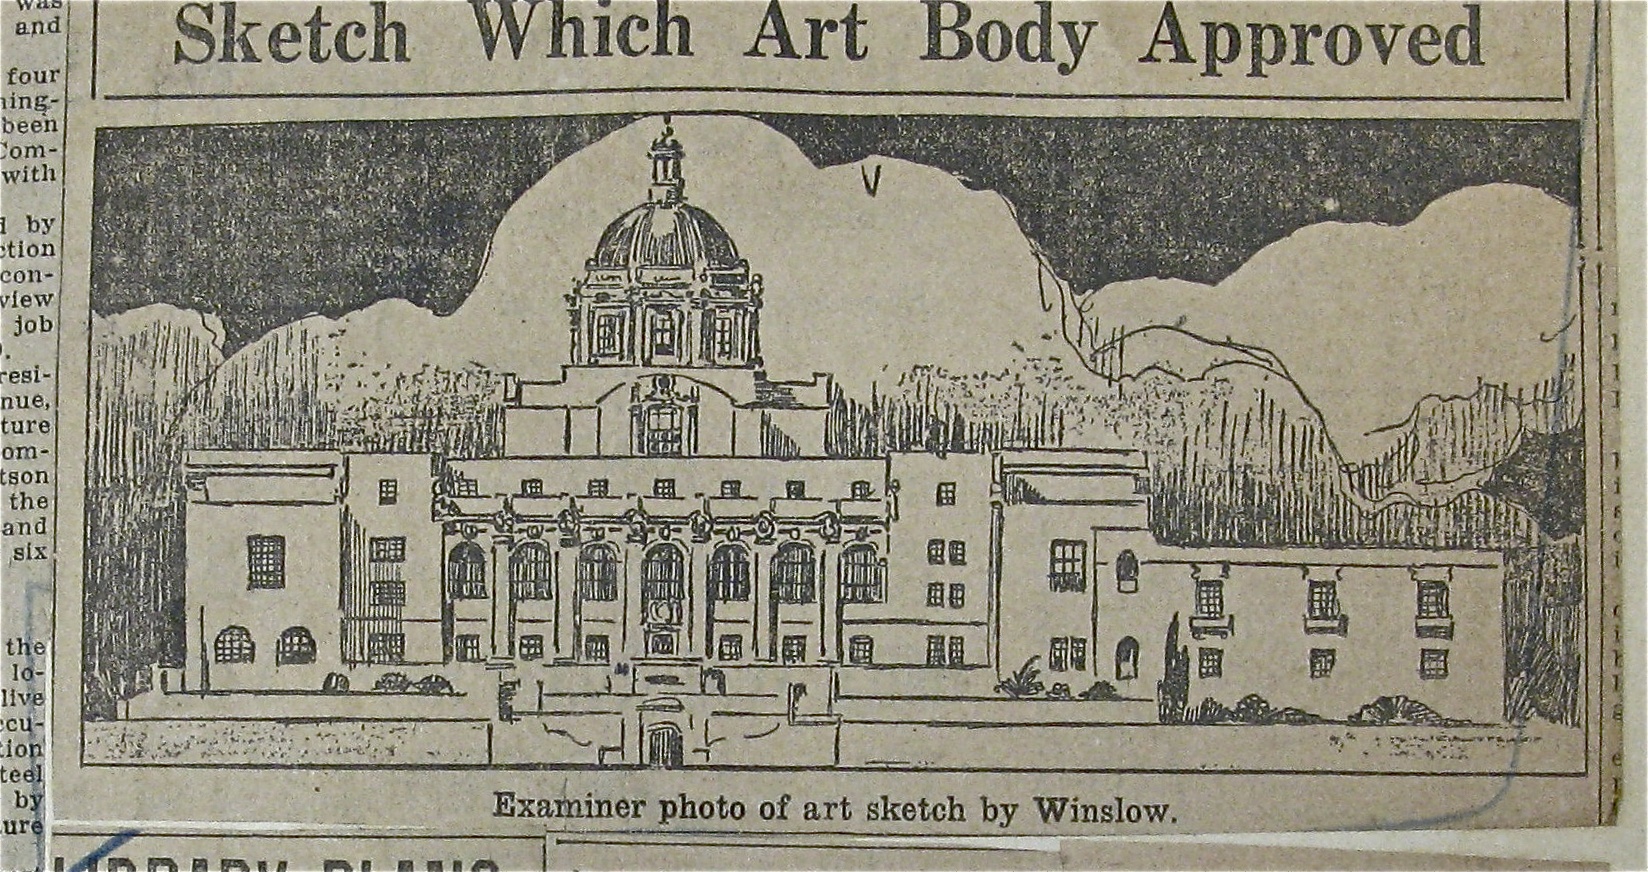
5. Iterate and Finalize – Review and Polish
Step back, flip the canvas (digital) or mirror it. Fix proportions, erase guides, add final details or color. Embrace “happy accidents”—they spark creativity. Compare to your initial vision and refine.

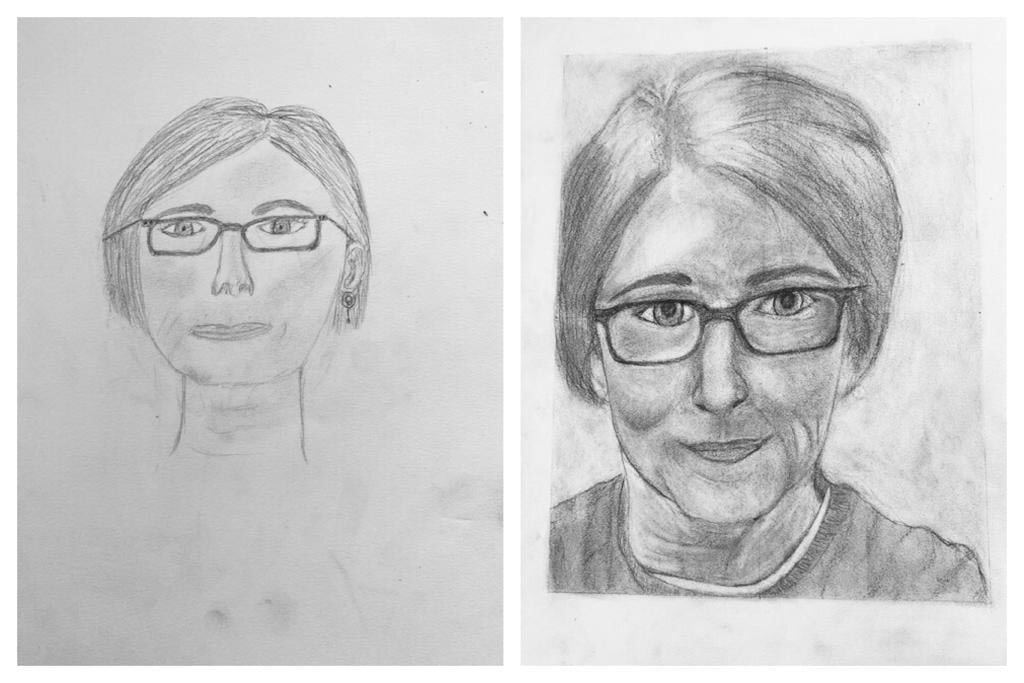
Before/afters show progress—keep old sketches to track growth.
Pro Tips
- Practice “thumbnailing”: Quick tiny sketches to explore ideas.
- Combine elements: Mash up memorized refs (e.g., lion body + bird wings).
- Tools: Use grids or mannequins early on; wean off as you improve.
- Mindset: Failure is fuel—draw 10 bad ones to get one good.