Mastering Planes, Values, and Forms: A Professional Guide to Drawing Buildings

Elevate your drawing skills with our in-depth tutorial, “Mastering Planes, Values, and Forms: A Professional Guide to Drawing Buildings.” This comprehensive resource is designed for artists of all levels, offering a detailed exploration of how to depict architectural structures with accurate planes, values, and forms. Enriched with step-by-step illustrations and expert insights, this guide helps you create realistic building sketches that capture light, shadow, and perspective effectively.
Step 1: Understanding Basic Forms and Values
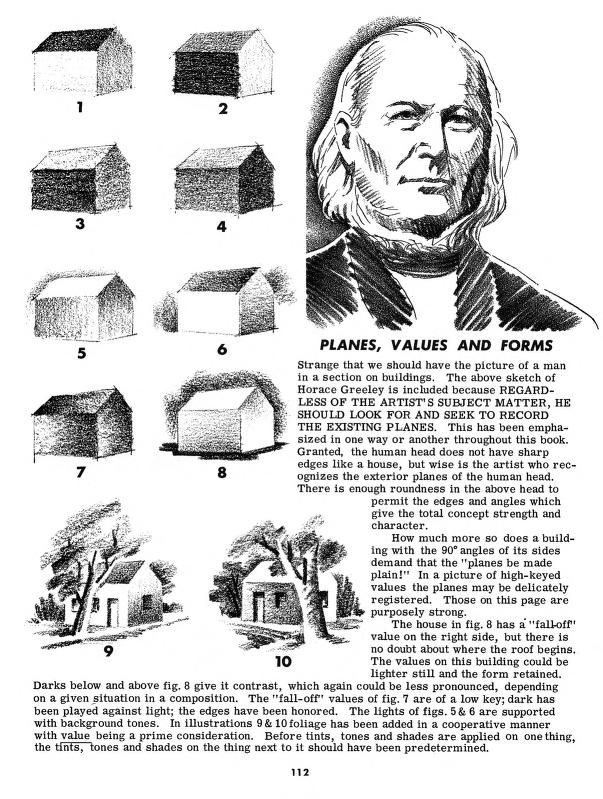
Begin by studying the progression of building forms, as shown in illustrations 1 through 8. Start with a simple rectangular shape (1) and gradually add shading to define the structure’s planes (2-4). Progress to a lighter base with darker accents (5-6) and a fully shaded form (7-8). This sequence introduces the concept of “fall-off” values—how light diminishes across a surface—setting the foundation for realistic rendering.
Step 2: Applying Light and Shadow
Incorporate light and shadow to enhance depth, as demonstrated in illustrations 9 and 10. Position the building against a varied background of tones, with the “fall-off” values of light becoming less pronounced depending on the light source. The tutorial emphasizes using a range of tints, tones, and shades, with values being a prime consideration. Before applying these, predetermine the light source and shadow placement to ensure consistency.
Step 3: Analyzing Planes and Composition
Examine how planes are manipulated within a composition. The guide highlights Horace Greeley’s inclusion as a reference, suggesting that the artist should seek matter and emphasize planes through value variation. Illustrations 9 and 10 show buildings with light falling across their surfaces, where the “fall-off” effect is key. Darker areas near the base and lighter areas at the top create a natural gradient, enhancing the three-dimensional form.
Step 4: Refining Details and Perspective
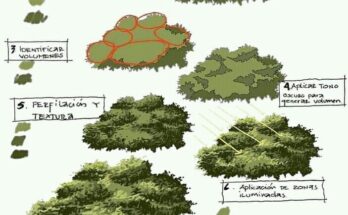
Refine your drawing by focusing on the interplay of light and shadow. The tutorial advises using 9 to 10 foliage elements to support the structure, ensuring the building stands out against its surroundings. Adjust the planes deliberately to reflect the light’s direction, as seen in the shaded rooftops and walls. This step ensures the composition feels balanced and the perspective is accurate.
Step 5: Finalizing the Artwork
Complete the drawing by reviewing the overall value structure. Ensure that tints, tones, and shades are applied in a manner that aligns with the predetermined light source, as noted in the guide. The final piece should exhibit a harmonious blend of forms and values, with the building’s planes clearly defined against the landscape, as illustrated in the detailed sketches.
This tutorial is supported by hand-drawn diagrams that provide visual clarity at each stage, offering practical tips for achieving professional-quality results. Perfect for artists seeking to master architectural drawing or refine their understanding of light and form, follow these steps to create compelling and realistic building illustrations!