How to Draw Buildings in Landscapes: Addressing Typical Problems

Master the art of integrating buildings into landscapes with our professional tutorial, “How to Draw Buildings in Landscapes: Addressing Typical Problems.” This comprehensive guide is designed for artists of all levels, offering a detailed exploration of common pitfalls and practical solutions to create realistic and cohesive landscape scenes. Enriched with hand-drawn illustrations and expert tips, this tutorial ensures your drawings achieve depth, perspective, and visual harmony.
Step 1: Identifying Common Issues
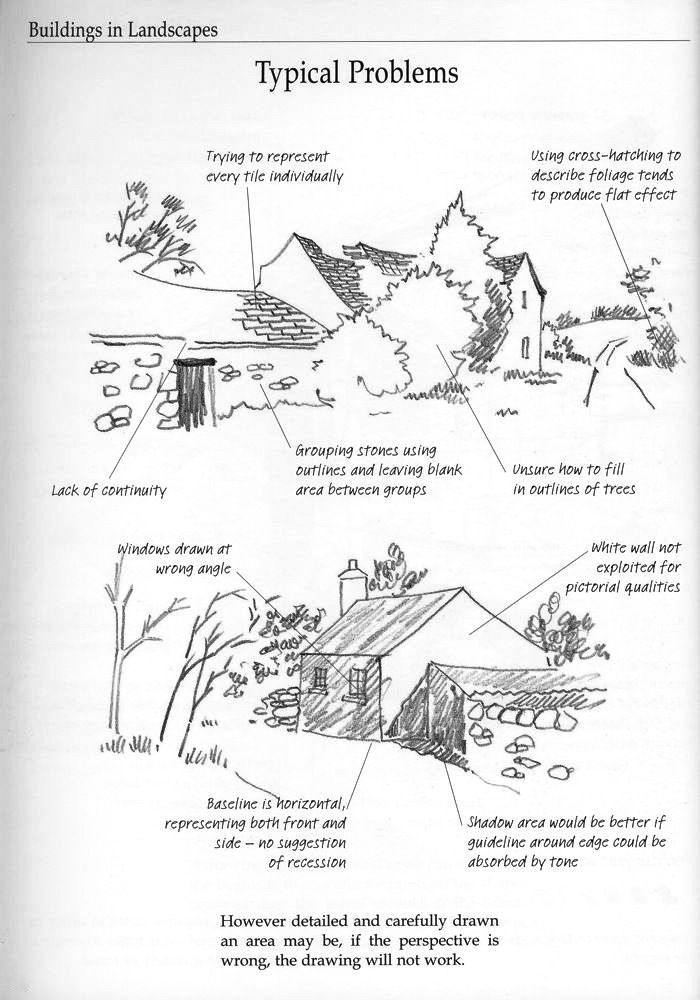
Begin by recognizing typical problems that can detract from your artwork. The guide highlights issues such as the lack of continuity when representing every tile individually, which disrupts the flow of the building’s roof. Another challenge is grouping stones with outlines and leaving blank areas between groups, which can break the natural integration with the landscape. Study the provided sketches to understand these errors and their impact on the overall composition.
Step 2: Correcting Perspective and Structural Errors
Address perspective inaccuracies, such as windows drawn at the wrong angle, which can misalign the building’s facade. The tutorial emphasizes establishing a horizontal baseline to represent both the front and side of the structure, avoiding any suggestion of recession that distorts depth. The illustration demonstrates how incorrect angles can throw off the building’s proportions, offering a clear contrast to the corrected approach.
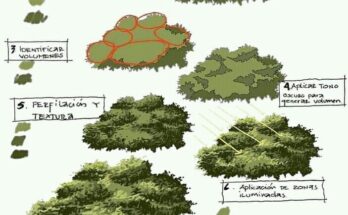
Step 3: Enhancing Foliage and Texture
Tackle the problem of using cross-hatching to describe foliage, which can produce a flat effect. Instead, the guide suggests filling in the outlines of trees with varied shading to create a more three-dimensional appearance. Uncertainty about filling tree outlines is addressed by recommending a blend of tones to enhance depth, ensuring the foliage complements the building rather than overpowering it.
Step 4: Optimizing Shadows and White Spaces
Improve the visual impact by refining shadow areas. The tutorial notes that shadow areas would be better if the guideline around the edge could be absorbed by tone, adding richness to the scene. Additionally, the white wall should be exploited for pictorial qualities, using subtle shading to suggest texture and light. This step enhances the building’s integration with its surroundings, as shown in the detailed sketch.
Step 5: Ensuring Overall Perspective Accuracy
Finalize your drawing by ensuring all elements align with proper perspective. The guide stresses that even a detailed and carefully drawn area will not work if the perspective is wrong. Review the composition to confirm that baselines, window angles, and foliage shading align with the landscape’s vanishing points, creating a seamless and realistic final piece.
This tutorial is supported by hand-drawn diagrams that illustrate each problem and its solution, providing visual clarity at every stage. Perfect for artists seeking to refine their landscape skills or address specific drawing challenges, follow these steps to produce professional-quality artwork that harmonizes buildings with their natural settings!