How to Draw and Paint Realistic Textures
Realistic textures bring depth, believability, and wow-factor to your drawings and paintings. Whether you’re using pencils, charcoal, colored pencils, digital brushes, or oils/acrylics, the key is observation + technique: study real surfaces, understand light interaction, and build layers gradually. Focus on value (light/dark), edges (sharp/soft), patterns, and subtle variations—no two parts of a texture are identical!
Here are essential tips and step-by-step approaches for common textures that instantly level up your art.
1. Fur & Hair – Soft, Layered, Directional
Build fur/hair with short, varied strokes following growth direction. Start light, layer darker for depth, add highlights last. Vary length, thickness, and curvature for realism.

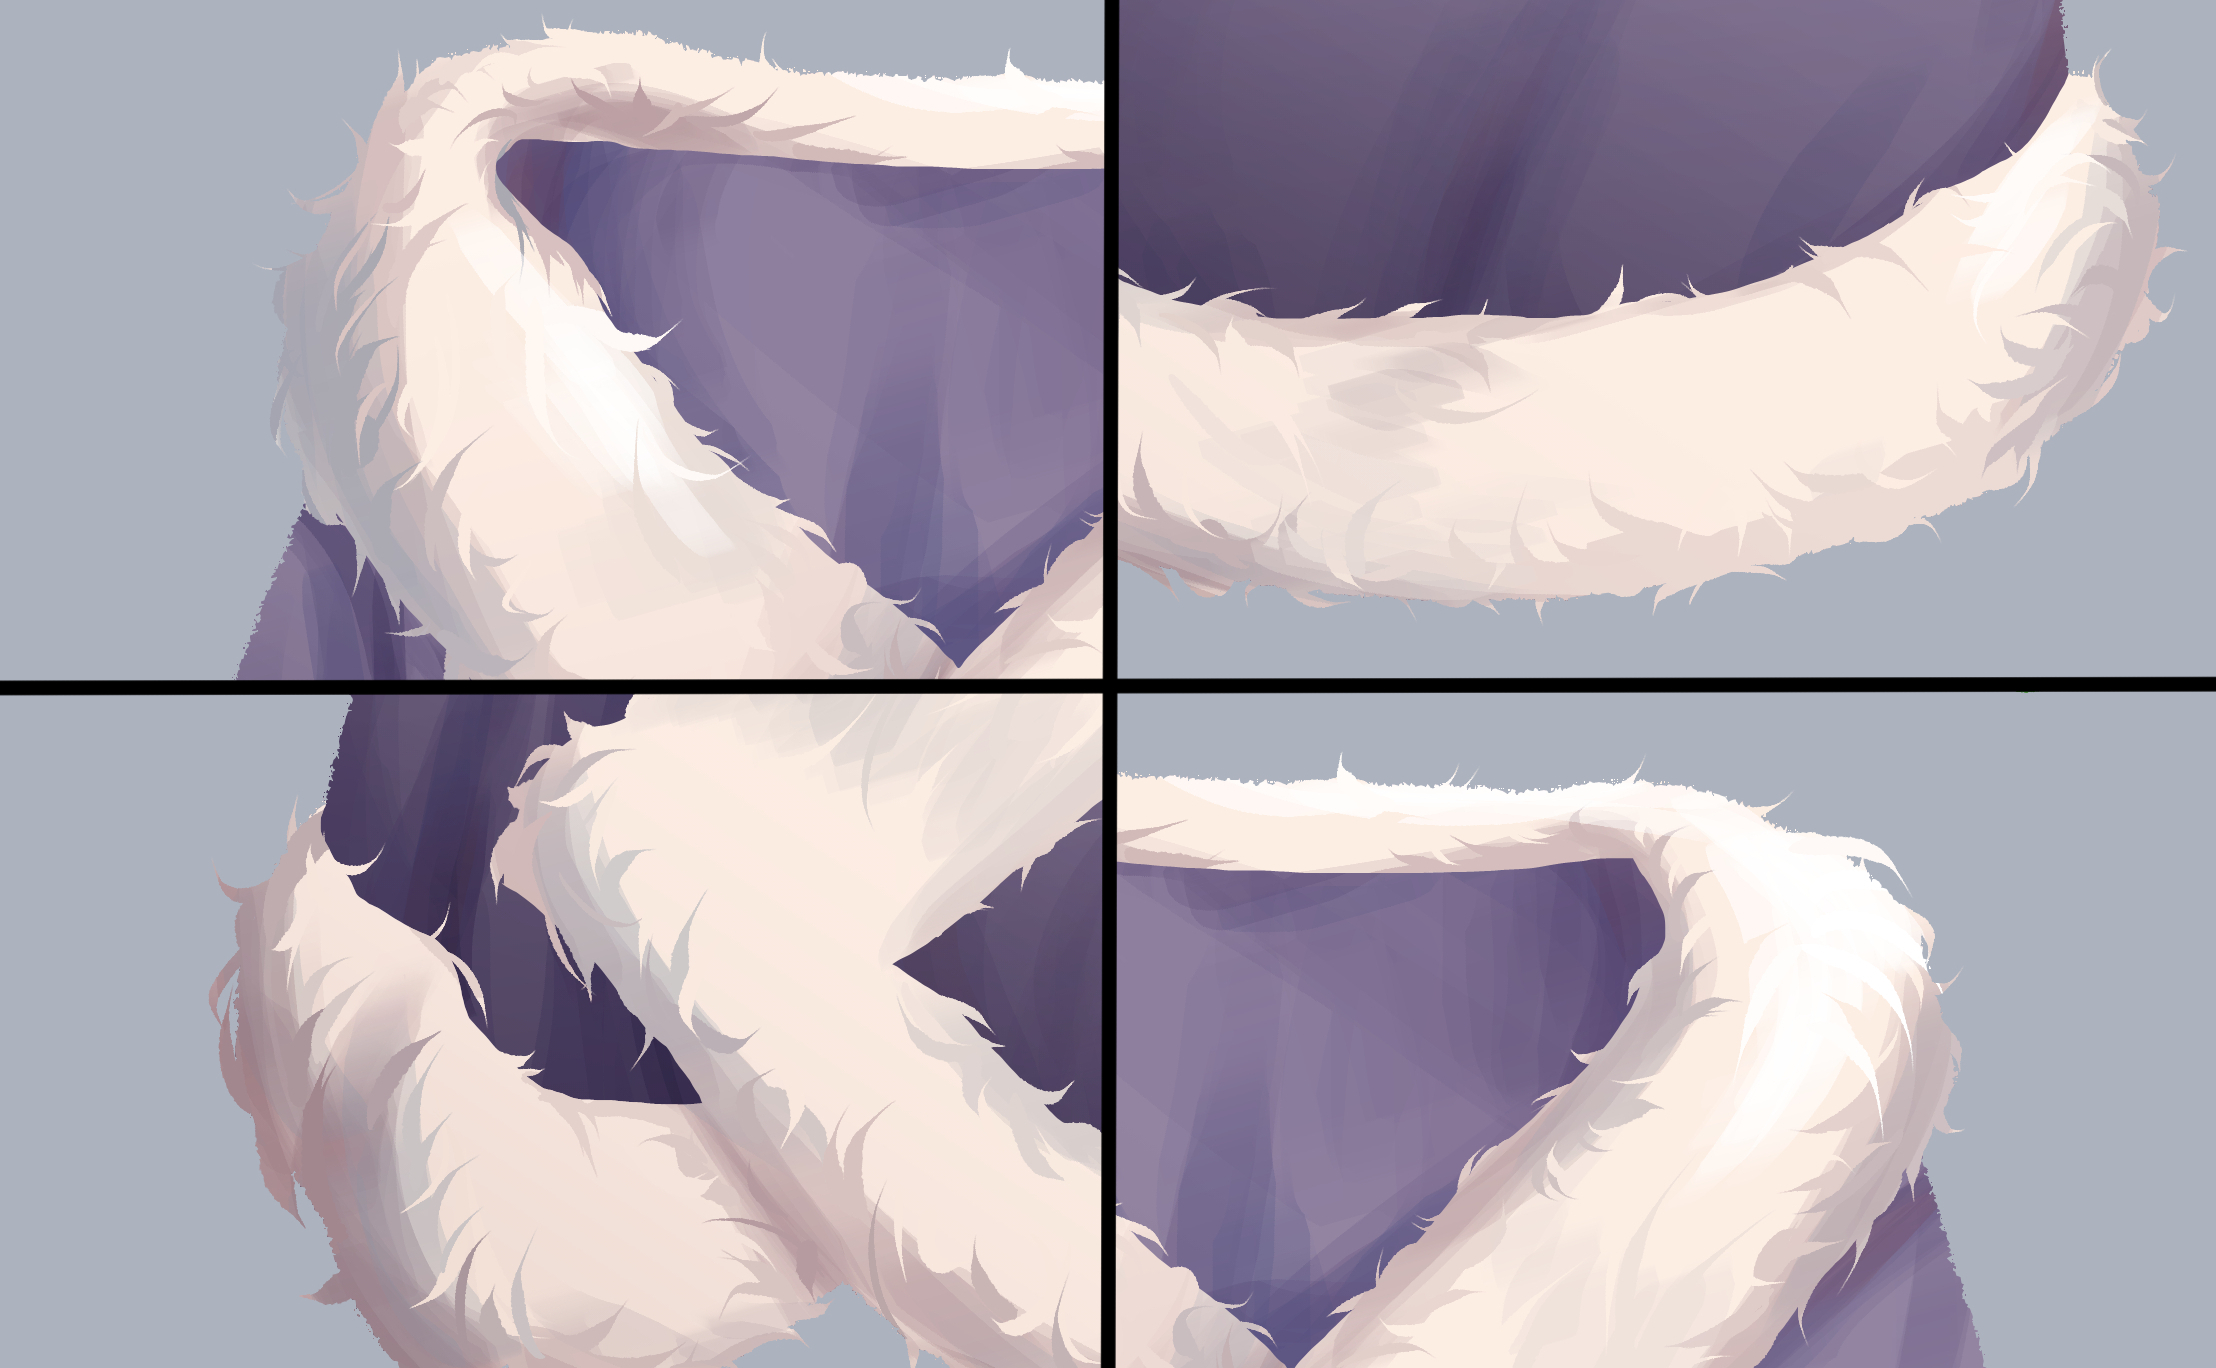

Use loops, lines, and peaks for dynamic variation—mix them to avoid uniformity.
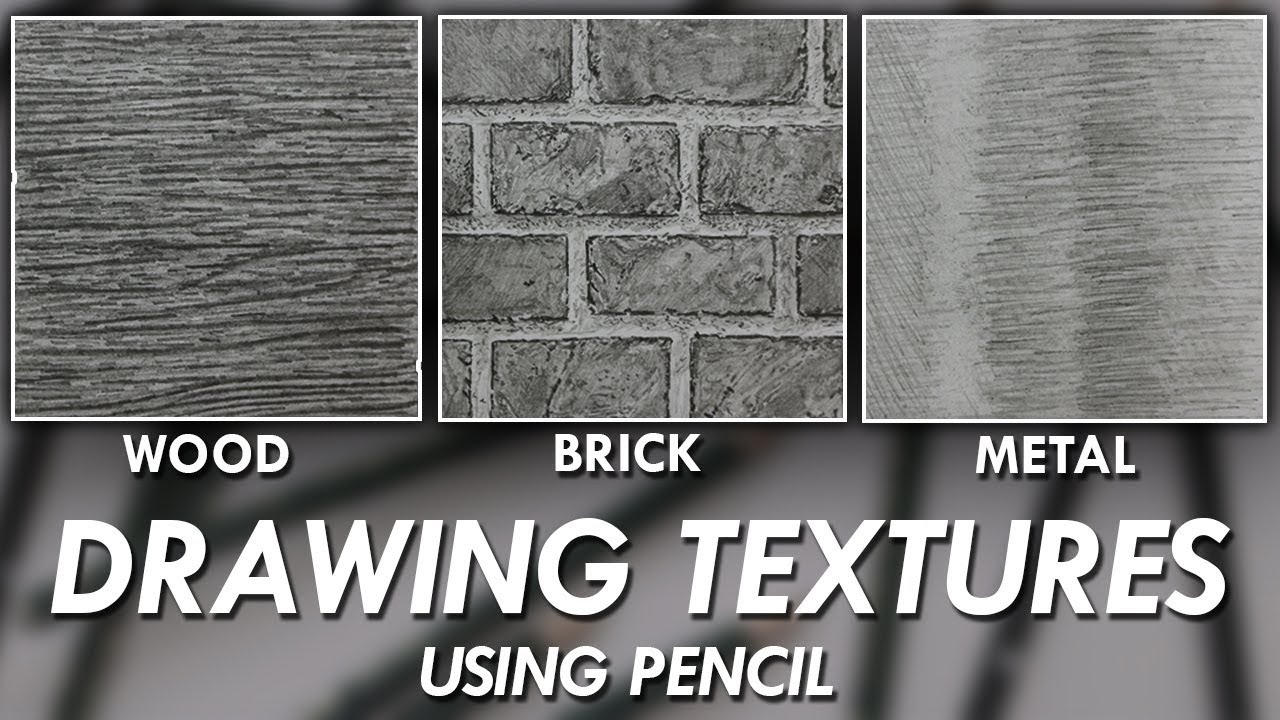
2. Metal – Shiny, Reflective, High Contrast
Metals rely on strong value shifts and reflections. Use hard edges, cool highlights, and distorted environment reflections. Blend smoothly for chrome; add scratches/noise for brushed metal.
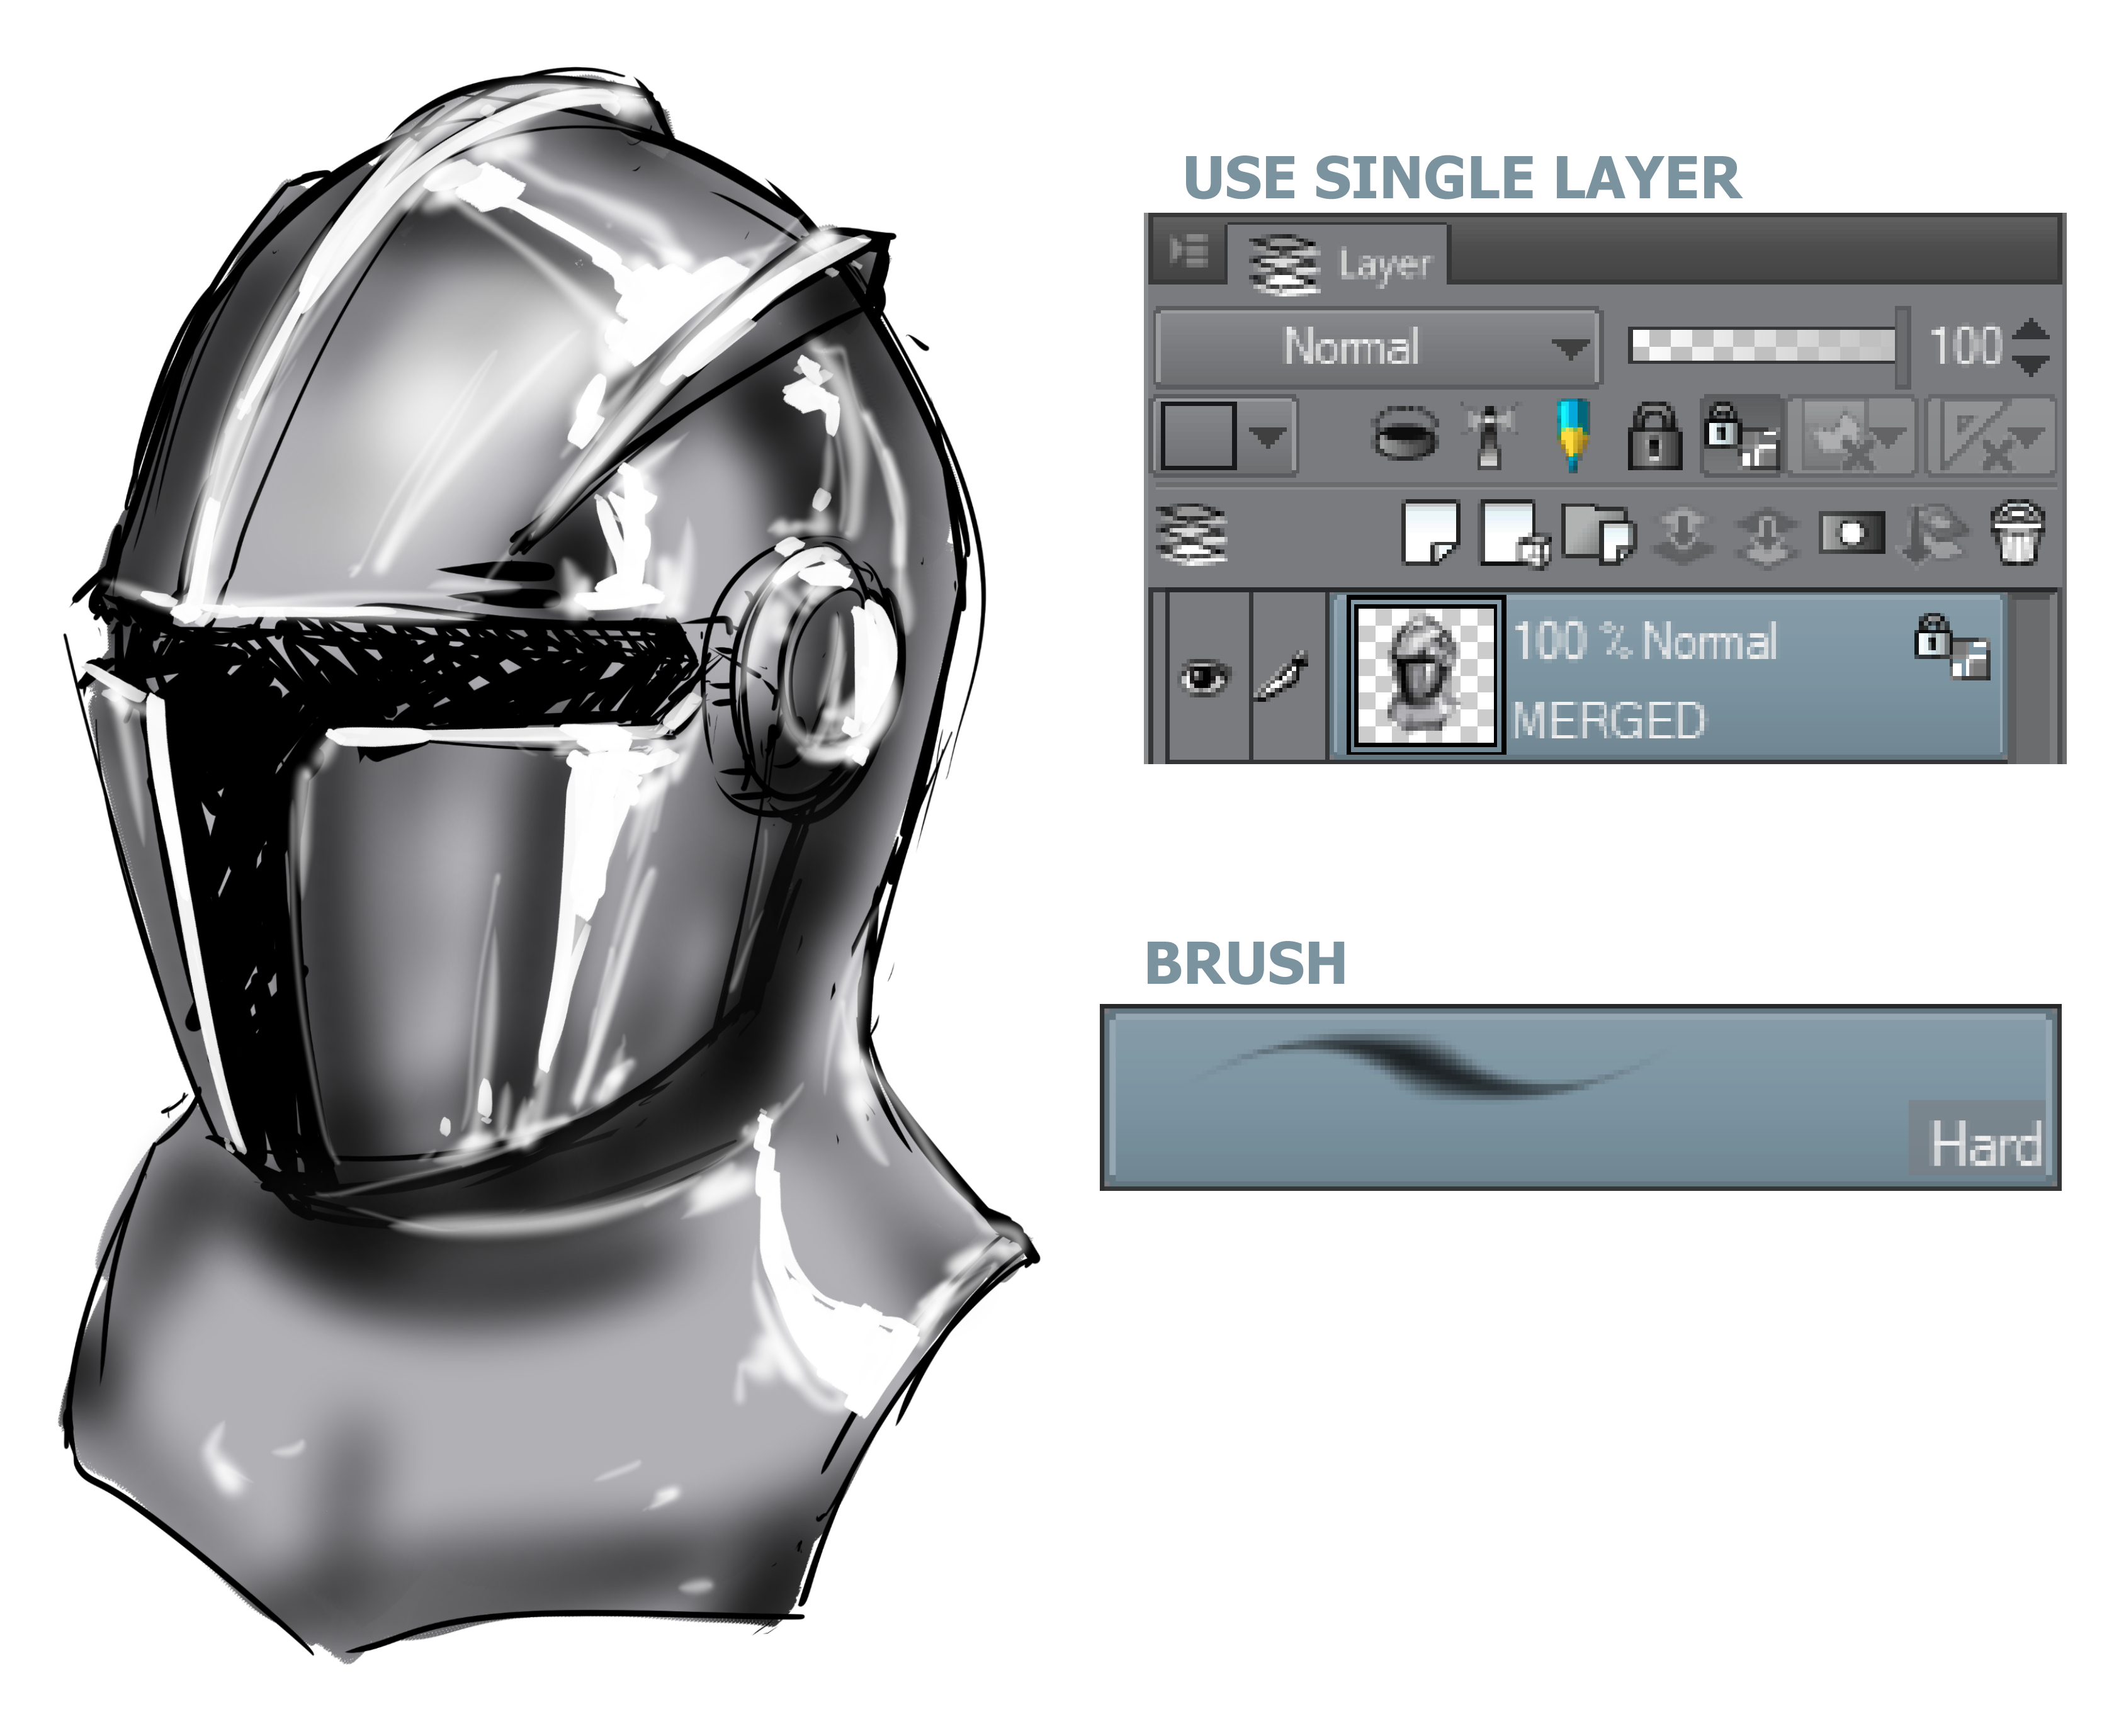

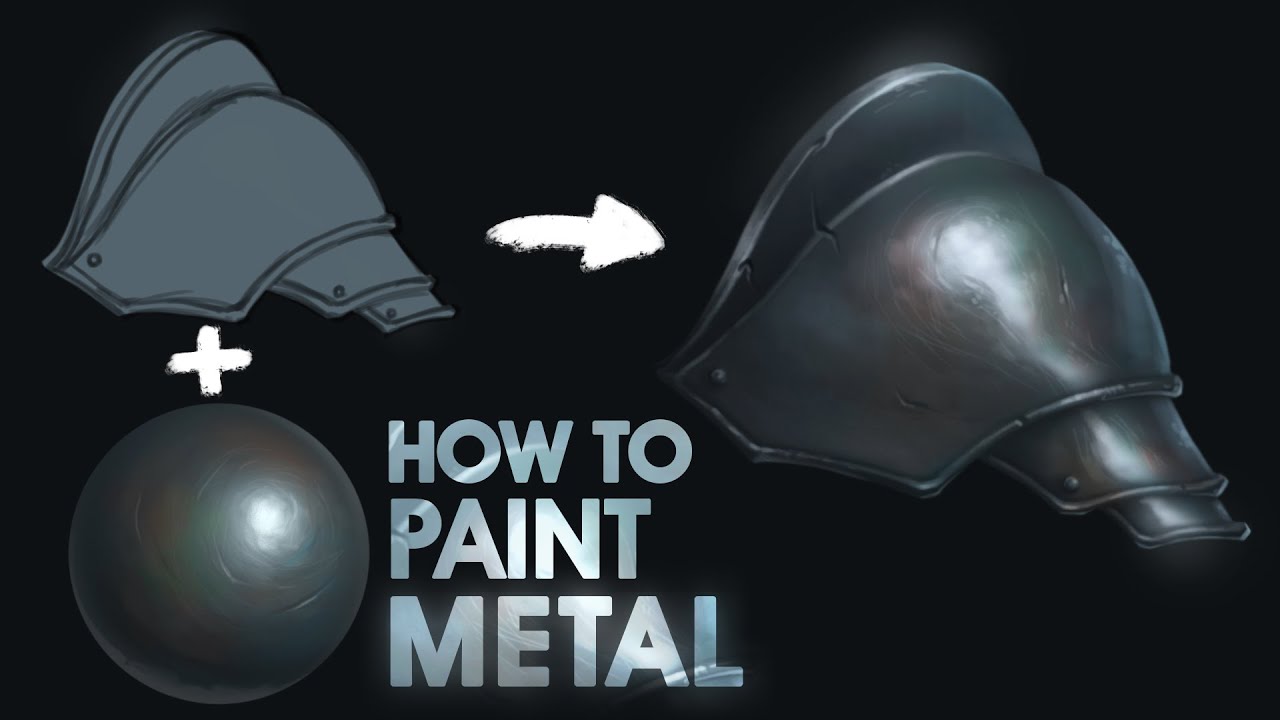

Work on a single layer for seamless blending; hard brushes help define crisp edges.
3. Wood Grain – Organic Lines, Subtle Color Variations
Layer warm browns/oranges with thin, wavy lines following grain direction. Add knots, cracks, and subtle color shifts. Use hatching/cross-hatching for depth.

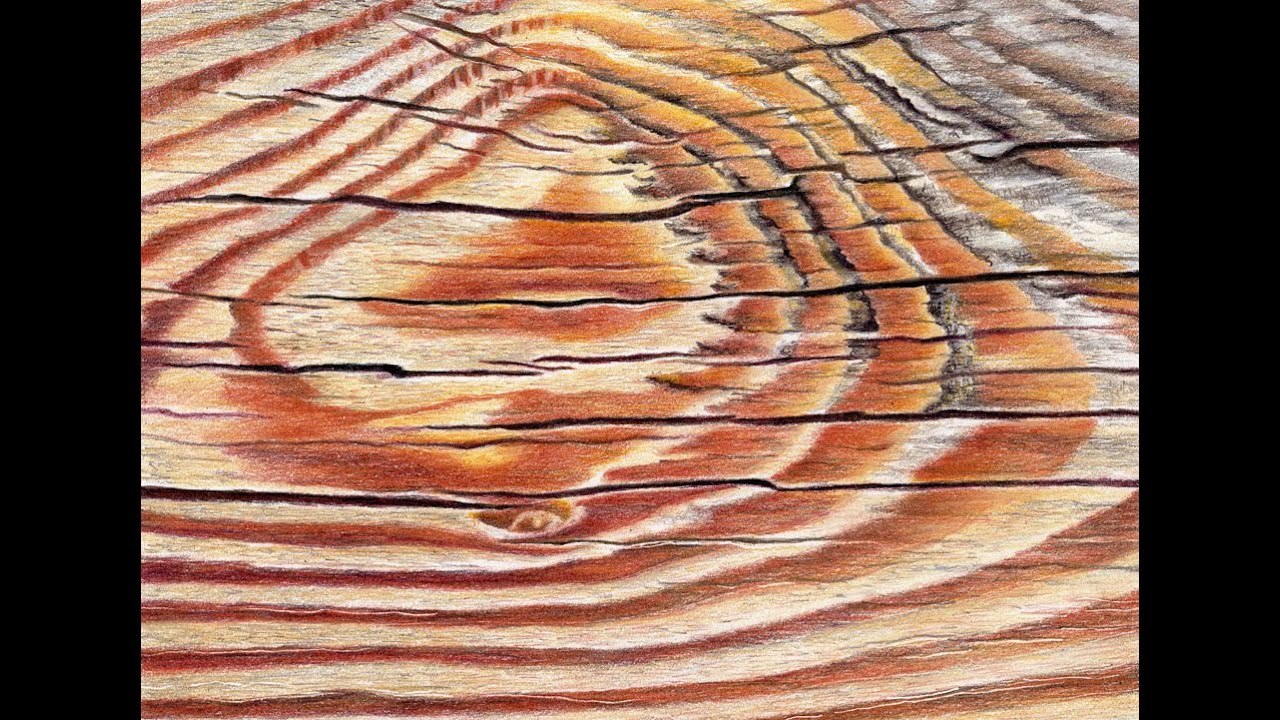
Build from light base to dark details—colored pencils excel here for smooth gradients.
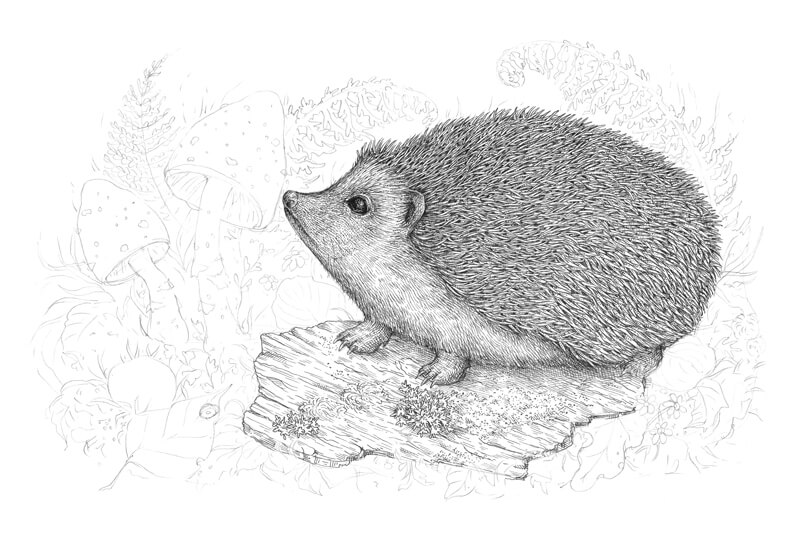
4. Skin & Pores – Subtle, Textured Realism
Skin isn’t smooth—render pores with tiny dots/hatching, fine wrinkles, and soft blending. Use layered graphite/charcoal for velvety texture; pay attention to subsurface scattering in highlights.


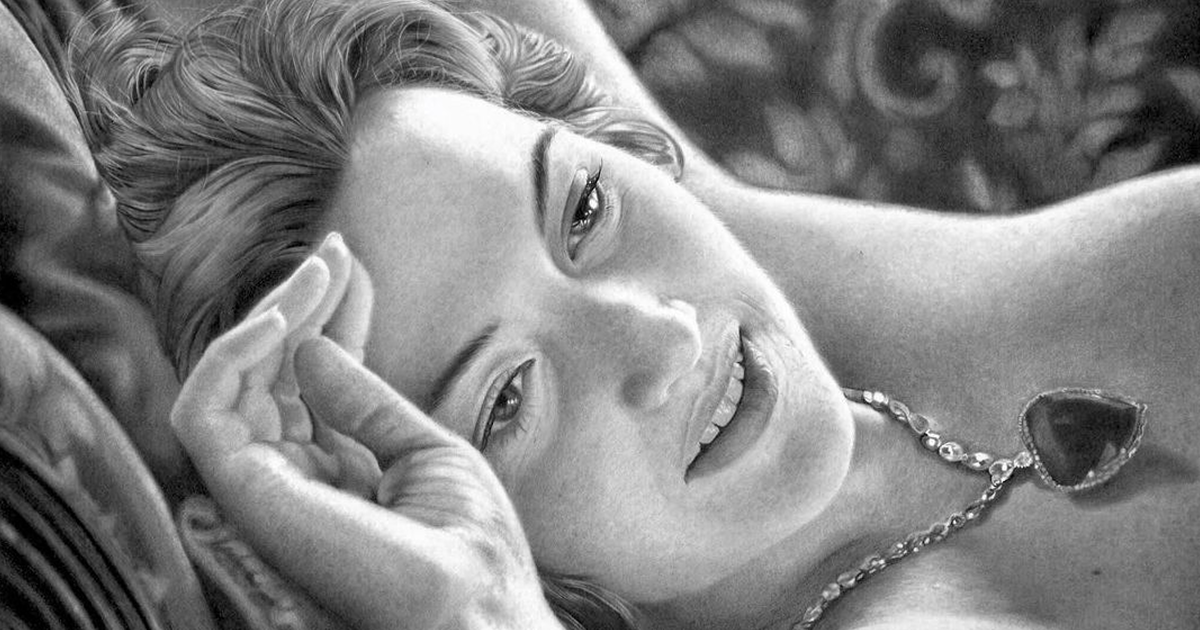
Focus on value transitions over harsh lines for lifelike skin.
5. Fabric & Folds – Soft Edges, Creases, Highlights
Draw folds with curved lines, then shade form shadows (darker in crevices) and cast shadows. Add subtle weave texture with light cross-hatching or stippling. Silk shines with sharp highlights; cotton is matte.


Study how fabric drapes—gravity pulls, tension creates tight folds.
6. Glass & Water Droplets – Transparent, Refractive
Use negative space, hard highlights, and subtle distortions. Build transparency with light grays/blues; add rim lighting and refractions. Droplets have sharp edges and magnified backgrounds.


Keep most areas light—contrast creates the illusion of glass.
Quick Video Recommendations to watch these techniques demonstrated:
- “How To DRAW Realistic TEXTURES using PENCILS! – Wood, Brick & Metal” → https://www.youtube.com/watch?v=S3DCx0TzNRw (great pencil breakdowns)
- “How To Paint METAL – Digital Art For Beginners” → https://www.youtube.com/watch?v=Ms4QDSUCGL8 (digital metal painting process)
- “REALISTIC WOOD TEXTURES DRAWING using colored pencils & markers” → https://www.youtube.com/watch?v=lku34Ojj5HU (step-by-step wood in color)
- “DRAWING/SHADING SKIN TEXTURE/PORES | WITH CHARCOAL AND GRAPHITE” → https://www.youtube.com/watch?v=zjqzBSRKNoU (skin pores tutorial)
- “How to Draw Clothes – Shading Cloth and Folds” → https://www.youtube.com/watch?v=37-UB4_gJpM (fabric folds demo)
- “How To Draw Fabric Texture | General and Basic Rules” → https://www.youtube.com/watch?v=lS6c4ma2UlY (fabric basics)
Practice one texture at a time on small studies—reference real photos or objects. You’ll notice huge improvements quickly! Which texture are you tackling first? Share your attempts if you’d like feedback.