Perspective Drawing Made Easy (1 & 2 Point)
Perspective drawing is the technique that creates the illusion of depth and three-dimensional space on a flat 2D surface. It’s essential for realistic scenes, architecture, interiors, and even character environments. The two most common and beginner-friendly types are 1-point perspective and 2-point perspective. Mastering these will make your drawings look more convincing and professional without needing complex math.
Key Concepts You Need First
- Horizon Line — A horizontal line representing your eye level. Everything converges toward points on this line.
- Vanishing Point(s) — Where parallel lines appear to meet in the distance.
- Orthogonal Lines — Lines that recede toward vanishing points (not parallel to the picture plane).
- Vertical Lines — Stay truly vertical (parallel to the sides of your paper) in basic 1- and 2-point perspective.
Use a ruler for clean lines at first, then practice freehand for natural feel.
1-Point Perspective (One Vanishing Point)
Use this when you’re looking straight on at a scene—parallel lines recede to one single vanishing point on the horizon. Perfect for hallways, roads, railroad tracks, or rooms viewed head-on.
Steps to Draw a Simple Box/Room in 1-Point Perspective:
- Draw a horizontal horizon line across your page (eye level—higher for looking down, lower for looking up).
- Place one vanishing point (VP) on the horizon line (often near the center for symmetry).
- Draw a square or rectangle in front (this is the “front face”—its sides are parallel to your paper).
- From each corner of the front face, draw lines back to the vanishing point (these are orthogonals).
- Add a back edge by drawing a smaller parallel square/rectangle where the orthogonals intersect.
- Erase construction lines and add details (windows, doors, floor tiles).

Step-by-step example of drawing a perfect cube in one-point perspective.

Another clear step showing convergence to one vanishing point.
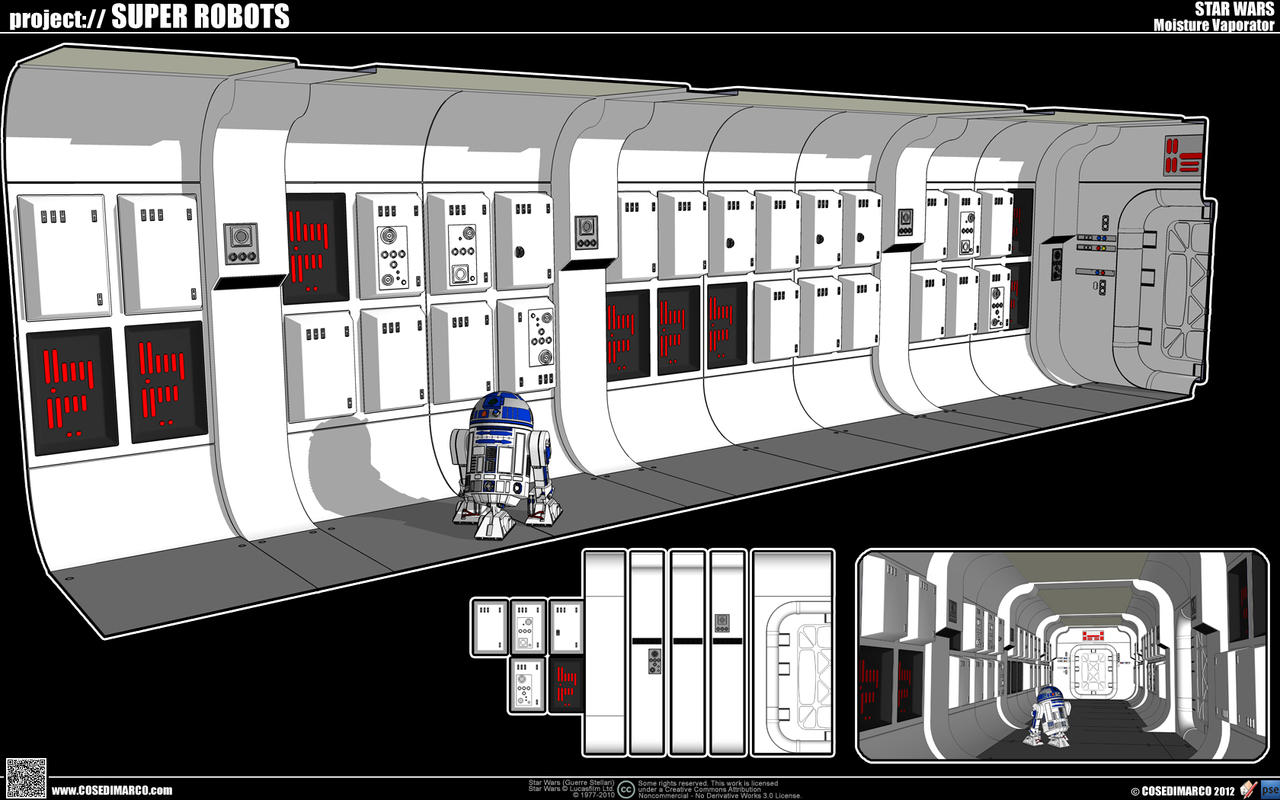
Classic hallway or corridor example in one-point perspective—notice how walls, floor, and ceiling all converge to the center VP.
Simple black-and-white hallway demonstrating strong depth through one-point rules.
2-Point Perspective (Two Vanishing Points)
Use this when the subject is turned at an angle—you see two sides, and parallel lines converge to two different vanishing points on the horizon. Ideal for buildings from a corner view, streets, or objects rotated.
Steps to Draw a Building/House in 2-Point Perspective:
- Draw the horizon line.
- Place two vanishing points on the horizon (space them apart—too close causes distortion; too far makes it subtle).
- Draw a vertical line for the nearest corner/edge (this stays vertical).
- From the top and bottom of this vertical, draw lines to both vanishing points (creating the sides).
- Decide where the top and bottom edges stop—draw horizontal lines across (these are parallel to the horizon).
- Connect the ends back to the opposite VP to form the far sides.
- Erase helpers, add roof, windows, etc.

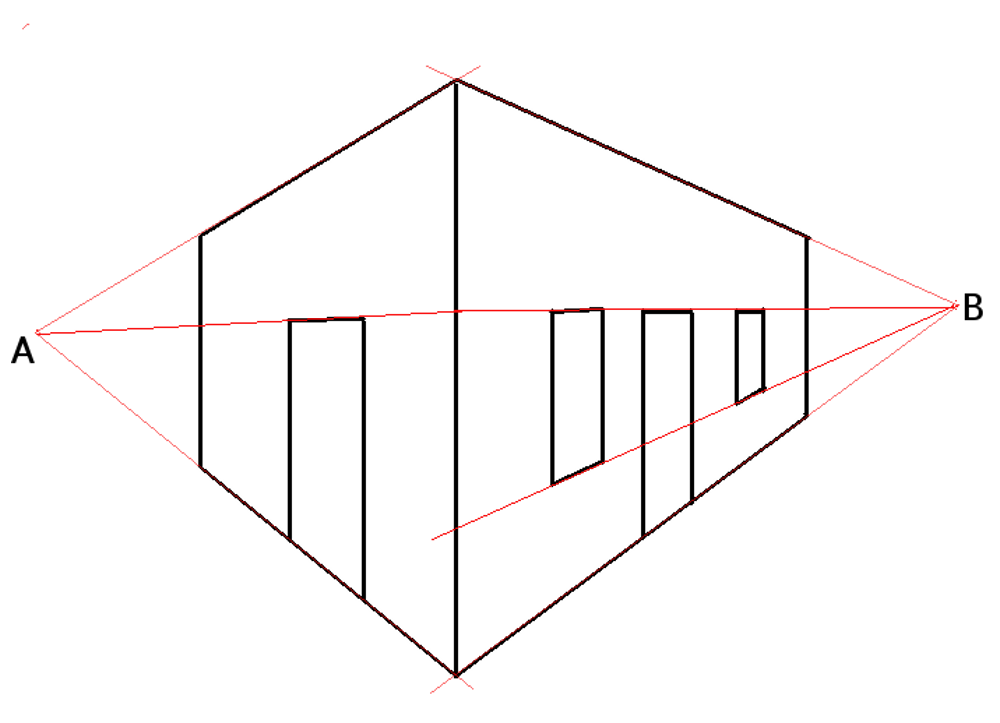
Step-by-step construction of a cube in two-point perspective—shows how lines go to both VPs.

Clear diagram illustrating two vanishing points and how planes converge.

Simple house drawn in two-point perspective—great beginner building example.
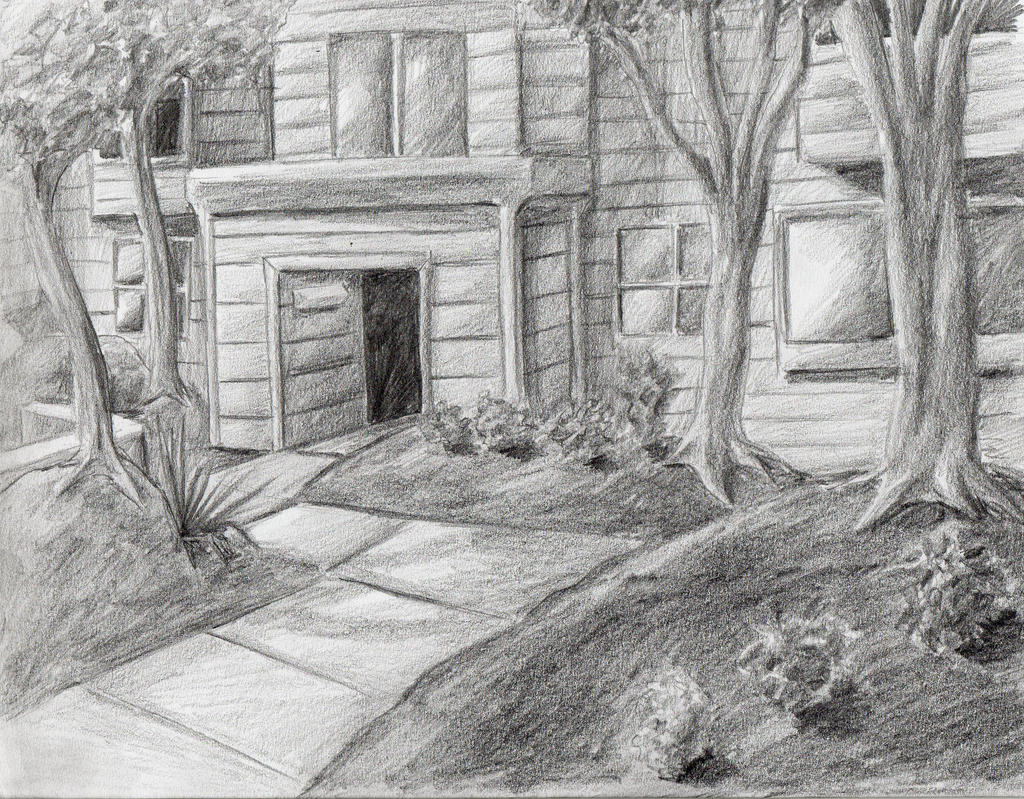
Outdoor scene using two-point perspective for natural depth and angle.
Quick Tips for Success
- Place VPs far apart for realistic views; close together for dramatic/exaggerated angles.
- Vertical lines always stay vertical—never tilt them.
- Horizon line placement changes viewpoint: high = looking down, low = looking up.
- Practice simple boxes first in both perspectives, then add complex scenes.
- Common mistake: Forgetting to converge all parallel lines to the same VP—check constantly!
- Once comfortable, try 3-point (adds vertical convergence for extreme up/down views), but master 1 & 2 first.
Video Tutorials to Follow Along
- “How To Draw Using 1-Point Perspective” by Circle Line Art School — Narrated step-by-step streets and rooms.
- “How to Draw a House using Two Point Perspective for Beginners” by Circle Line Art School — Clear house demo.
- “Perspective for Beginners” — Breaks down 1-point basics with boxes and limitations.
- “Two-Point Perspective Drawing Made Simple” — Explains placement and angles for portraits/figures too.
Grab a ruler, sketchbook, and start with boxes—within a few sessions, you’ll see depth pop in your drawings. Perspective gets intuitive fast with practice. Keep going—you’ve got this! 📐✏️