How to Draw Realistic Water Splashes: Mastering the Crown Formation from Drop Impact

Description:
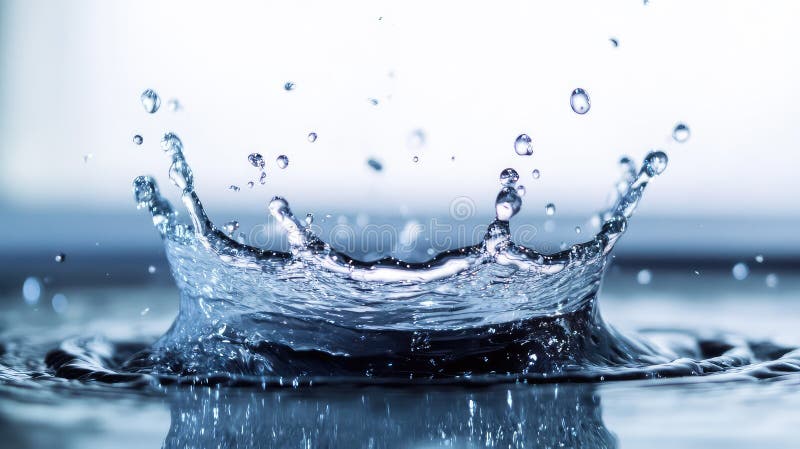
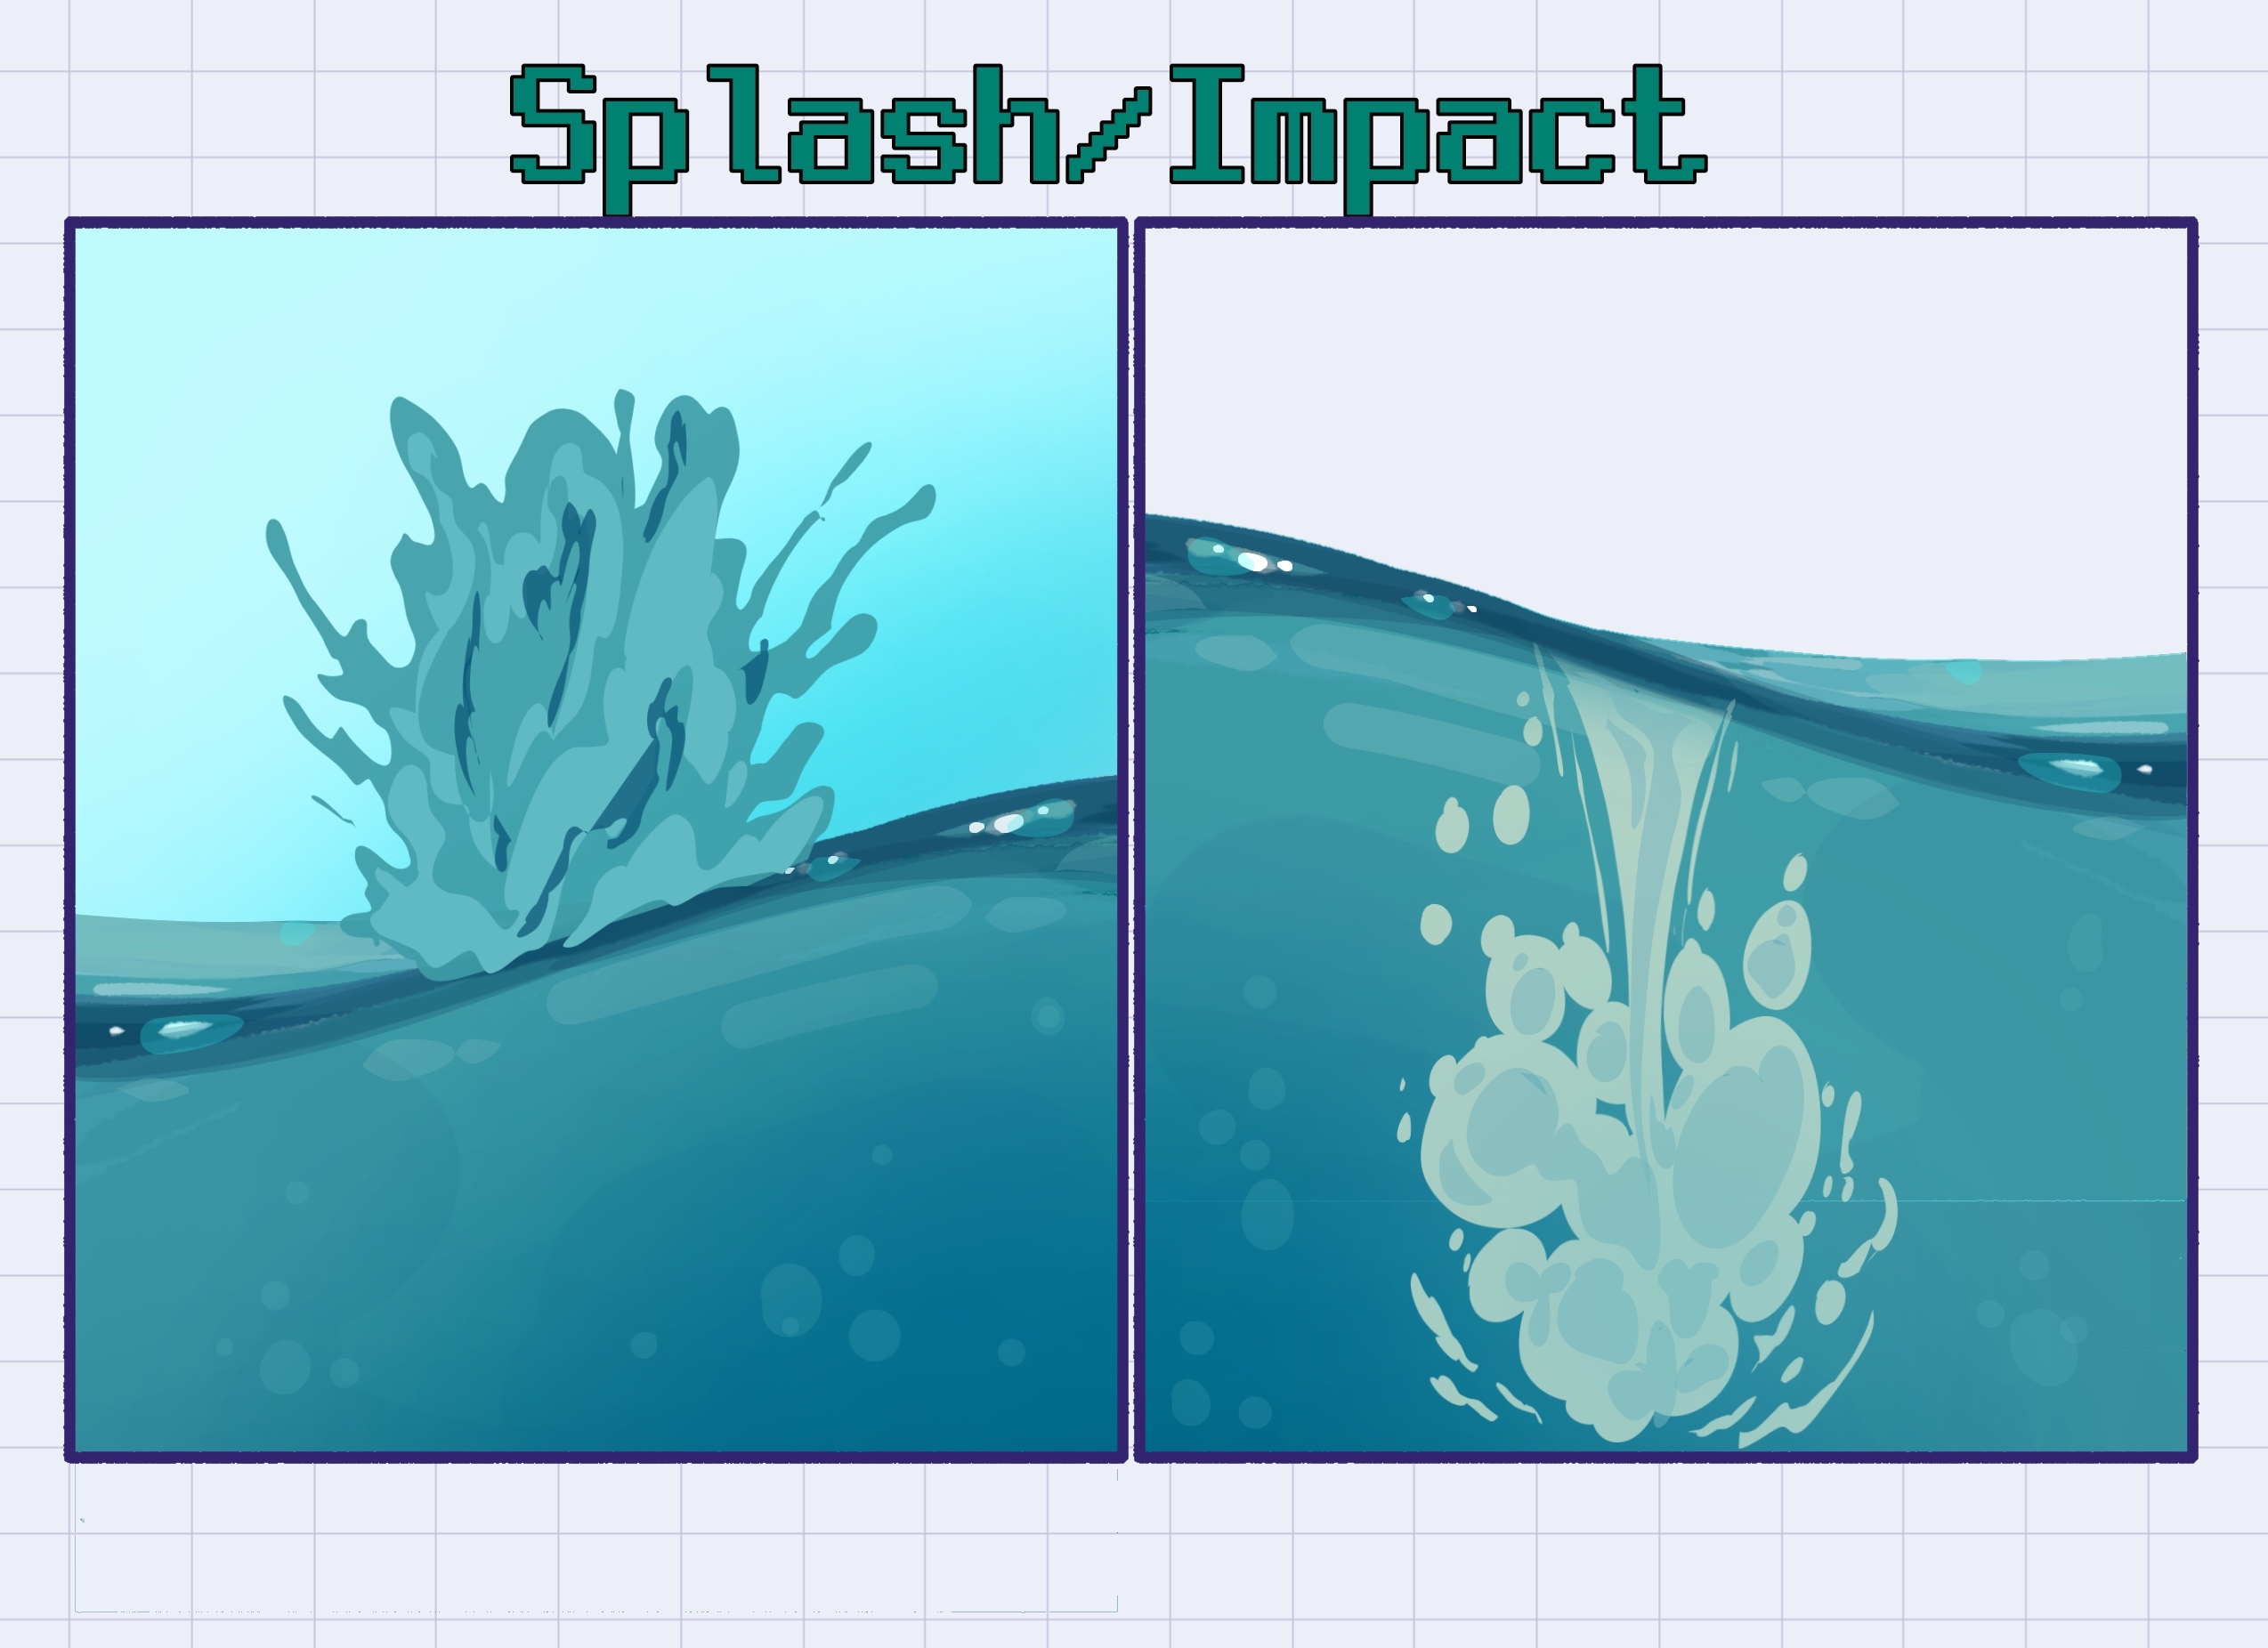
Drawing dynamic water splashes is one of the most challenging yet rewarding skills for illustrators, concept artists, manga creators, and digital painters. Water in motion—especially the dramatic “crown” splash formed when a droplet hits a surface—requires understanding fluid physics, observation of real references, and strategic simplification. This in-depth tutorial, based on the detailed Chinese reference image, explains the core principle: A single droplet entering a still water surface creates a concave depression, followed by a rebounding “crown” of water jets, with secondary droplets and ripples. The image emphasizes rounded, four-concave shapes for the crown (generally one large on each side, with another smaller one outward), while cautioning against excessive animation or distortion that breaks fluidity. We’ll analyze the reference, break down the physics, and provide a professional step-by-step guide for both traditional and digital media.


Analyzing the Reference Image
The reference uses line drawings with red highlights to illustrate progression and key tips:
- Top Section: Step-by-step drop impact.
- Flat water surface (ellipse with cross-hatching).
- Droplet approaches from above.
- Impact creates a central column rising.
- Forms the iconic “crown” with upward jets and flying droplets.
- Middle Section: Variations of crown splashes, showing curved jets, secondary drops, and irregular shapes.
- Bottom Section: Fully rendered dramatic splash with ripples, emphasizing flow lines and volume.
Key annotations (translated from Chinese):
- “A single droplet entering a calm water surface creates a concave flying splash effect, with rounded flying jumps, Chinese-style cavities in the middle. As you know, only certain parts are fixed; the rest can be drawn freely.”
- “The water crown splash has a regular shape—generally one large on each side, with another smaller one outward. Pay attention to the impact effect below; when drawing, keep it animated but not exaggerated.”
This approach draws from high-speed photography observations, where real splashes form a temporary “crown” due to surface tension and rebound.

Understanding the Physics of Water Splashes
Real water drop impacts (captured at 1000+ fps) follow predictable stages:
- Initial Contact: Droplet flattens and merges.
- Cavity Formation: Water displaces downward, creating a crater.
- Rebound: Surface tension pulls water upward into a central jet (Rayleigh-Plateau instability).
- Crown Development: Jet breaks into a ring of upward spikes (the “crown”).
- Secondary Droplets: Tips pinch off into small drops.
- Ripples: Concentric waves spread outward.
In art, exaggerate the crown for drama while maintaining organic curves—no sharp angles or symmetry overload.
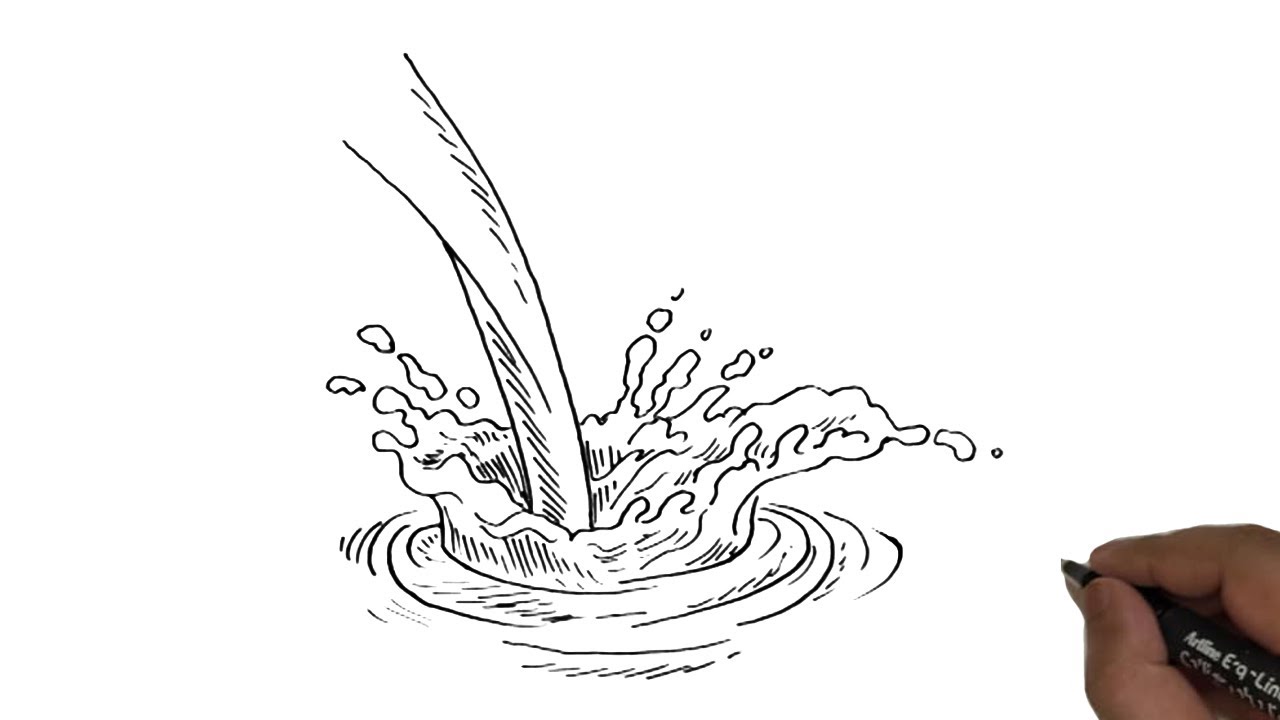
Step-by-Step Tutorial: Drawing a Crown Water Splash
Use pencil/pen traditionally or digital tools (Procreate, Clip Studio, Photoshop) with pressure-sensitive brushes. Reference high-speed photos for accuracy.
- Draw the Base Water Surface:
- Sketch a horizontal ellipse for the pool.
- Add light cross-hatching for volume and subtle ripples.
- Impact Point and Cavity:
- Mark the center where the drop hits.
- Draw a concave depression (U-shaped crater) with arrows indicating inward pull.
- Build the Central Column:
- From the crater base, draw a rising cylindrical jet (tapered upward).
- Add upward arrows for momentum.
- Form the Crown:
- Around the jet top, draw 4-6 curved spikes radiating outward—like a crown or flower petals.
- Make them asymmetrical: Larger on sides, smaller outward.
- Use smooth, flowing curves; add thickness for volume (thicker base, thinner tips).
- Pro Tip: Reference advises “four concave” shapes—indent the inner edges for realism.
- Add Secondary Droplets and Jets:
- Scatter small circles/ovals flying off the crown tips.
- Draw trailing streams connecting some droplets back to the crown.
- Vary sizes: Larger near crown, tiny farther away.
- Ripples and Surface Disturbance:
- Concentric ellipses spreading from impact.
- Wavy lines at the base where crown meets water.
- Refine and Add Dynamics:
- Ink with varied line weights: Thick for foreground jets, thin for distant drops.
- Shade: Darker undersides, highlights on tops for wetness.
- Digital: Use splatter brushes for droplets; glow for transparency.
- Common Mistakes to Avoid:
- Overly symmetrical or stiff spikes (breaks fluidity).
- Too many uniform droplets (looks noisy).
- Ignoring rebound physics (no central rise = flat splash).
Professional Tips and Applications
- Observation Practice: Study slow-motion videos or high-speed photos—note how crowns are transient and irregular.
- Variations: Milk drops (thicker crowns), rain on puddles (multiple overlaps), ocean waves (larger scales).
- Medium Advice: Traditional—use ink washes for gradients; Digital—layer transparency and blur for motion.
- In Storytelling: Splashes convey impact, magic, or emotion in comics/manga.
This method from the reference balances realism with artistic freedom, allowing expressive yet believable water effects. Ideal for action scenes, fantasy illustrations, or product ads. Download the reference for practice, follow the steps, and share your splashes below! For more, explore fluid dynamics in art resources or Clip Studio water tutorials.