The Perfect Billiards Stance for Accuracy and Balance
Billiards, whether it’s pool, snooker, or another variant, demands precision, control, and consistency. A proper stance is the foundation of every successful shot, providing the stability needed for accurate aiming and balanced execution. Without it, even the best cue technique can falter. In this article, we’ll break down the elements of an ideal billiards stance, drawing from expert insights to help you improve your game. We’ll cover key components, step-by-step setup, and common adjustments for comfort and effectiveness.
Why Stance Matters in Billiards
A solid stance ensures your body remains steady during the stroke, minimizing unwanted movement that can throw off your aim. It aligns your vision, arm, and cue with the shot line, promoting accuracy and power control. Pros like Neil Robertson emphasize balance to avoid swaying, which can lead to missed shots. By mastering this, you’ll build muscle memory for consistent performance across various shots.
Key Elements of a Perfect Stance
To achieve accuracy and balance, focus on these core aspects:
- Foot Positioning: Start by standing behind the cue ball, aligning your dominant foot (right for right-handers) with the intended contact point on the cue ball. Place your feet shoulder-width apart, with the back foot angled slightly outward at about 45 degrees for stability. The front foot should point toward the shot line. This setup provides a strong base, evenly distributing weight to prevent leaning or imbalance. Options include a square stance (heels aligned), closed (front foot closer to the line), or open (front foot farther away)—choose what feels natural.
- Body Alignment: Square your hips and shoulders to the shot line. Keep your chin low and centered over or near the cue for clear visual alignment down the line. Avoid twisting your torso; instead, ensure your shooting arm hangs naturally from the shoulder, creating a straight path for the cue. This minimizes head movement and keeps your focus sharp.
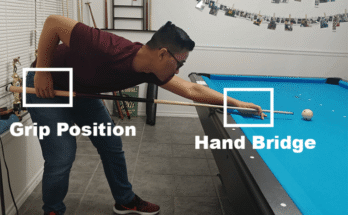
- Bridge Hand: Position your bridge hand flat on the table, with fingers spread for support. Use an open bridge (V-shape with thumb and index finger) for versatility and spin shots, or a closed bridge (finger wrapped around the cue) for added control. The bridge should be stable, allowing the cue to glide smoothly without obstruction.
- Cue Grip: Hold the cue loosely near your waist or the balance point, about 4-5 inches from any grip tape. Your forearm should form a 90-degree angle with the cue at address. A relaxed grip prevents tension, enabling a fluid stroke while maintaining leverage for power.
- Weight Distribution and Balance: Evenly split your weight between both feet to stay grounded. For power shots, shift slightly more to the back foot; for finesse, lean toward the front. Lock your back knee if needed for extra clearance, but avoid discomfort—balance is key to preventing fatigue and ensuring shot consistency.
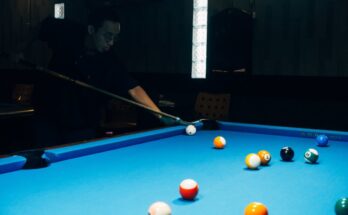
Here’s an example of a professional stance in action:

Step-by-Step Guide to Setting Up Your Stance
Follow these steps to build your perfect stance:
- Determine Your Dominant Eye: Point at a distant pocket with both eyes open, then close each eye alternately. The eye that keeps the alignment is dominant—use it for aiming to enhance accuracy.
- Approach the Table: Stand straight behind the cue ball, visualizing the shot line from cue ball to object ball to pocket.
- Position Feet: Step forward with your non-dominant foot, placing the dominant foot along the shot line. Spread feet shoulder-width apart, angling them for comfort.
- Bend and Align: Lower your body by bending at the waist and knees, keeping your back straight. Align your chin over the cue.
- Form the Bridge: Place your bridge hand 6-8 inches from the cue ball, creating a stable platform.
- Grip and Aim: Grip the cue relaxedly, align your elbow and forearm vertically, and practice a few strokes to check for clearance and balance.
- Finalize Balance: Adjust weight distribution, ensuring no strain. Your stance should feel natural and repeatable.
Practice this setup slowly to ingrain it. Over time, it will boost your accuracy by reducing variables in your stroke.
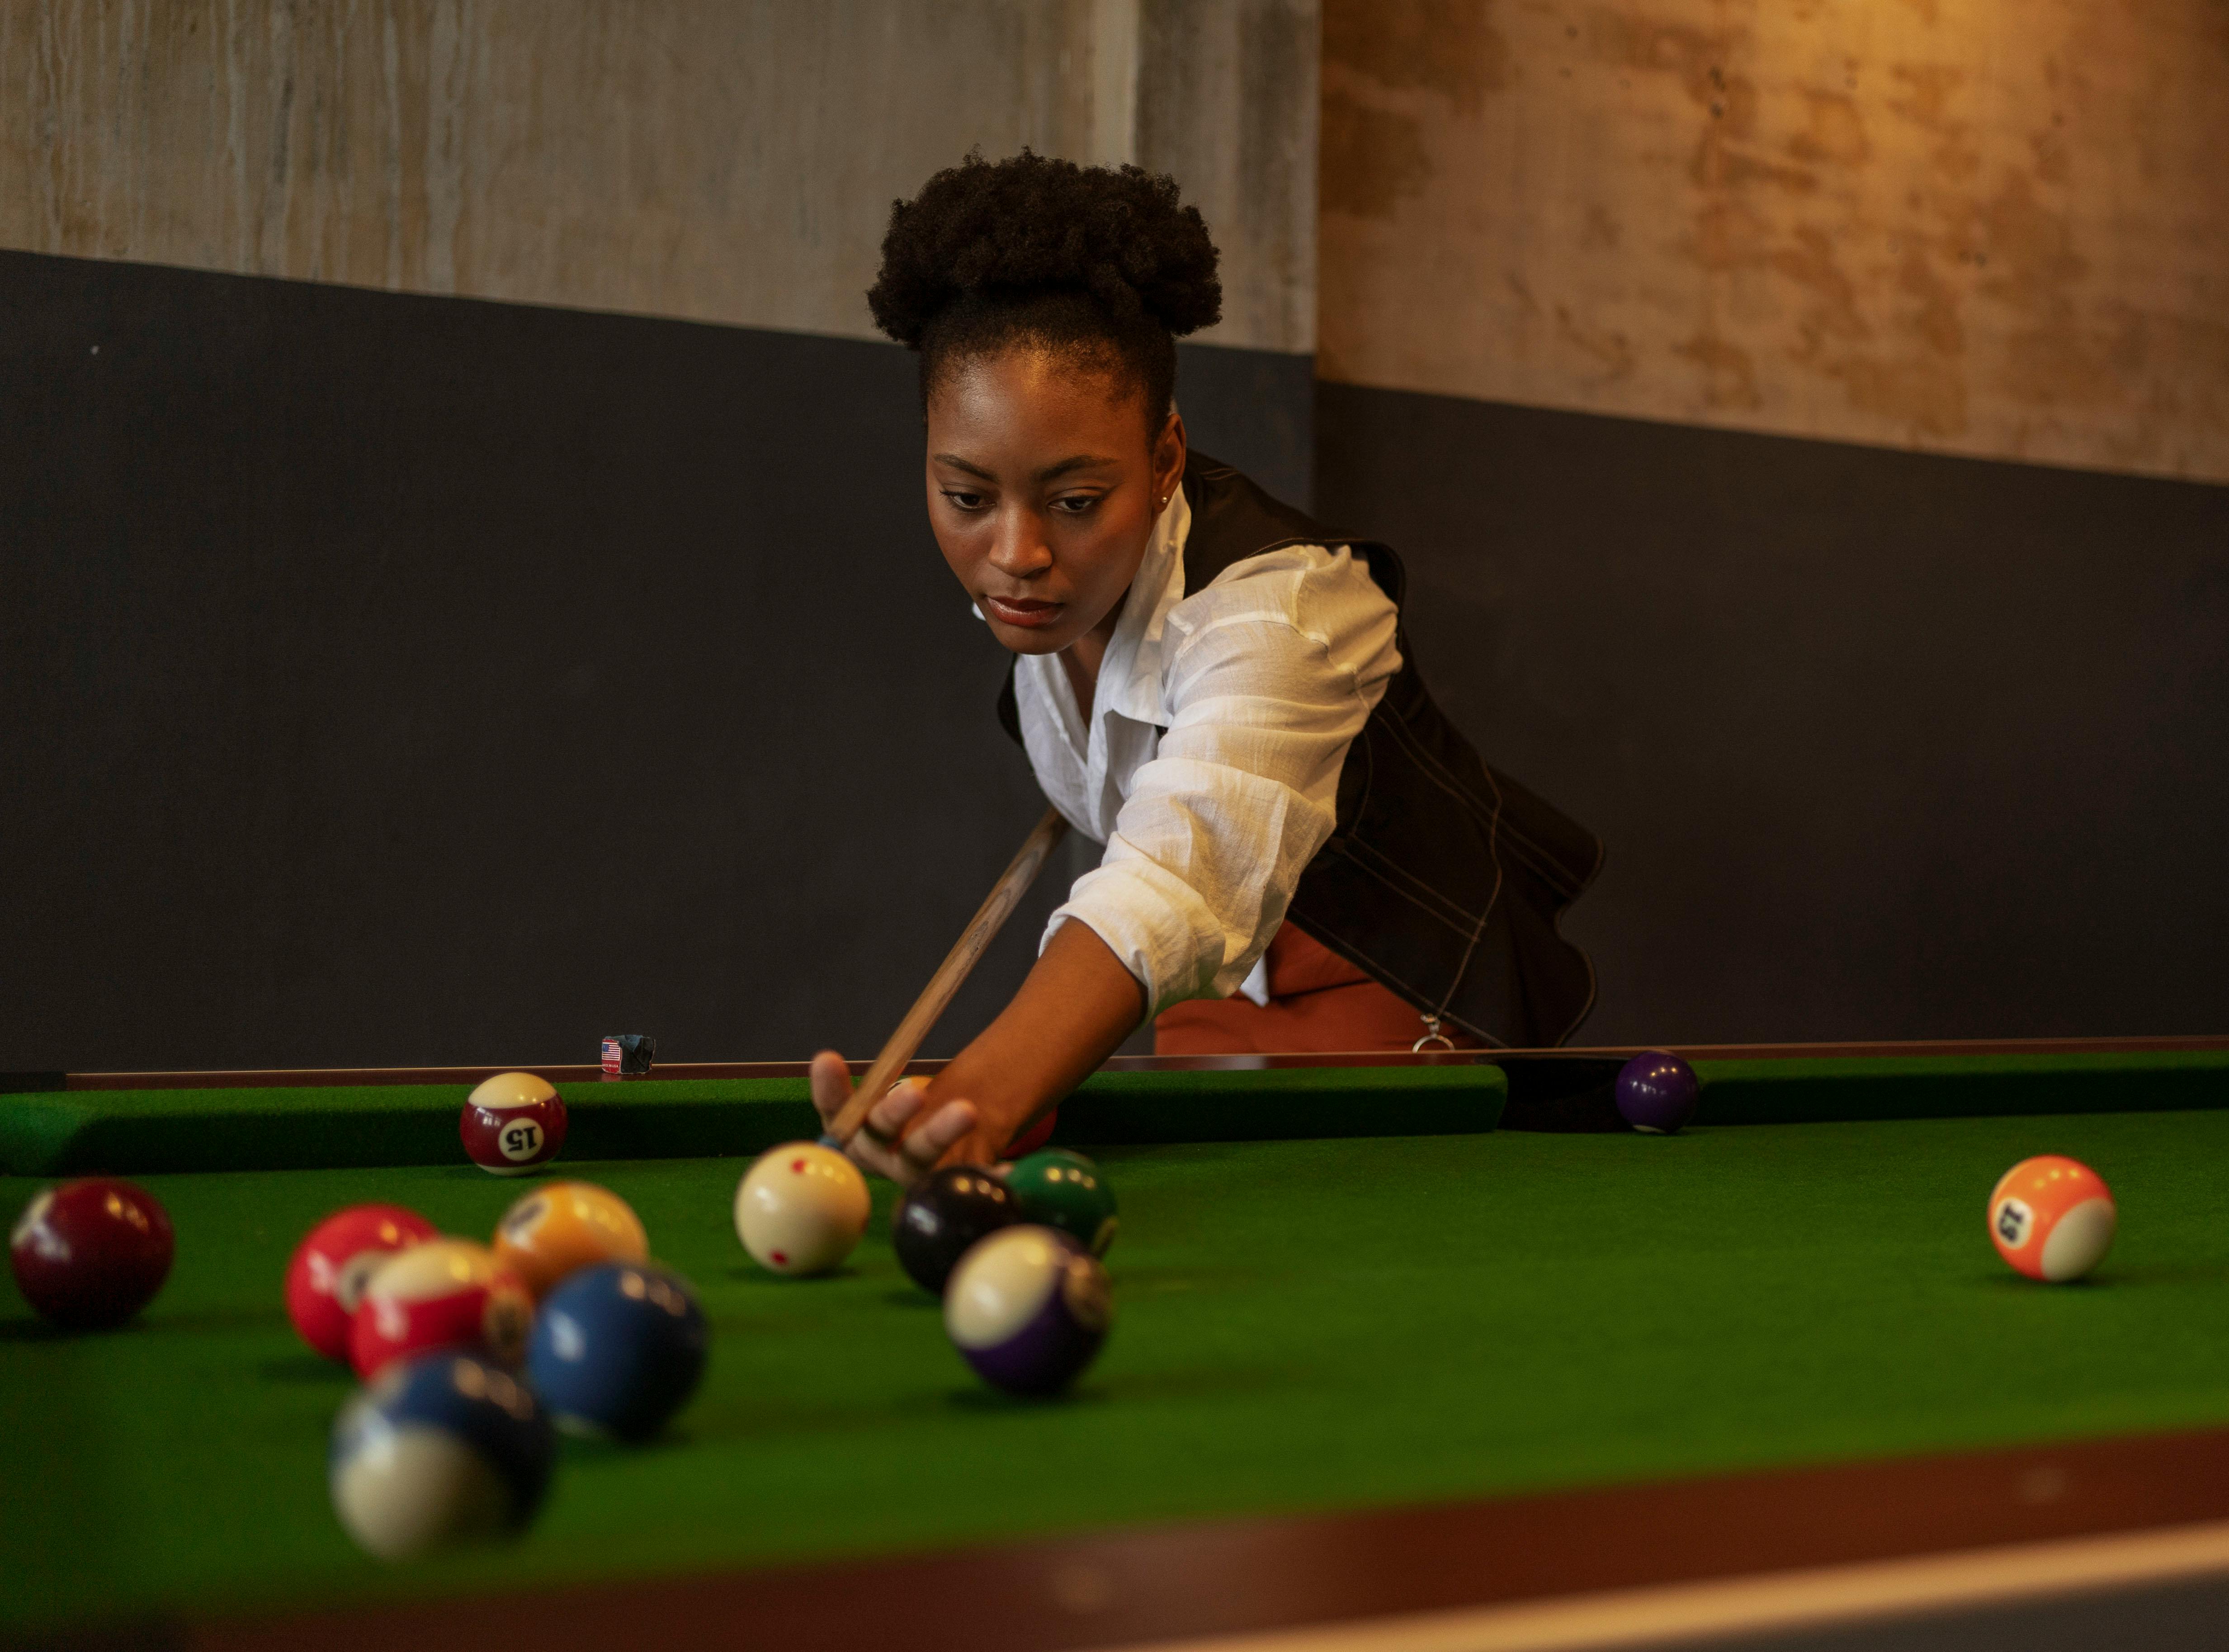
Visualize the stance with this image of a player in position:
Common Mistakes and Adjustments
- Chicken Wing or Pinned Elbow: Avoid flaring or tucking your elbow—keep your forearm vertical for a straight stroke.
- Uneven Weight: Too much on one leg causes swaying; redistribute for stability.
- Discomfort: If you have back or knee issues, widen your stance or bend less while maintaining alignment.
- Personalization: Experiment within guidelines—taller players may need more spread, while shorter ones might prefer a lower bend.
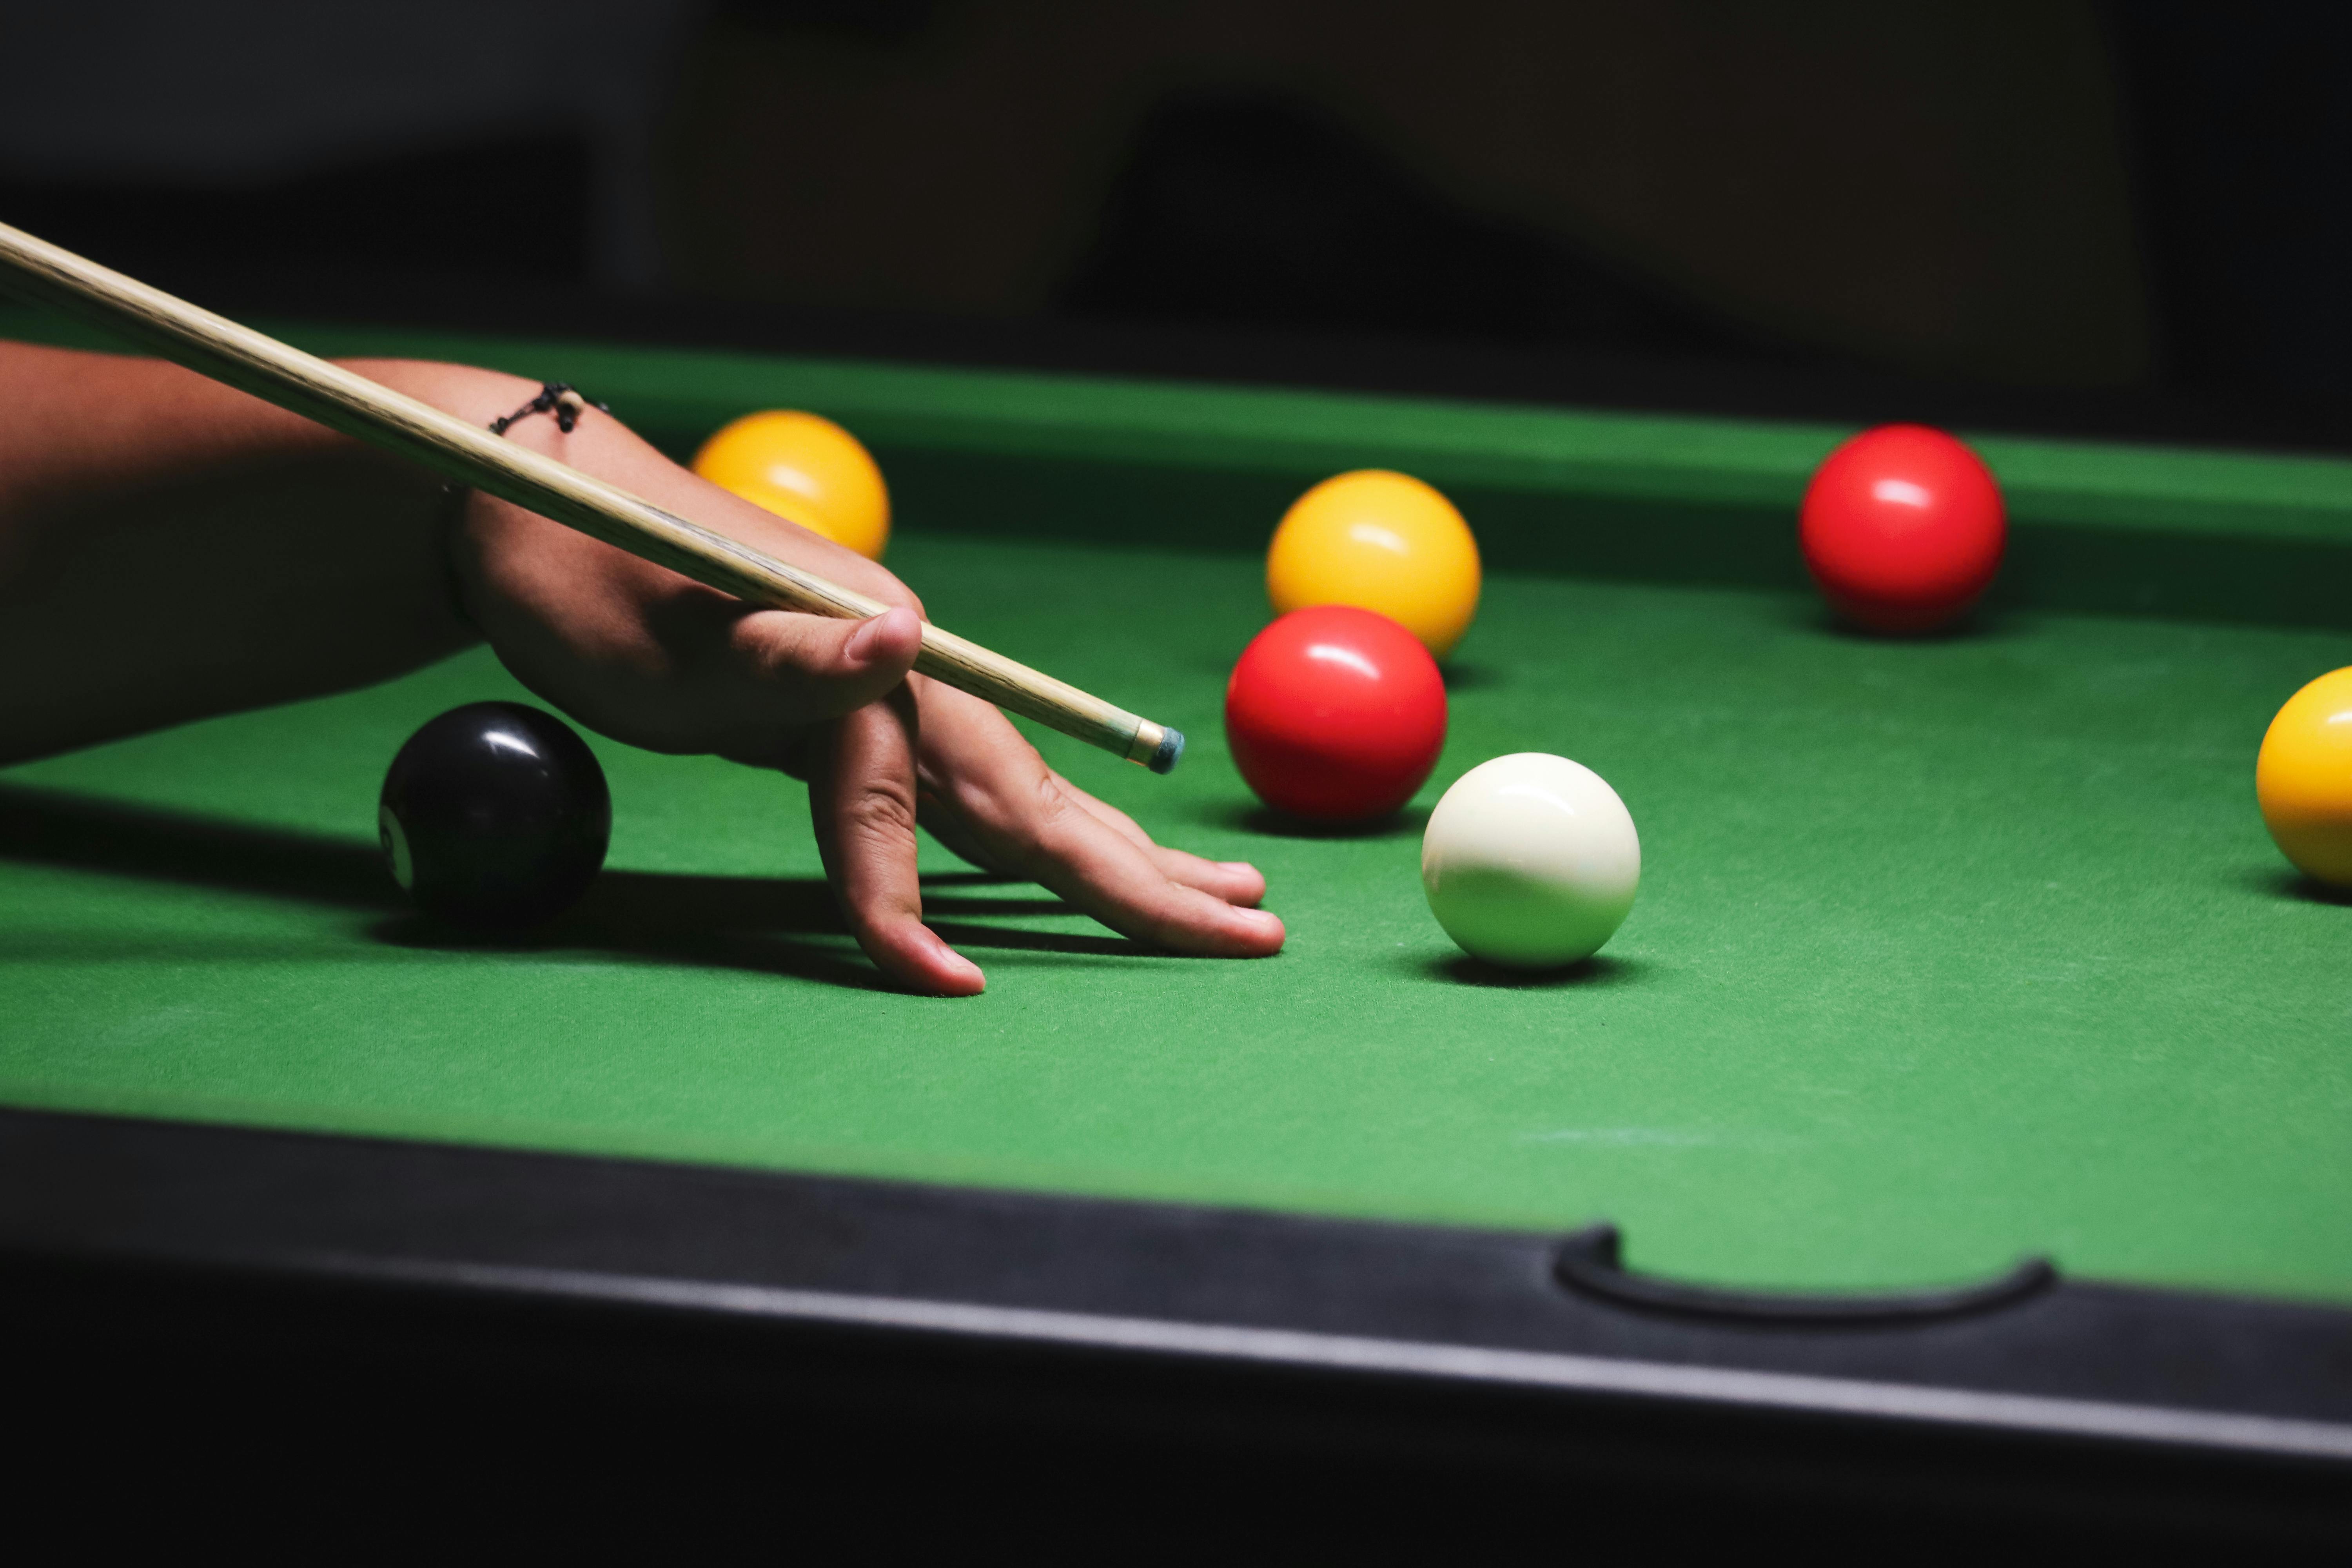
For a real-world example, check this player’s balanced form:
Tutorial Videos for Visual Guidance
Seeing the stance in motion can accelerate your learning. Here are some recommended videos:
- The Stance – Pool Tutorial – A detailed breakdown of addressing the table and delivering a straight cue.
- Pool Made Simple – STANCE and STROKE – Dr. Dave’s guide to finding your personal best stance for consistency.
- The Stance Basics – Back-to-basics video focusing on foundational positioning.
- Professional Pool Stances – Review of 27 pro bridges and stances for inspiration.
- How to Find the Perfect Stance – Tips on orthodox pool and snooker stances.
Incorporate these into your practice routine, and you’ll notice improvements in accuracy and balance. Remember, the perfect stance is one that’s comfortable, repeatable, and tailored to you—happy cueing!