Cue Grip Basics: How to Hold a Pool Cue Correctly for Better Control
Mastering the grip on your pool cue is the foundation of every great shot in billiards, whether you’re playing 8-ball, 9-ball, or 10-ball. A proper grip provides better control, smoother strokes, precise spin application, and reduced fatigue. Tension in your hands leads to erratic shots, while a relaxed “pendulum” grip allows the cue to swing naturally like a clock pendulum. This guide breaks down the essentials for beginners to pros, with step-by-step instructions, visuals, and pro tips.

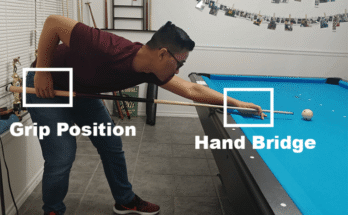
The Grip Hand: Your Back Hand for Power and Control
The grip hand (usually your dominant hand) holds the butt end of the cue and delivers the stroke. The key is relaxation—think of holding a fragile bird: firm enough to keep it from flying away, but not squeezing it to death.
Step-by-Step Grip Setup
- Position the Cue: Hold the cue vertically at waist height with your non-dominant hand. Grip about 6-8 inches from the butt end (roughly one palm-width back from where it feels natural).
- Finger Placement: Wrap your last three fingers (pinky, ring, middle) loosely underneath the cue. Place your thumb on one side and index finger on the other, forming a loose “V” or “OK” sign. Avoid wrapping the index finger fully around—let it rest lightly.

- Wrist and Elbow: Keep your wrist straight and relaxed. Your elbow should hang naturally, pointing slightly downward.
- Pressure: Grip pressure should be light (2-4 on a scale of 10). Increase slightly at contact, then release. Test: If you can wiggle the cue slightly in your hand without dropping it, it’s good.
Watch this beginner-friendly tutorial: Pool Lesson | How To Hold A Pool Stick. Dr. Dave’s expert demo: GRIP and BRIDGE technique and advice – Part 1.
The Bridge Hand: Front Hand for Stability and Aim
Your bridge hand rests on the table cloth, guiding the cue shaft toward the cue ball. A stable bridge ensures straight shots and consistent tip contact. Distance from bridge to tip: 8-12 inches for most shots.
Open Bridge (Beginner Standard)
- Spread thumb and index finger wide to form a “V” on the cloth.
- Rest the cue in the V, pressing lightly with your thumb.
- Other fingers splayed for stability.

Closed Bridge (For Precision and Low Shots)
- Form a ring with thumb and index finger around the cue shaft.
- Press the ring firmly against the cloth.
- Middle finger optional for extra support.

Pro tip: For jump or massé shots, elevate with a “raised” bridge. Jeanette Lee recommends shifting thumb to middle finger for a tighter V.
Tutorials: The Bridge Hand – Pool Basics and How to Form a Perfect Bridge.
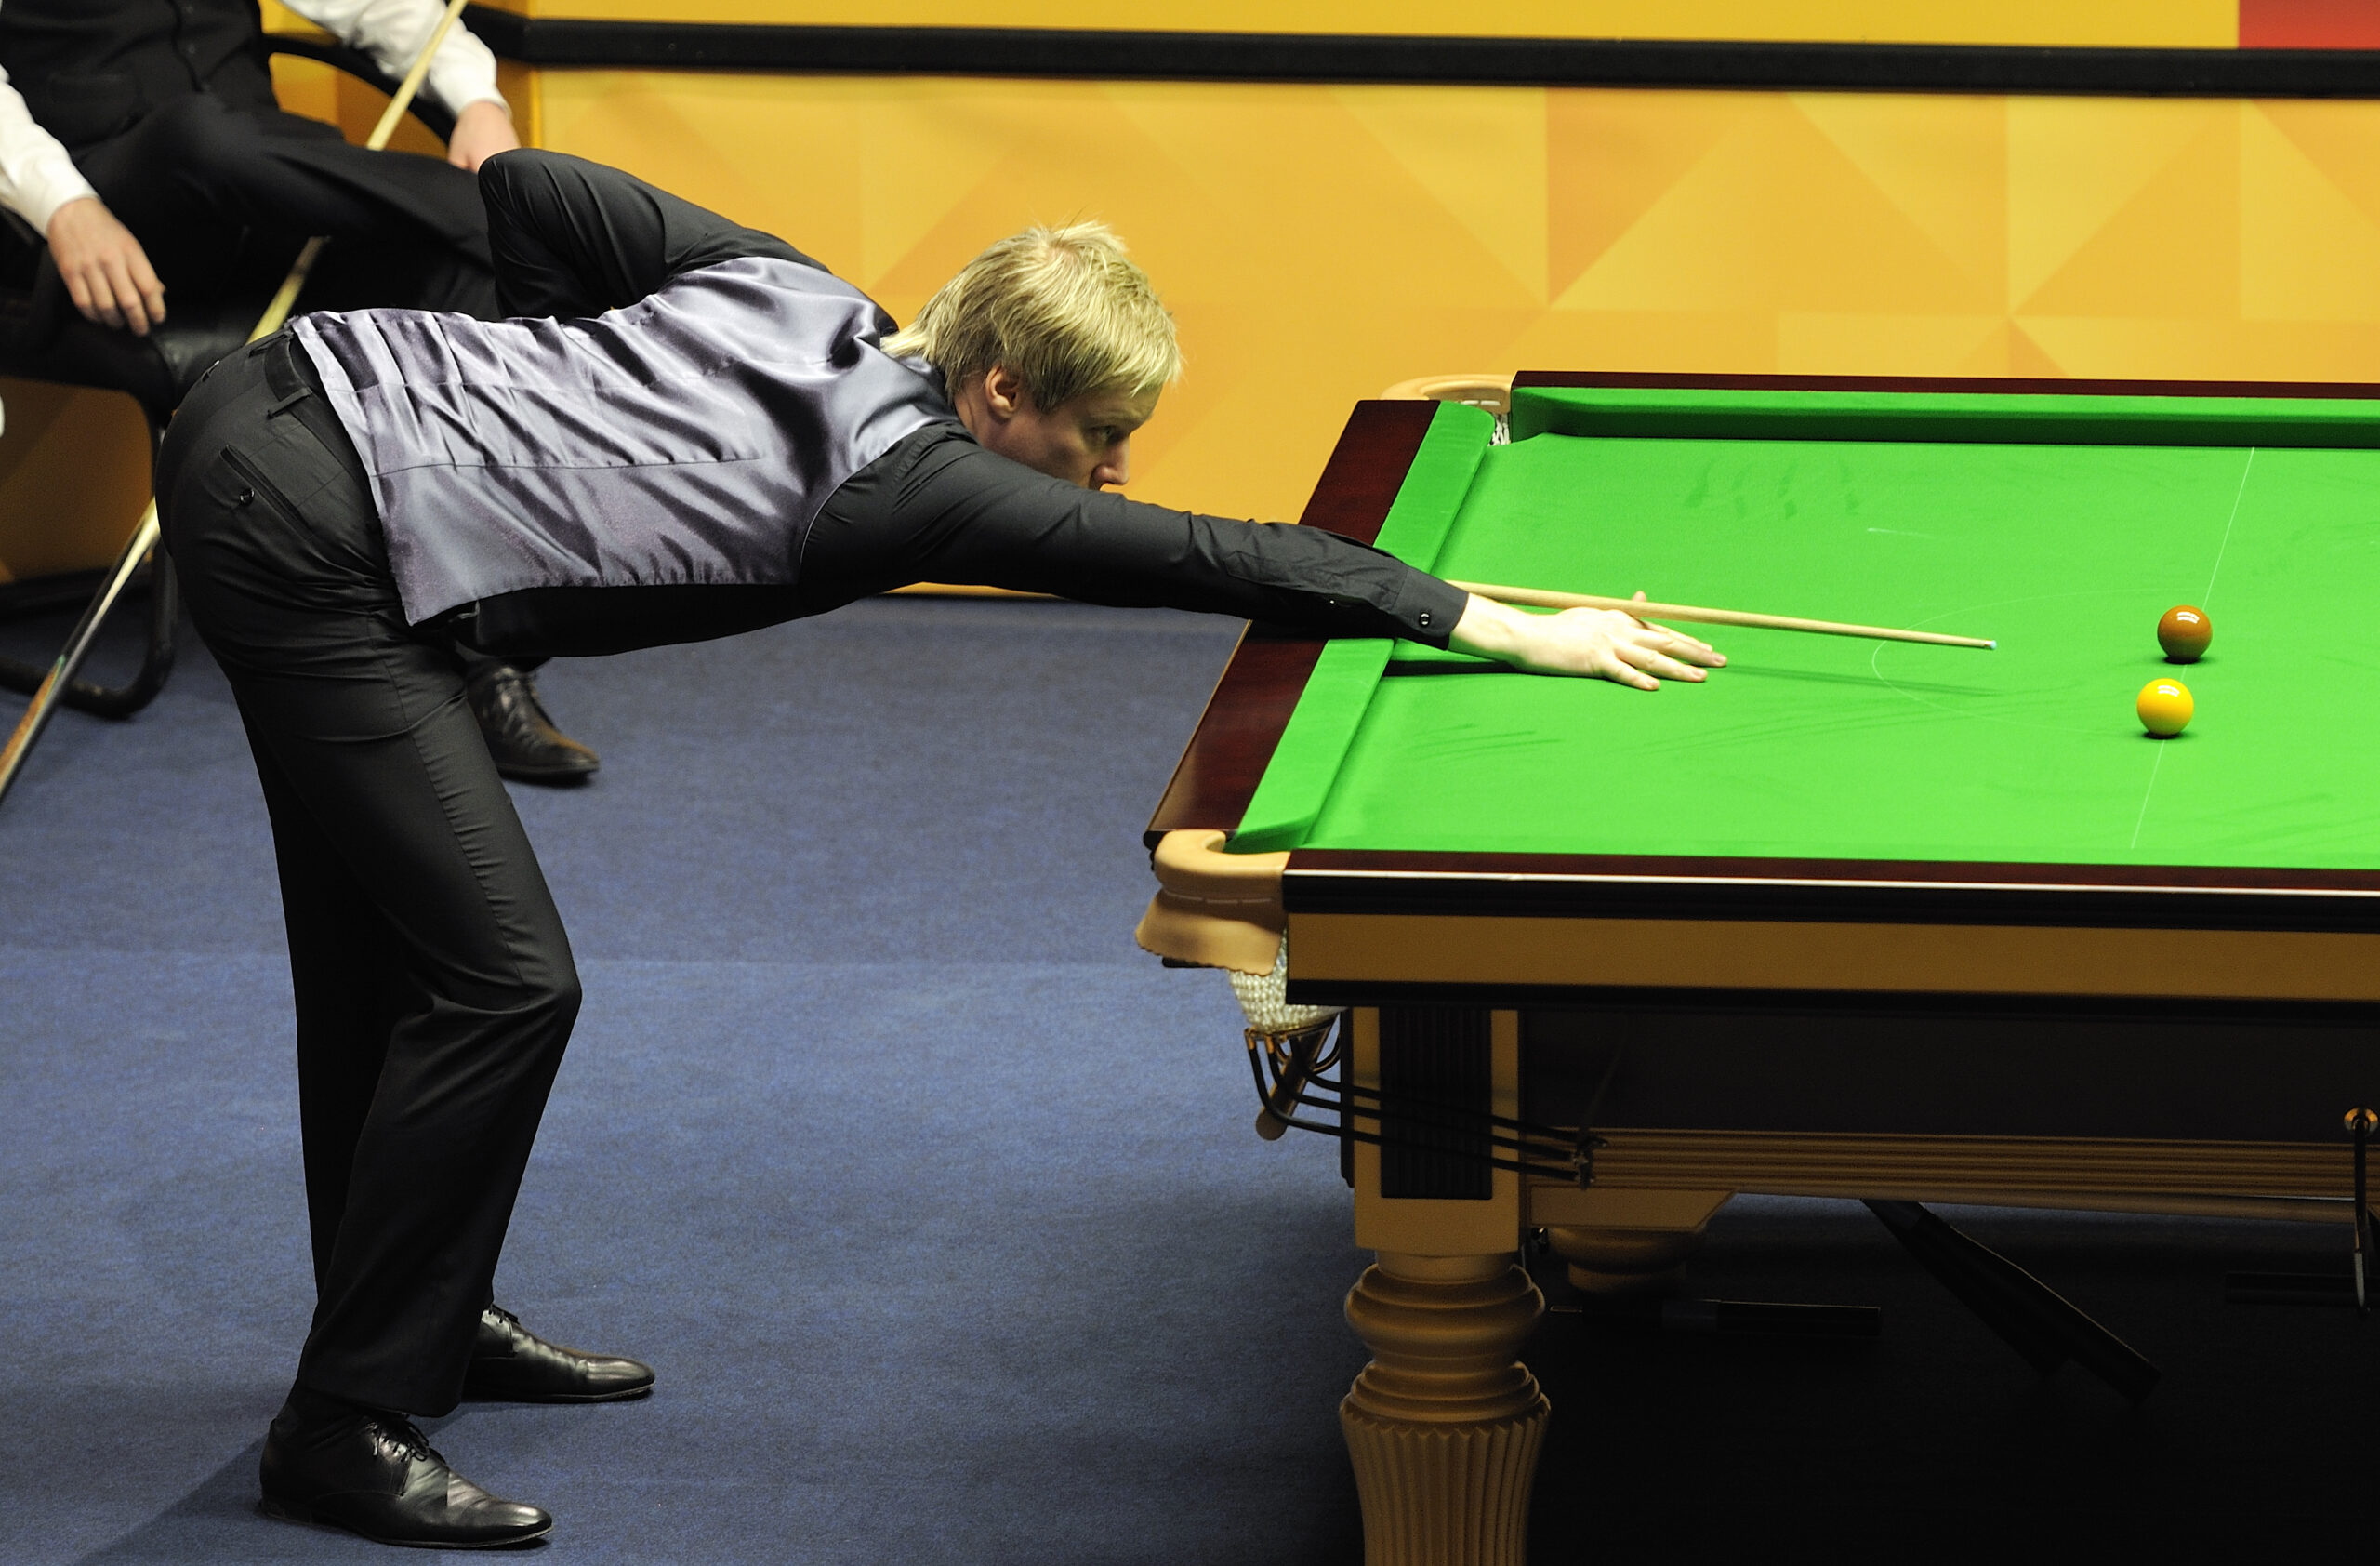
Stance and Full Body Alignment
- Feet: Shoulder-width apart, dominant foot back 45 degrees.
- Bend: Hinge at hips, back straight, head over cue line.
- Eyes: Dominant eye over the cue shaft.

Common Grip Mistakes and Fixes
| Mistake | Problem Caused | Fix |
|---|---|---|
| Death Grip (too tight) | Jerky stroke, no spin control | Relax to “bird hold”; practice shadow strokes. |
| Thumb on Top | Locks wrist, pushes cue | Thumb on side, loose V. |
| Cue Dangling | Inconsistent contact | Grip higher, secure but loose. |
| Twisting Grip | Off-line shots on angles | Keep grip neutral, pivot forearm. |
| Inconsistent Pressure | Variable speed/power | Maintain steady light pressure. |
Video fixes: How to Grip Your Pool Cue | Common Mistakes and The Most Common: GRIP MISTAKES.
Drills for Better Grip Control
- Shadow Strokes: 50 strokes without balls—focus on smooth pendulum.
- Grip Pressure Drill: Stroke with eyes closed; cue should feel “alive.”
- One-Handed Bridge: Practice stability solo.
- Pro Run-Outs: Watch Efren Reyes for relaxed mastery (adapt from 9-ball guides).
Advanced: Experiment with “stirrup” grip (index under cue) for feel players.
Practice daily, and your accuracy will skyrocket. For more, check Dr. Dave’s full resources at billiards.colostate.edu. Hit the table