5 Of The Biggest Horse Breeds In The World
We’ve talked about the smallest breeds in the world; now it’s time to take a look at the other side—the 5 biggest horse breeds in the world. Can you guess which breeds make it onto the list of gentle giants? Keep reading to find out!
Percheron
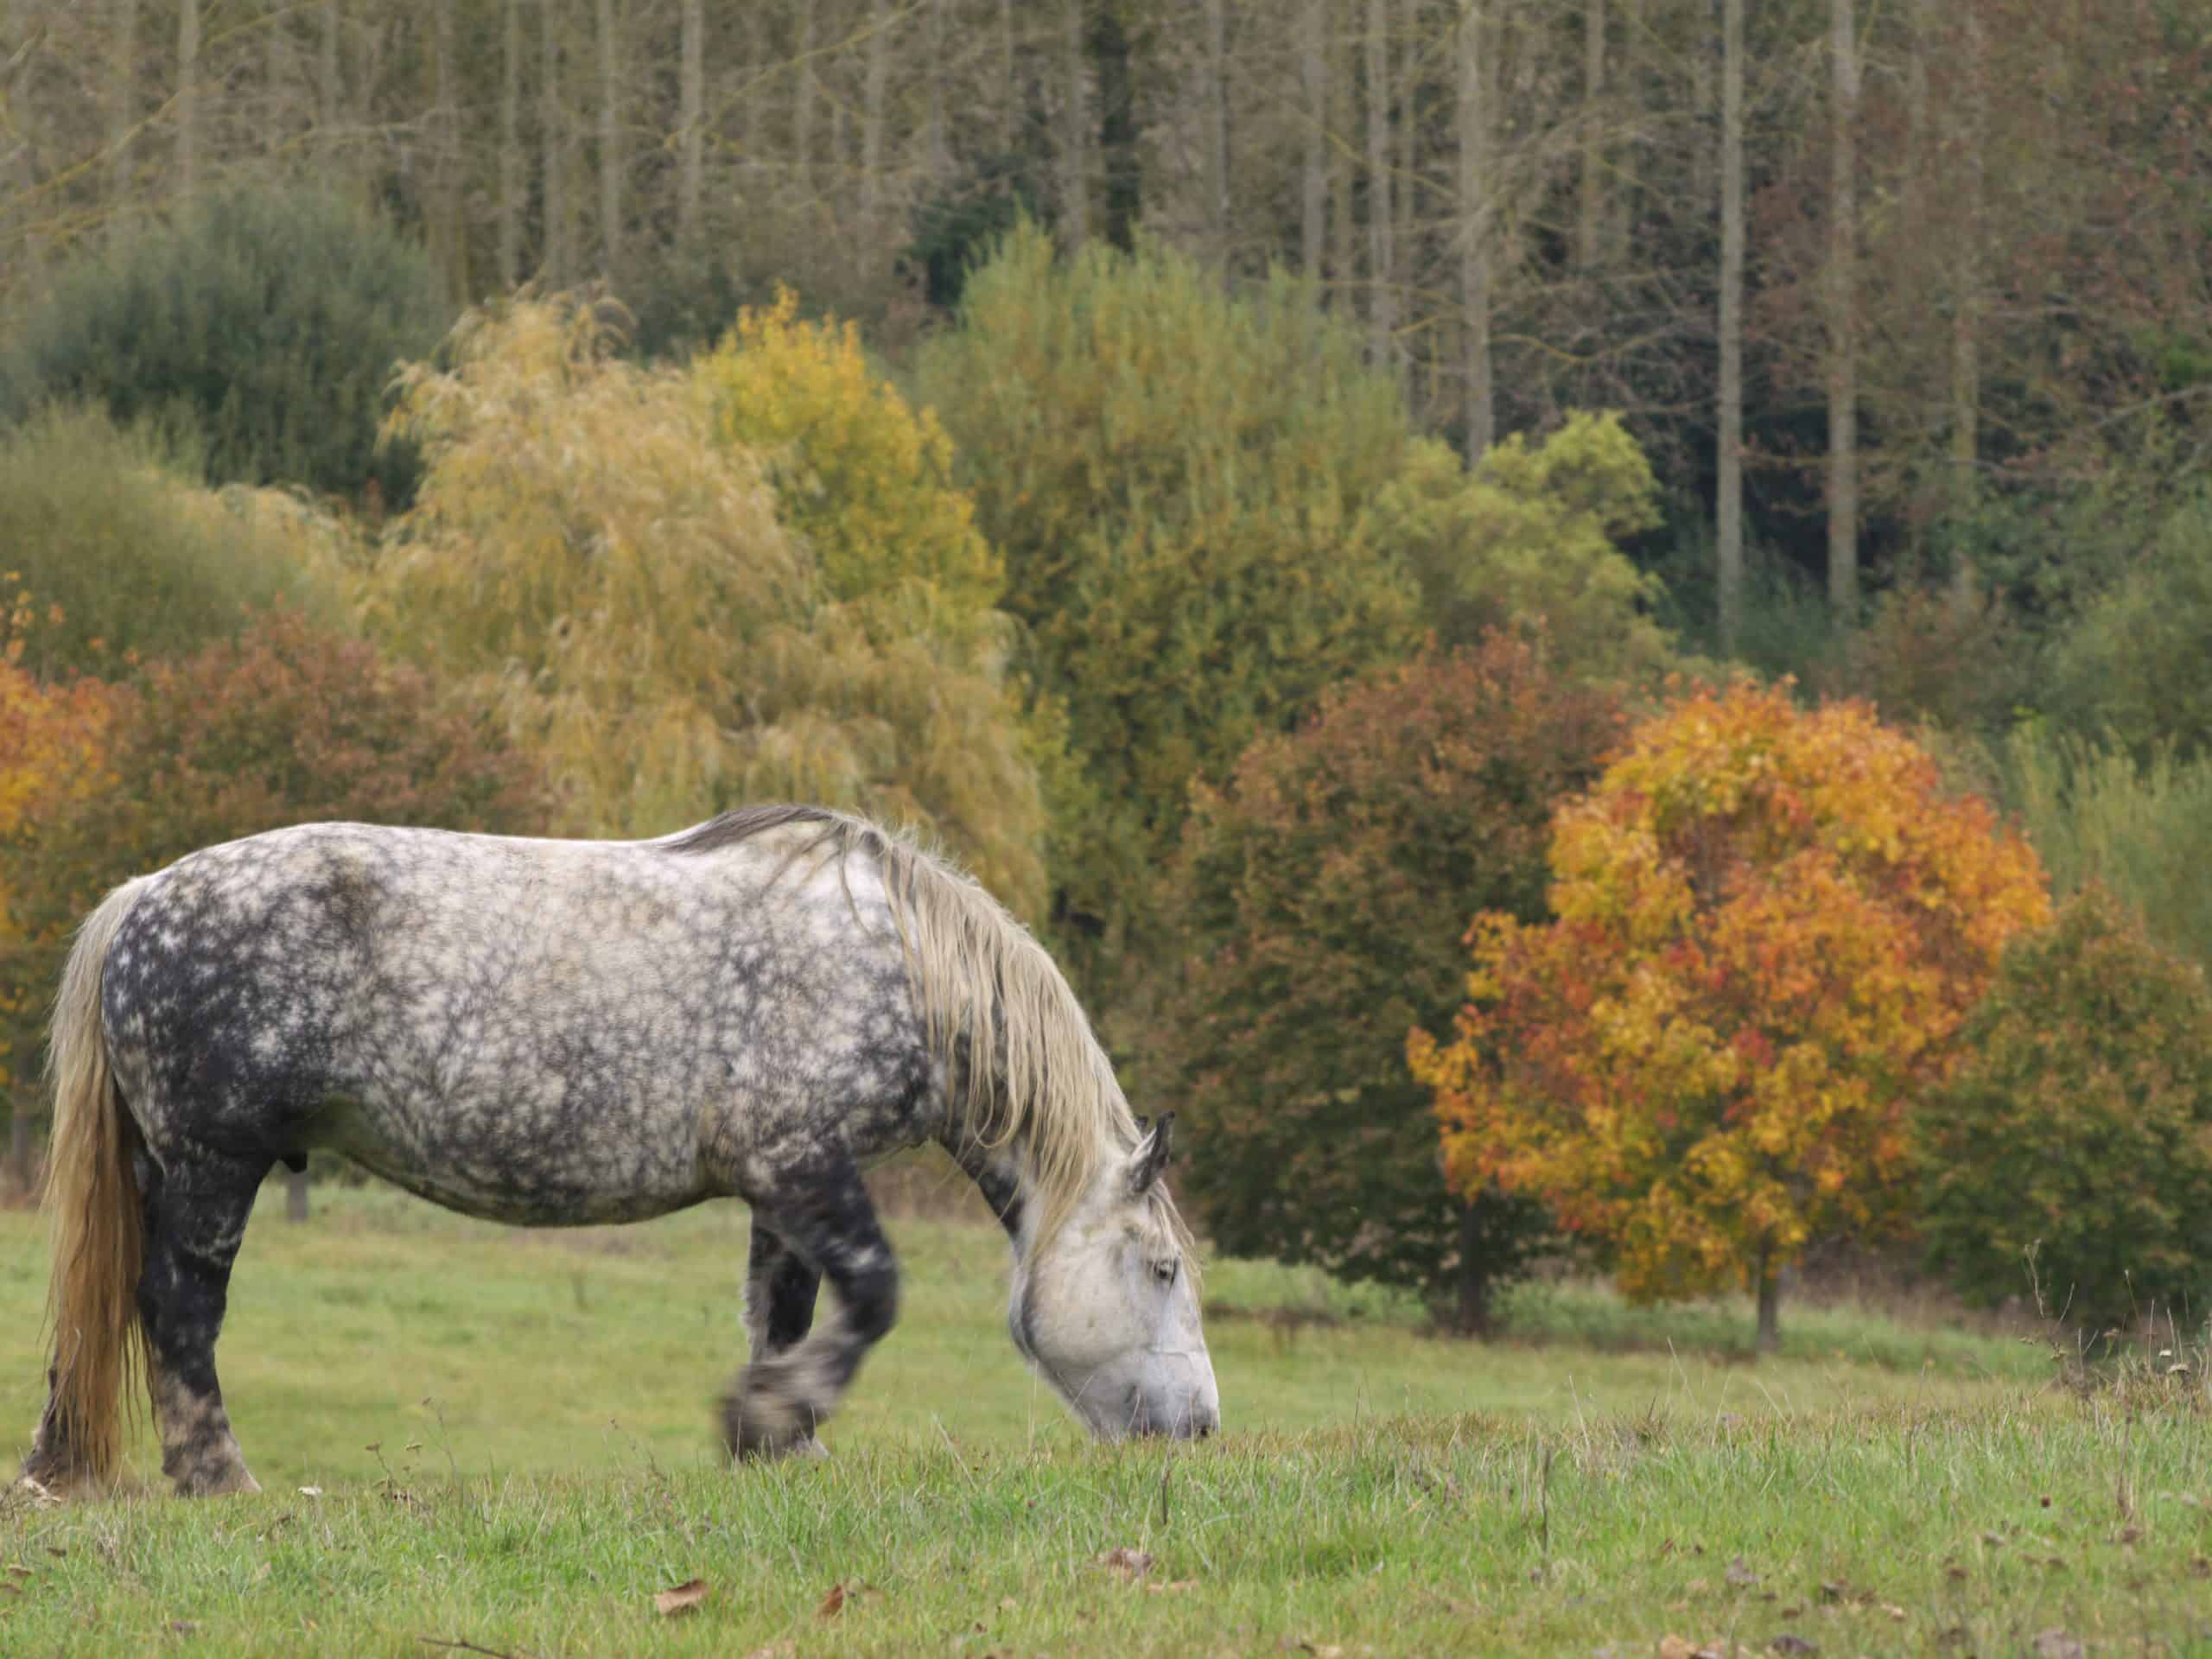
The exact history of how the big, bold, and beautiful Percheron came to be is unknown, but we do know this breed originated in Normandy, France. The earliest of the Percheron served as war horses because of their sure-footed gait and spirit.
Once the wars were over and farming became a priority, Percherons were bred for their strength and size to pull plows in the fields.
Percherons have a docile and intelligent personality. They range anywhere from 15hh to 18hh and are usually black or gray in color. Today, they are still used to pull carriages, but they are also used in dressage and even jumping. In Australia, Percherons are crossed with Thoroughbreds to create the perfect police horse.
Clydesdale
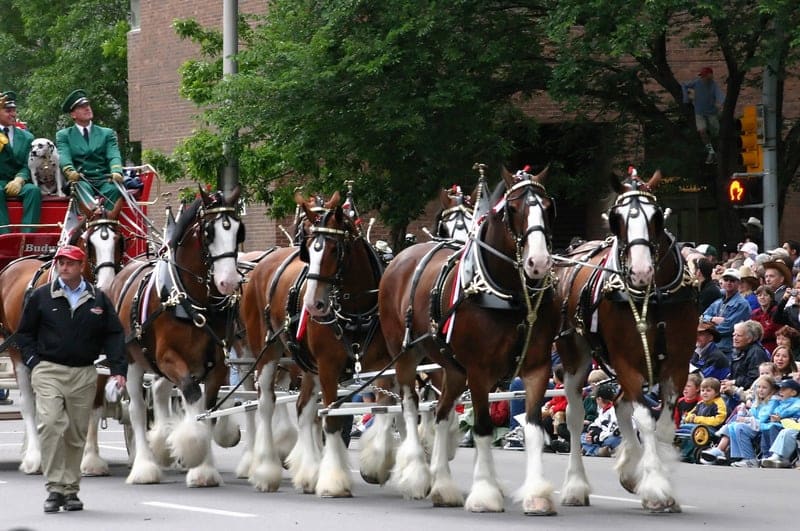
Known for its appearance on Budweiser commercials, the Clydesdale originated in Scotland, named after the River Clyde and the farmers that found the breed. Bred for size and strength to haul the heaviest farming equipment and coal, Clydesdales became a necessity all over Scotland and Northern England.
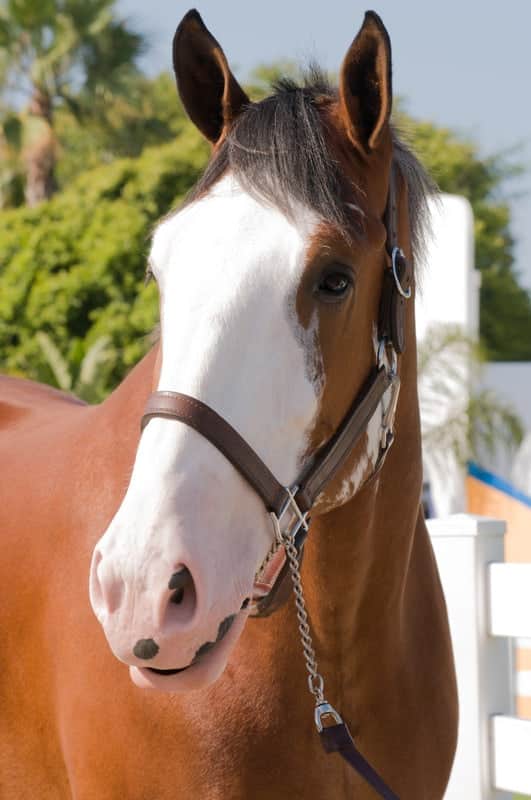
Clydesdales stand up to 18hh, and their most common color is bay. They are versatile and friendly. The most eye-catching characteristic of Clydesdales is their white feathers. It’s no surprise, then, that we look forward to their commercials during the Super Bowl every year!
Want to learn more about this beloved breed of horse? Check out our article dedicated to these famous horses.
Shire
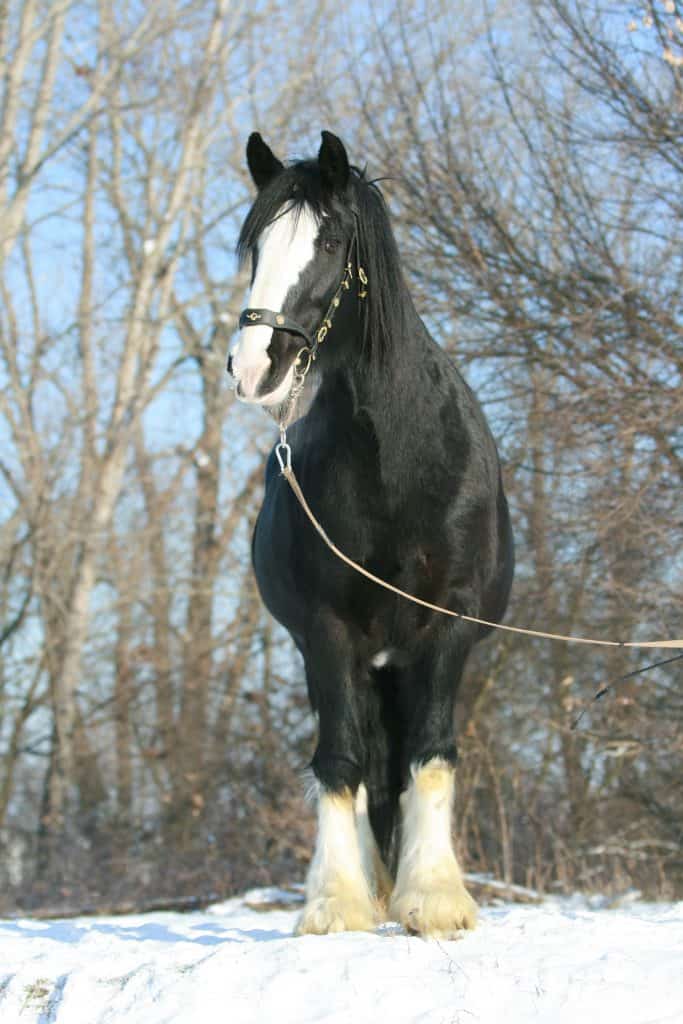
One of the oldest known draft breeds, the Shire originated in England. There is evidence that Shires were used as war horses back in the 15th century, rode by knights in armor galloping fearlessly into battle. As with other other draft breeds, most of these giants were used in the fields.
Shires stand up to 17 hands tall and can usually be found in black, gray, bay, and chestnut colors. These noble and willing giants are still used in pulling, as well as dressage and general riding. The Shire holds the record for the biggest horse in the world!
Belgian Draft
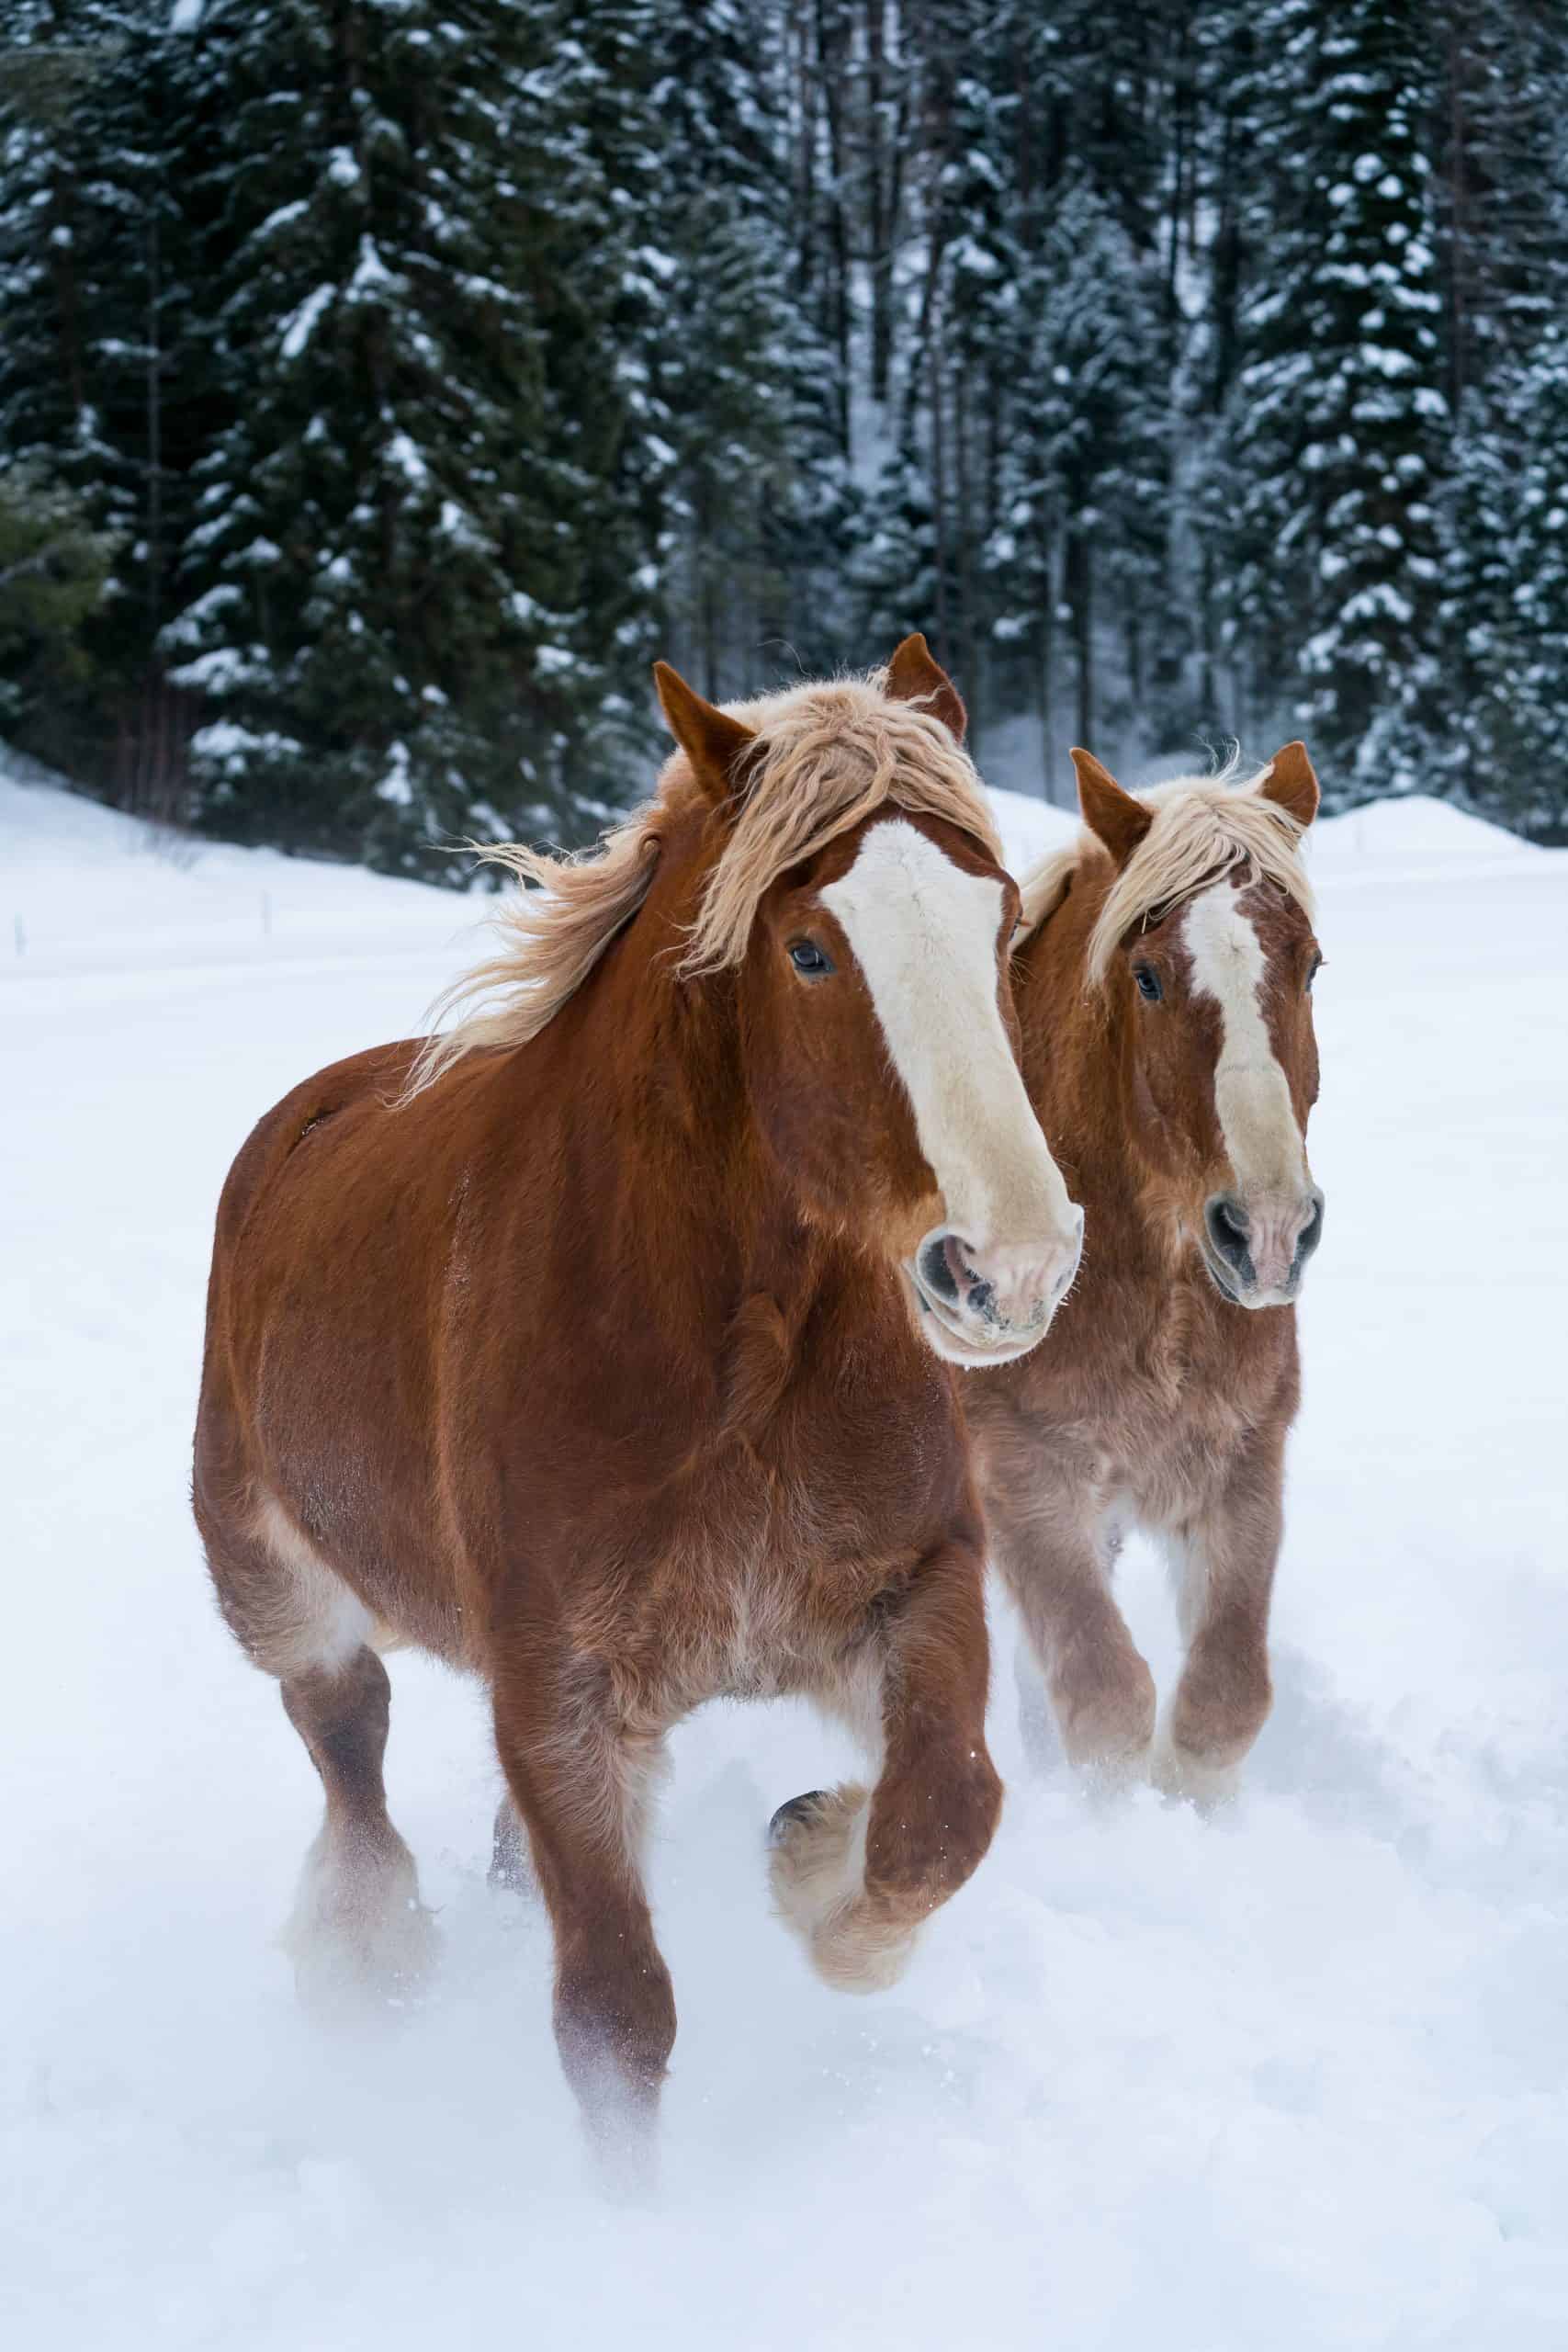
Belgian horses come from the country of Belgium. Many believe that the Belgian horse is a descendant of the “The Great Horse,” a horse from medieval times that carried many knights to battle. Belgians were exported throughout Europe to help add build and strength to other horse lines.
Belgians are calm and kind, weighing in at 1800 lbs to 2000 lbs and standing up to 17 hh, they are still used as workhorses as well as for general riding.
Want to learn more about these gentle giants of the equine world? Check out our article on 6 Things You Didn’t Know About The Belgian Draft Horse.
Dutch Draft
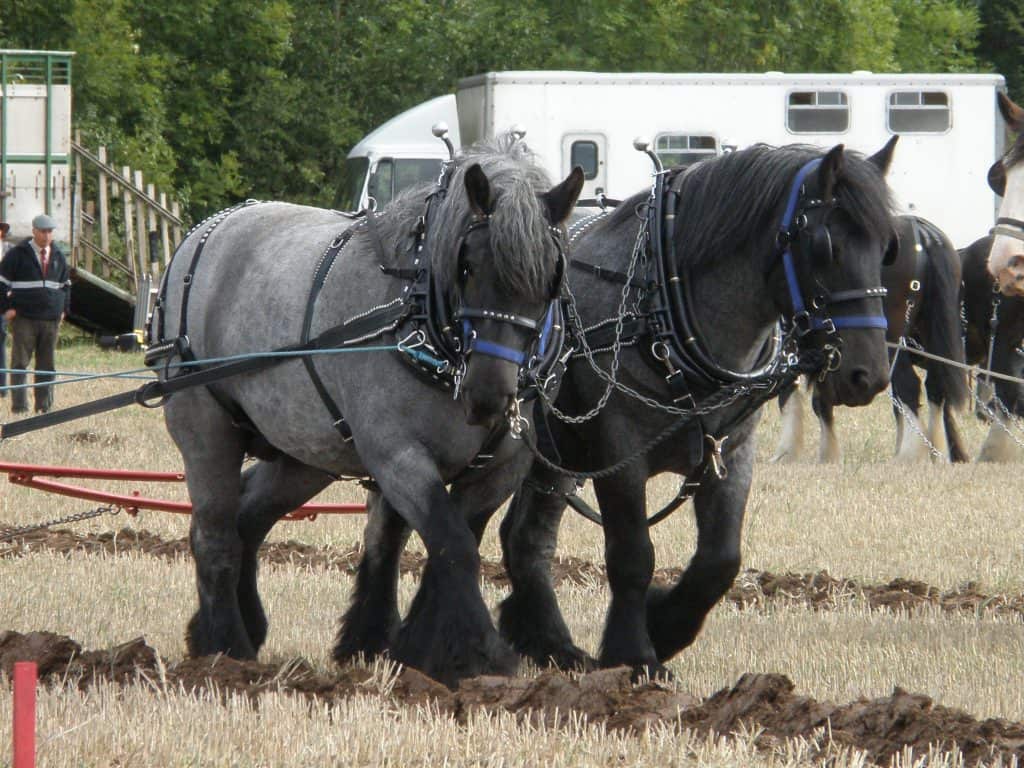
Dutch Draft horses were found in the Netherlands. They were bred from Belgian, Zeeland, and Ardennes horses to be big, strong workhorses that could help in the farm fields.
The Dutch Draft breed is rare, and its numbers started to decline after the need for the horses decreased. The Royal Society for the Preservation of Dutch Draft Horse was created in 1914 to help preserve the breed.