Mastering the Art of Drawing a Cityscape with One-Point Perspective: A Step-by-Step Tutorial

Enhance your drawing skills with our comprehensive tutorial on mastering the art of drawing a cityscape using one-point perspective, a foundational technique for creating realistic and engaging urban scenes. One-point perspective simplifies the depiction of depth by converging all lines to a single vanishing point, making it ideal for beginners and seasoned artists alike. Illustrated with the provided images, this guide offers a detailed, step-by-step process to help you construct a detailed cityscape, perfect for architectural sketches, illustrations, or personal artwork. Grab your pencils, rulers, and paper, and let’s begin this creative journey.
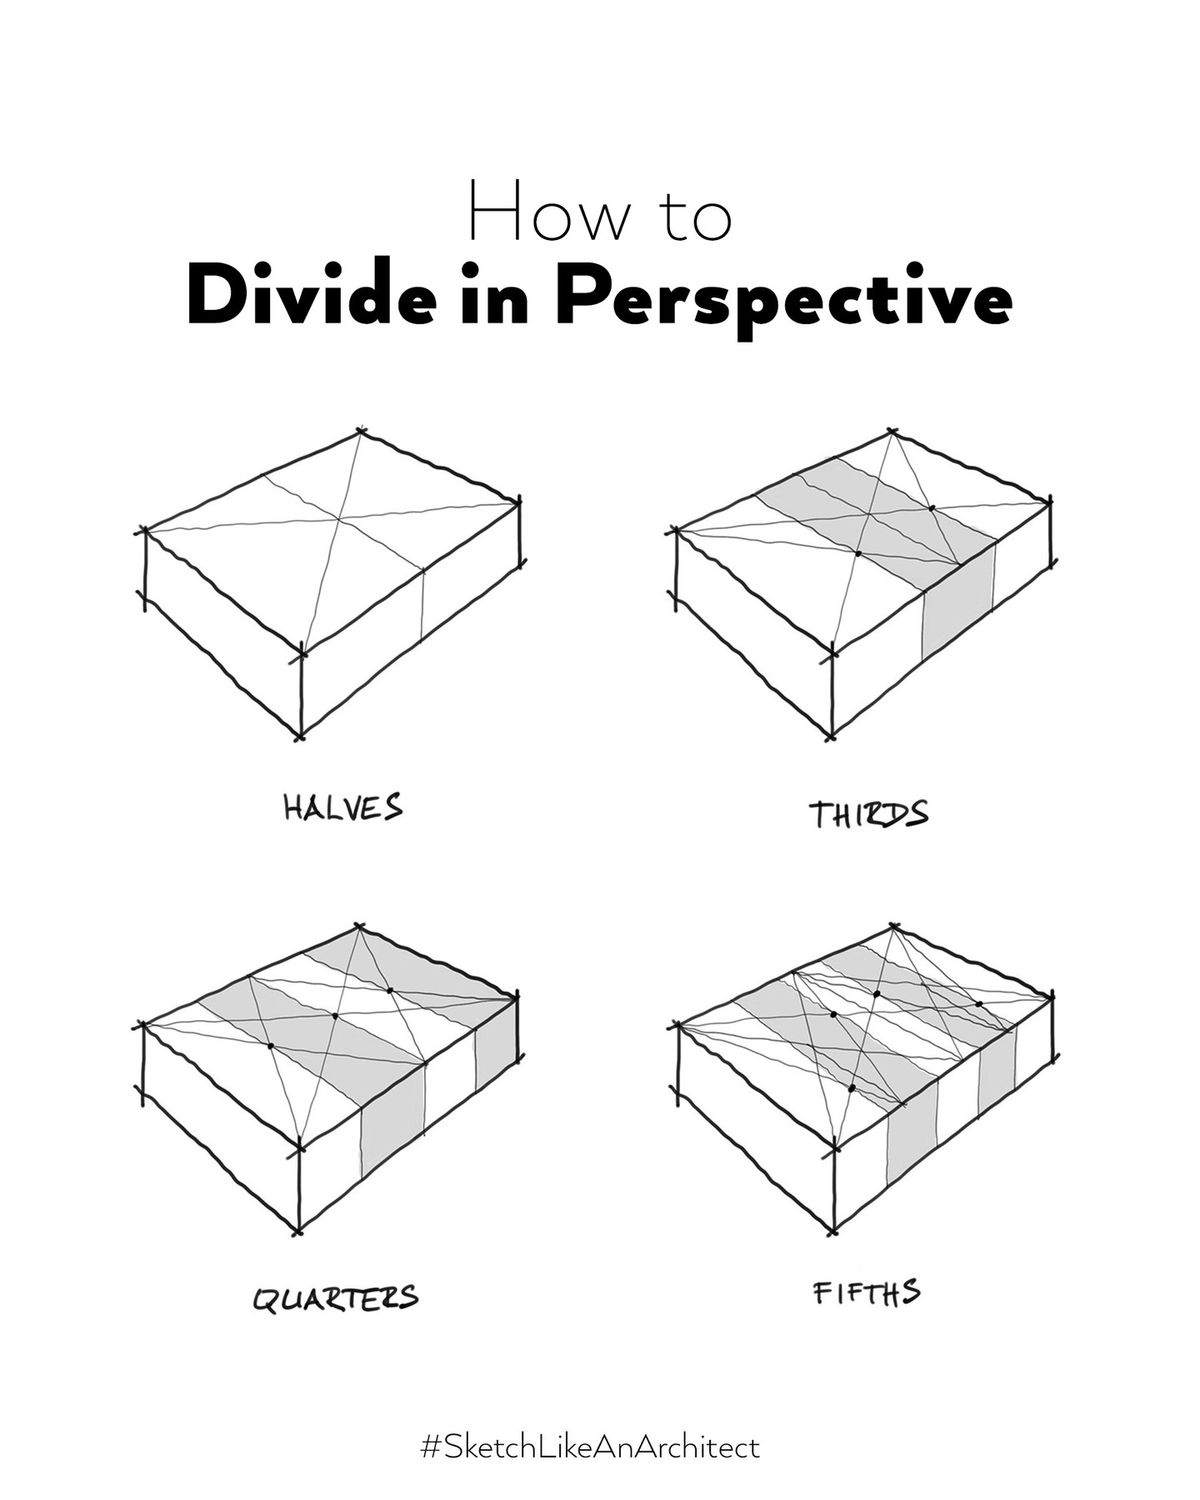
Introduction to One-Point Perspective
One-point perspective is a drawing method where parallel lines in a scene converge toward a single vanishing point on the horizon line, mimicking how the human eye perceives depth. This technique is particularly effective for cityscapes, where streets, buildings, and sidewalks align toward a central focal point. The images guide you through each phase, from setting up the perspective grid to adding intricate details, ensuring a thorough understanding of the process. This tutorial will equip you with the skills to create a professional-quality cityscape.
Step-by-Step Tutorial
- Step 1: Establish the Horizon Line and Vanishing Point
- Begin by drawing a horizontal line across your paper to represent the horizon, as shown in the first image. Place a single vanishing point (VP) on this line, marking the point where all parallel lines will converge. This establishes the viewer’s eye level and sets the foundation for your cityscape.
- Step 2: Draw the Main Road
- From the vanishing point, draw two diagonal lines extending downward to form the main road, as depicted in the second image. These lines should be symmetrical and converge at the VP, creating the central pathway of your cityscape.
- Step 3: Add Sidewalks
- On either side of the road, draw parallel lines that also converge toward the vanishing point, as shown in the third image. These lines define the sidewalks, maintaining the perspective and adding structure to the scene.
- Step 4: Sketch Basic Building Shapes
- Start sketching the basic outlines of buildings along the road and sidewalks, using rectangles and squares, as illustrated in the fourth image. Ensure the vertical lines of the buildings remain perpendicular to the horizon line, while the horizontal lines (e.g., rooftops) converge toward the VP.
- Step 5: Refine Building Details
- Add details to the buildings, such as windows, doors, and rooftops, as shown in the fifth image. Use the vanishing point to align these elements, drawing horizontal lines that taper toward the VP and vertical lines that stay straight. Vary the height and width of buildings for a realistic urban feel.
- Step 6: Incorporate Additional Streets and Structures
- Extend the perspective by adding secondary streets and smaller structures, as depicted in the sixth image. Draw these lines converging toward the same vanishing point, creating depth with intersecting roads and additional buildings.
- Step 7: Add Details and Texture
- Enhance the cityscape with details like streetlights, trees, and signage, as shown in the seventh image. Use the vanishing point to align these elements, adding texture to walls and roads with light shading or cross-hatching to suggest materials like brick or pavement.
- Step 8: Finalize with Shading and Highlights
- Complete the drawing by applying shading to create depth, as illustrated in the eighth image. Use light hatching or blending to indicate shadows cast by buildings, and leave highlights on sunlit surfaces. Erase any unnecessary guidelines to reveal a clean, polished cityscape.
Practical Application
Practice by sketching a simple horizon line and vanishing point on plain paper, then build a basic road and sidewalk structure. Gradually add buildings, refining details with each attempt. Use reference photos of real cities to inspire your composition, adjusting the vanishing point’s position (e.g., high for a downward view, low for an upward view) to vary the perspective. Experiment with different times of day by altering shadow directions.
Tips for Success
- Use a ruler for straight lines and a light pencil for initial sketches to allow adjustments.
- Keep the vanishing point consistent throughout your drawing.
- Practice drawing ellipses for windows or arches, aligning them with the perspective.
- Step back periodically to check the overall alignment and proportion.
Conclusion
Mastering the art of drawing a cityscape with one-point perspective is a transformative skill that adds depth and realism to your artwork. By following this step-by-step guide and practicing with the illustrated examples, you’ll develop the confidence to create stunning urban scenes. Whether you’re illustrating a story setting, designing a map, or exploring architectural concepts, this technique will elevate your drawings. Explore more drawing tutorials on our website, and share your cityscapes with our community of artists. Start drawing today and unlock the full potential of perspective!
Happy sketching!