Mastering the Progression of Linear Perspective: From One-Point to Three-Point for Dramatic Building Illustrations

Description:
Linear perspective is the cornerstone of realistic architectural drawing, allowing artists to translate three-dimensional structures onto a two-dimensional surface with accurate depth and scale. This tutorial explores a classic progression through one-point, two-point, and three-point perspective using a multi-story building (featuring windows, an arched entrance, and points A and B for reference) as the subject. The hand-drawn diagrams illustrate how increasing the number of vanishing points creates more dynamic and dramatic views—from stable frontal compositions to angular urban scenes and extreme worm’s-eye angles. Ideal for beginners in technical drawing, architecture students, illustrators, and concept artists, this guide breaks down each stage, explains key elements like the horizon line (AF), distance points (TC), and viewer position, and provides practical tips for application.
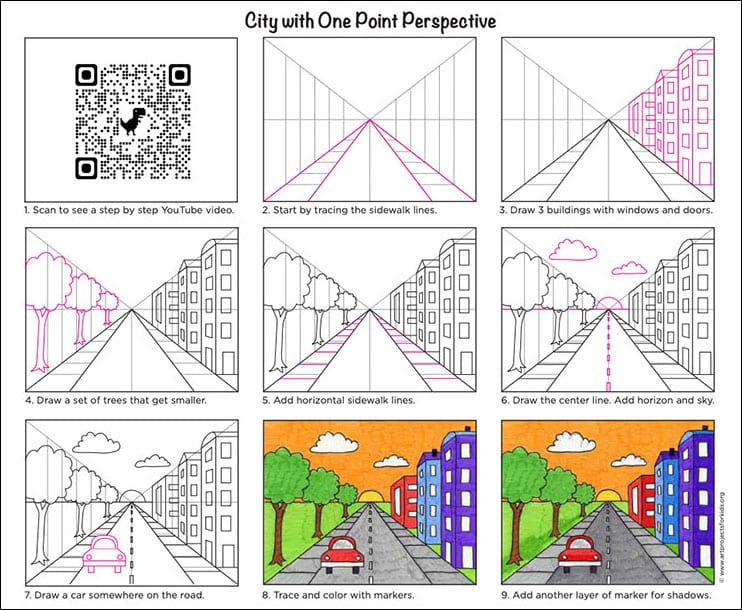
Stage 1: One-Point Perspective – Stable and Symmetrical Frontal Views
One-point perspective is the simplest form, perfect for direct, eye-level views where one face of the building is parallel to the picture plane.
Key elements in the diagram:
- Horizon Line (AF): Represents the viewer’s eye level, marked with an eye icon.
- Single Vanishing Point: Centrally located on the AF.
- Distance Points (TC1 and TC2): Used for measuring accurate proportions (though primarily for scaling in advanced setups).
- Viewer position: Directly in front, indicated by the eye rays converging symmetrically.
- Building orientation: Front face fully visible, depth lines (e.g., sides and window recesses) converging to the central point.
- Points A (top) and B (bottom): Reference for vertical alignment.
How to Construct:
- Draw the horizon line (AF) at eye level.
- Place the vanishing point in the center.
- Sketch the front face of the building as a rectangle.
- Project depth lines from corners and features (windows, arch) to the vanishing point.
- Add verticals for windows and details—they remain truly vertical.
This creates a calm, architectural feel, commonly used in elevation drawings or interior scenes looking straight ahead.

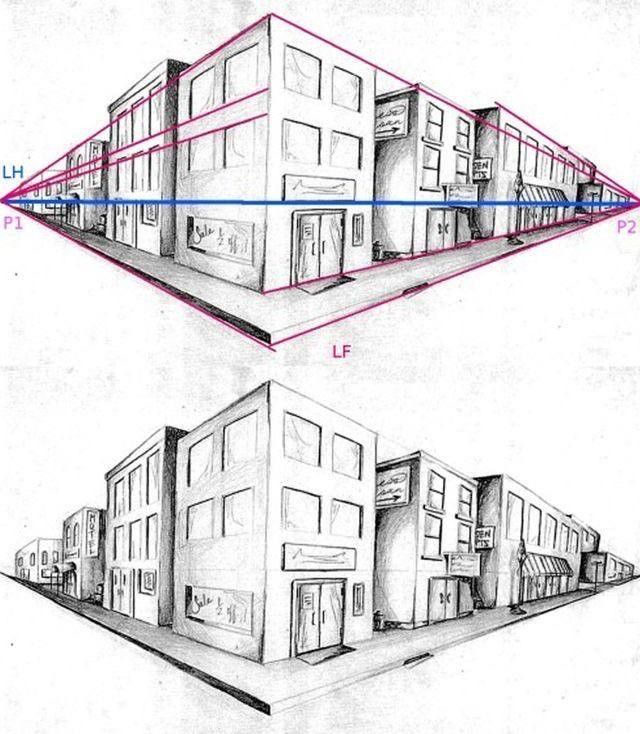
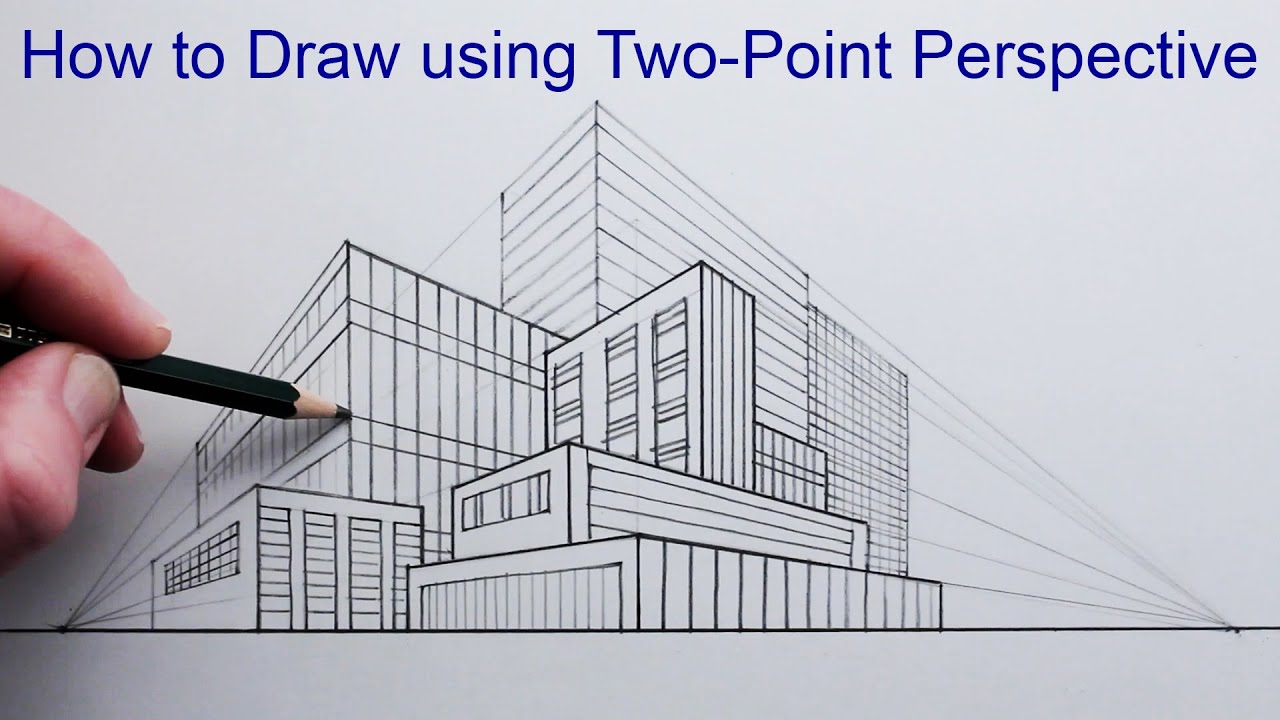
Stage 2: Two-Point Perspective – Angular and Dynamic Urban Views
Two-point perspective introduces rotation, showing two faces of the building for more natural, street-level compositions.
Key elements:
- Horizon Line (AF): Still at eye level, but now with two vanishing points (TC1 left, TC2 right).
- Arrows indicate direction of convergence.
- Viewer position: Offset to the side, looking at the corner of the building.
- Vertical lines remain parallel and truly vertical (no convergence upward/downward).
- Points A and B shifted to emphasize the angled facade.
How to Construct:
- Draw the horizon line.
- Place two vanishing points far apart on the AF (distance affects distortion—closer for dramatic, farther for subtle).
- Draw a vertical edge for the building’s nearest corner.
- Project lines from the top and bottom of this edge to both TC1 and TC2 to form the sides.
- Add details (windows, arch) by projecting to the respective vanishing points.
- Ensure all horizontals converge correctly.
This is the most common perspective for exterior architectural illustrations, conveying realism and movement.

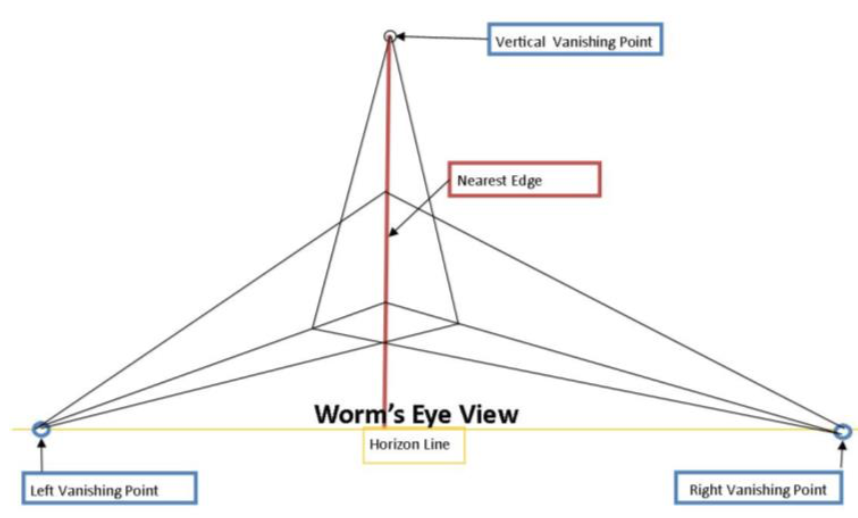
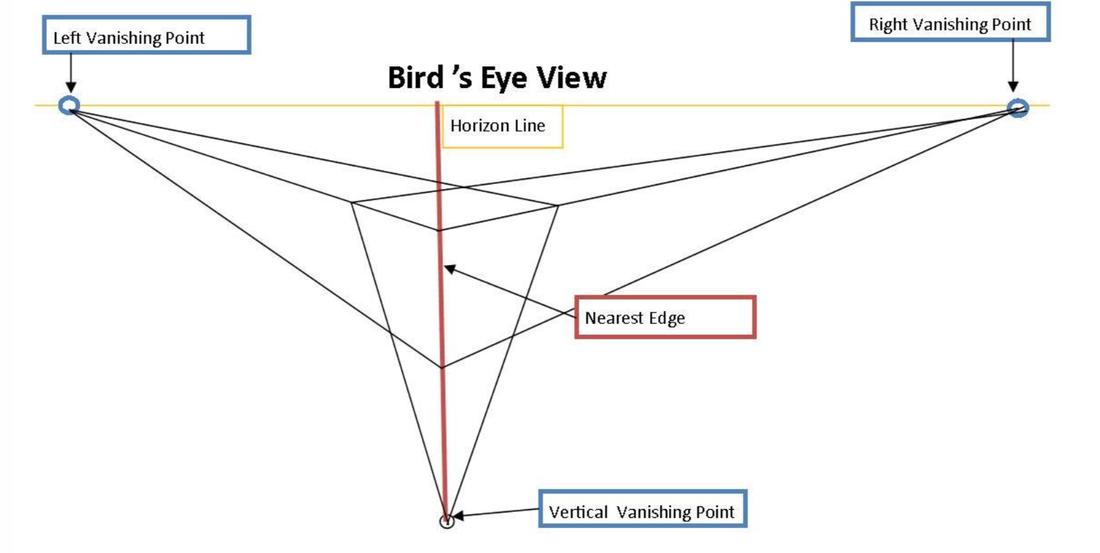
Stage 3: Three-Point Perspective – Extreme Drama with Worm’s-Eye View
Three-point perspective adds intensity by tilting the view upward (worm’s-eye) or downward (bird’s-eye), making buildings appear towering or imposing.
Key elements:
- Horizon Line (AF): Low on the page.
- Three Vanishing Points: TC1 and TC2 on the horizon (like two-point), plus a third vertical vanishing point below the building.
- Viewer position: Looking sharply upward from ground level (worm’s-eye icon).
- All three sets of parallel lines converge: horizontals to TC1/TC2, verticals downward to the third point.
- Ground line wavy for terrain; building leans dramatically upward.
How to Construct:
- Place the horizon low (for worm’s-eye) or high (bird’s-eye).
- Add two horizon vanishing points.
- Place the third vanishing point far below (or above).
- Start with the nearest vertical edge.
- Converge all edges: sides to TC1/TC2, heights downward.
- Adjust convergence strength for realism—extreme for superhero comics, subtle for architecture.
This creates powerful, cinematic effects, often used in concept art, comics, and film storyboards.

Practical Tips and Applications
| Perspective Type | Best For | Common Pitfalls | Pro Tip |
|---|---|---|---|
| One-Point | Frontal elevations, interiors | Too static if overused | Center the vanishing point for symmetry |
| Two-Point | Street scenes, exteriors | Uneven vanishing point spacing → distortion | Keep points far off-page for natural look |
| Three-Point | Dramatic skyscrapers, action shots | Over-convergence → unstable feel | Practice with simple boxes first |
Practice Progression: Start with a basic box in each stage, then apply to the building. Use rulers for accuracy, or digital tools like Clip Studio Paint’s perspective rulers.
Conclusion: Build Confidence Through Perspective Mastery
Progressing from one-point to three-point perspective unlocks endless possibilities for depicting architecture with realism and impact. These stages teach not just technique, but how viewer position transforms perception—essential for storytelling in illustration and design.
Recommended Resources:
- Perspective Made Easy by Ernest Norling
- Architectural Graphics by Francis D.K. Ching
- Online tutorials on Proko or Drawabox
Try it yourself! Share your three-stage building drawings in the comments with #PerspectiveProgression.
Technical Drawing & Illustration Academy ©