Mastering 5-Point Curvilinear (Fisheye/Spherical) Perspective: A Step-by-Step Video Tutorial Guide for Dynamic Drawings and Immersive Scenes

This comprehensive tutorial explores 5-point curvilinear perspective (also known as fisheye perspective or spherical perspective), an advanced drawing technique that simulates the ultra-wide-angle view of a fisheye lens or the natural curvature of human vision on a spherical projection. Unlike traditional linear perspective (1-, 2-, or 3-point), where lines remain straight and converge to flat vanishing points, curvilinear perspective uses curved orthogonals that bend toward multiple vanishing points arranged around a circle or sphere. This creates dramatic, immersive, and often surreal distortions—perfect for panoramic cityscapes, interior views, dynamic character poses, fantasy environments, or architectural domes viewed from extreme angles.
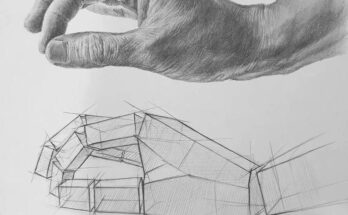
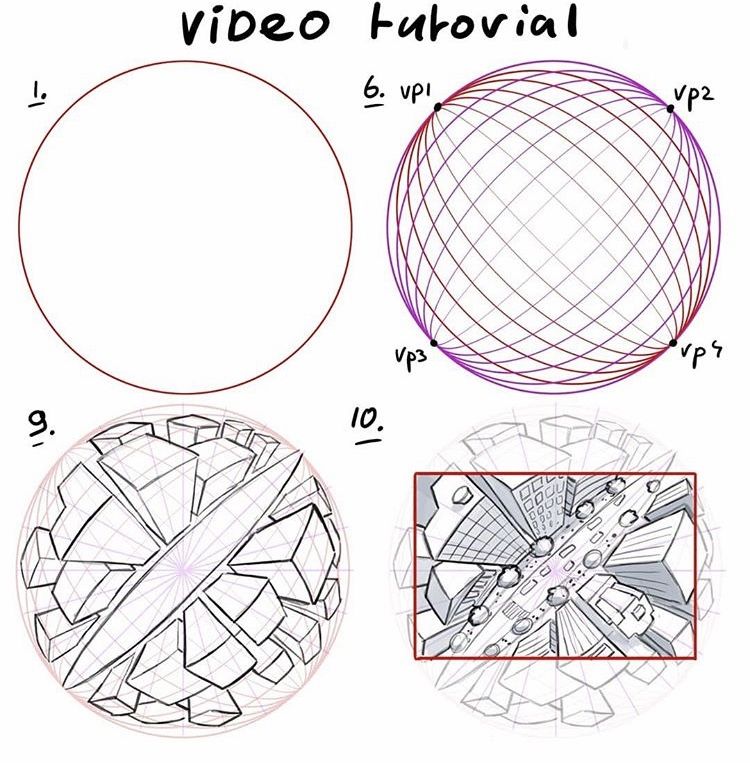
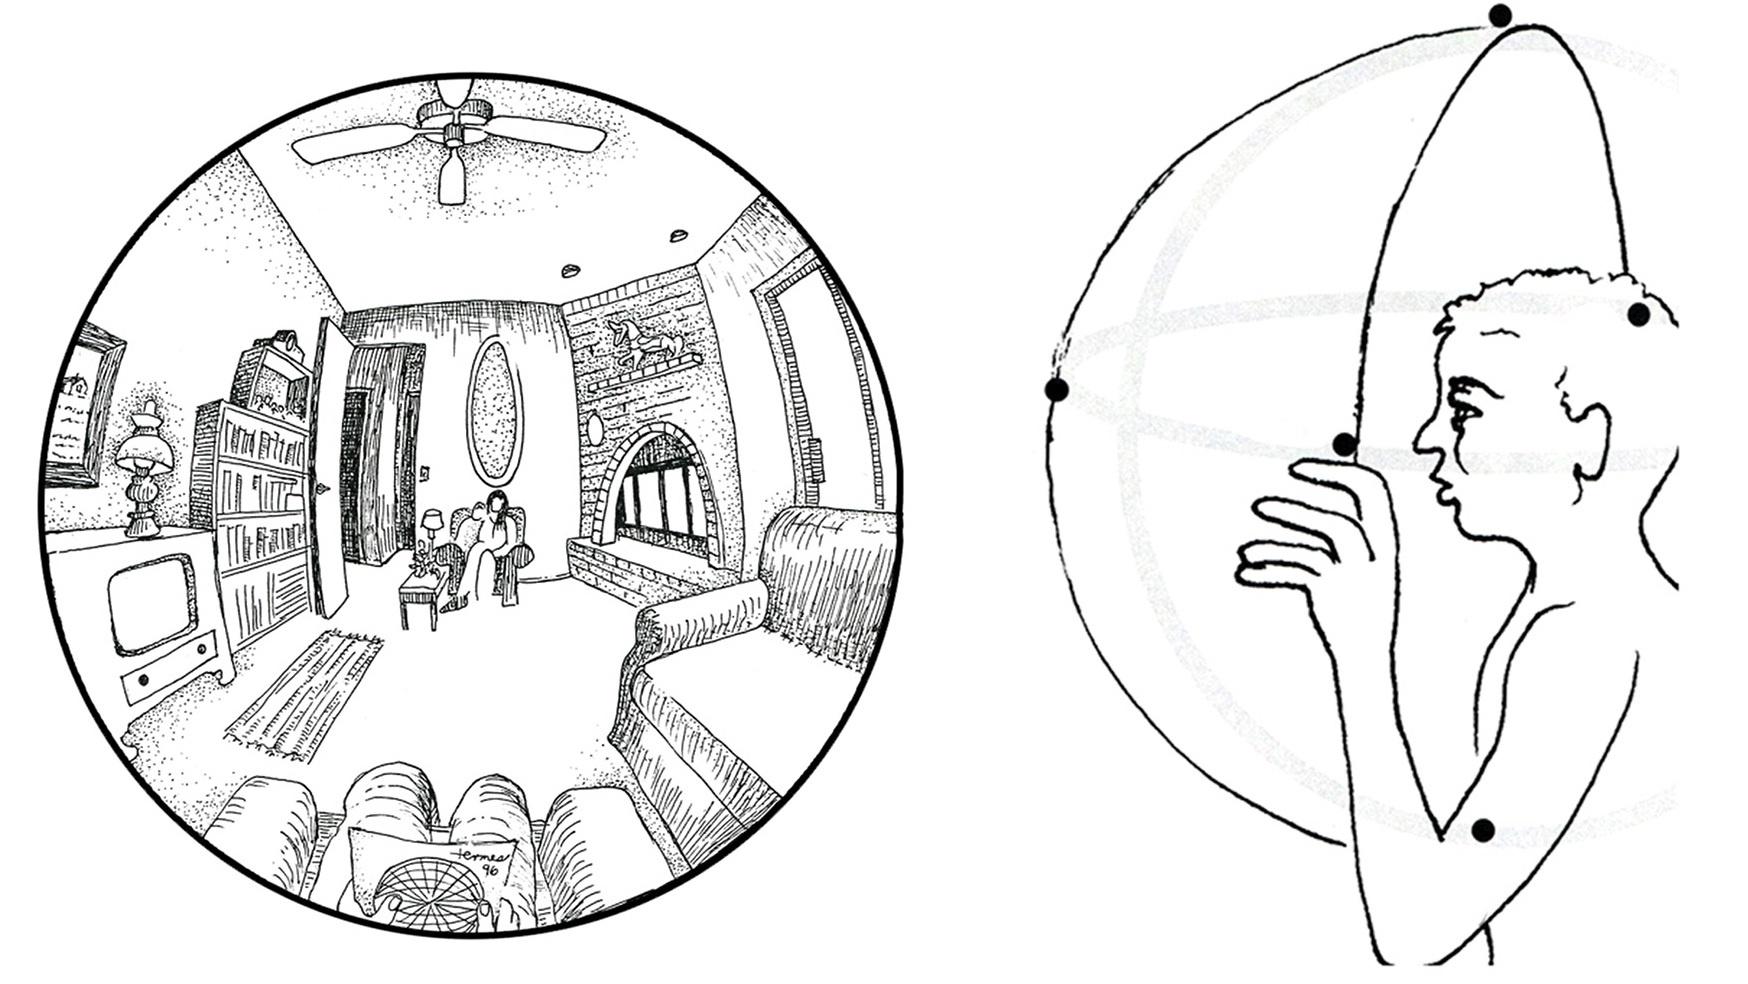
The accompanying sketches illustrate the core progression: starting from a simple circle representing the spherical field of view, adding curved grid lines converging to four peripheral vanishing points (plus a central one in full 5-point setups), and finally constructing complex geometric forms and urban scenes within this warped grid. This method excels at capturing extreme wide-angle effects, where edges bulge outward, verticals curve dramatically, and the entire scene wraps around the viewer for a powerful sense of depth and presence.
Whether you’re an illustrator, concept artist, animator, or architect seeking to push beyond conventional realism, mastering this technique will transform how you portray space. Below is a detailed, professional breakdown ideal for a website post or video description.
Tools and Materials Recommended
- Drawing Surface: Large smooth paper (A3 or bigger) or digital tablet with perspective tools (e.g., Clip Studio Paint’s Fisheye Ruler, Procreate grids, or custom sphere grids).
- Drawing Tools: Compass (essential for arcs), ruler, fine liners/pencils (HB–6B), eraser, and protractor for accurate angle measurements.
- Optional Digital Aids: Perspective grid software/plugins for previewing the sphere.
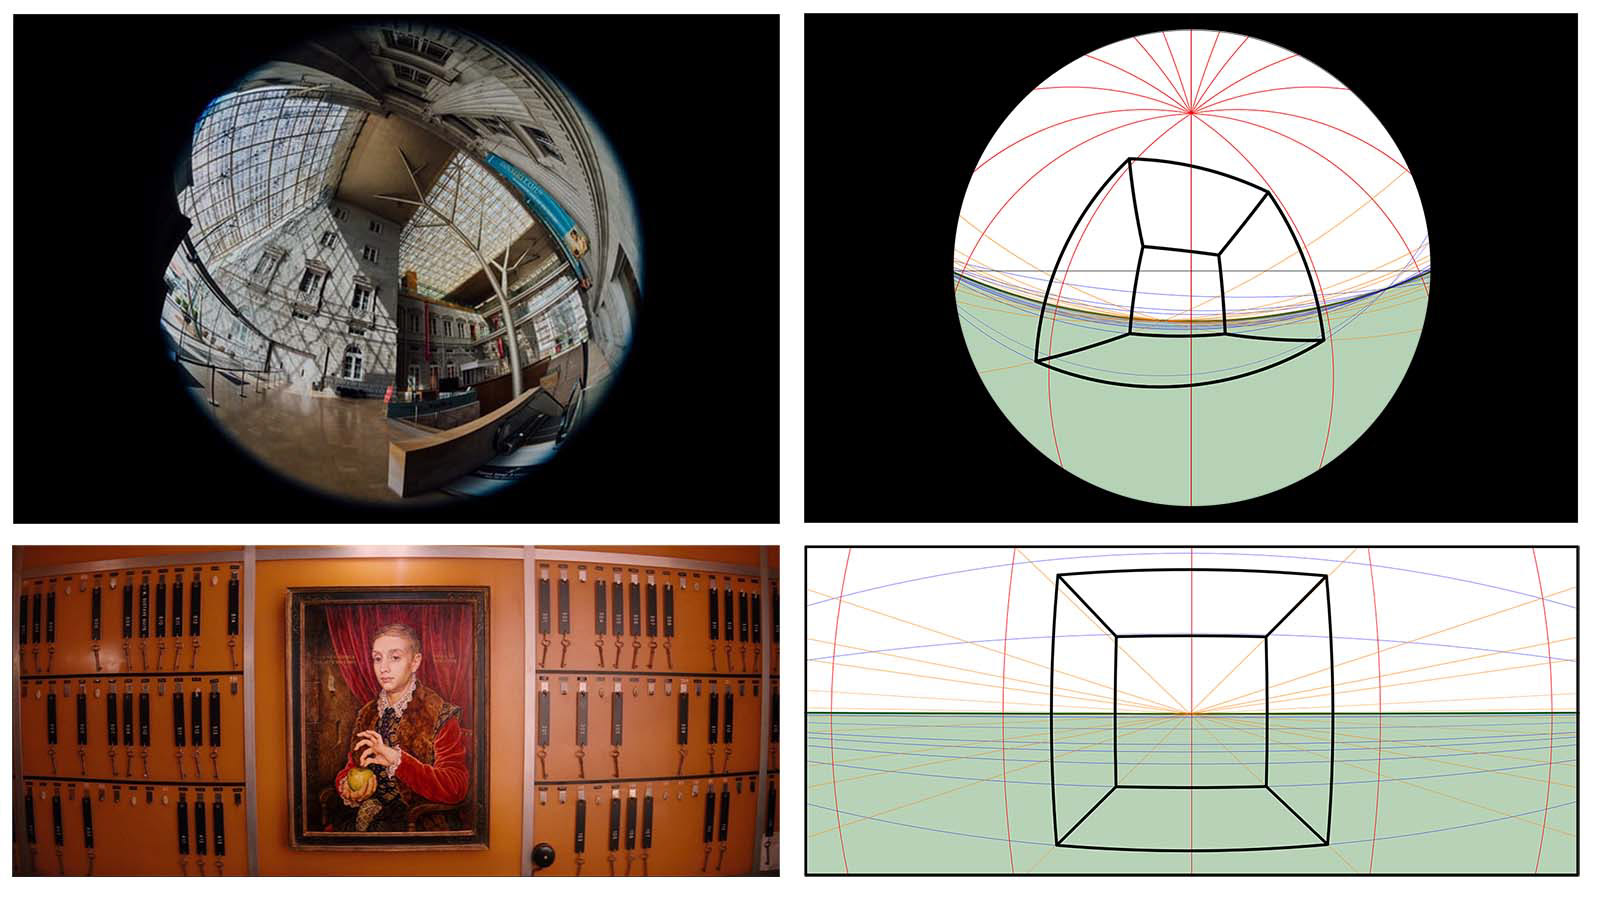
- Reference: Use fisheye lens photos or 360° panoramas to compare real-world distortion.
Step-by-Step Construction of the 5-Point Curvilinear Grid
-
Draw the Base Circle (The Spherical Field of View) Begin with a large circle—this represents the boundary of your visible spherical projection (like the edge of a fisheye lens). Keep it centered on your page for symmetry. This circle defines the maximum distortion area; everything inside curves toward the vanishing points.
(Here are visual examples of the foundational circle and initial curved grid setups:)

-
Establish the Four Peripheral Vanishing Points (VP1–VP4) Divide the circle into quadrants (North, East, South, West) using light crosshairs. Place four vanishing points equally spaced along the circumference (typically at 0°, 90°, 180°, and 270°). These are your primary convergence points for horizontal and vertical curves.
-
Add the Central Vanishing Point (Optional for Full 5-Point) In true 5-point fisheye setups, include a fifth vanishing point at the exact center of the circle. This handles straight-ahead lines and intensifies the central focus.
-
Construct the Curved Grid Lines Using a compass centered on each peripheral vanishing point, draw arcs that span from one adjacent point to another, creating a network of curved meridians (like latitude/longitude on a globe). These arcs represent the projection of straight lines in 3D space onto the spherical surface.
- Horizontal curves bulge outward from the center.
- Vertical curves bend dramatically toward the edges.
(See these grid constructions in action:)
-
Build Basic Forms and Geometry Start with simple shapes: cubes, spheres, or cylinders. Plot key points using the curved grid, then connect them with arcs that follow the established convergence. Notice how parallel lines in reality become pronounced curves on the page.
-
Apply to Complex Scenes (Buildings, Interiors, and Figures) Construct urban environments, domes, or panoramic interiors. Vertical building lines curve outward, roofs and floors warp dramatically, and distant elements stretch and bend. Add details like windows, textures, and lighting to enhance depth.
(Progressive examples of buildings and fragmented forms emerging from the grid:)


- Refine, Shade, and Add Atmosphere Use atmospheric perspective (fading distant areas) and value gradients to ground the distortion in realism. Darken edges for emphasis, and add subtle highlights to suggest spherical reflection.
Key Advantages and Creative Applications
- Immersion: Ideal for VR concepts, wide-angle comics, album covers, or cinematic storyboards.
- Drama: Creates exaggerated scale—perfect for heroic figures, vast cathedrals, or dystopian cityscapes.
- Challenges: Requires practice to avoid over-distortion; start subtle and increase curvature gradually.
Common Pitfalls and Tips
- Ensure arcs are smooth and consistent—use a compass or digital guides.
- Avoid placing important subjects near the extreme edges, where distortion is strongest.
- Combine with 3-point linear perspective for hybrid effects in certain areas.
This technique, inspired by artists like Dick Termes and tools in modern software, opens up boundless creative possibilities. Watch the video tutorial for real-time demonstrations, practice on simple grids first, then tackle full scenes. Share your results—what extreme viewpoint will you conquer next? Dive into curvilinear perspective and see the world bend to your vision!