Watercolor Technique Tutorial: Painting Realistic Weeds and Tall Summer Grasses – Cathy Johnson’s Textures Method (p. 62)

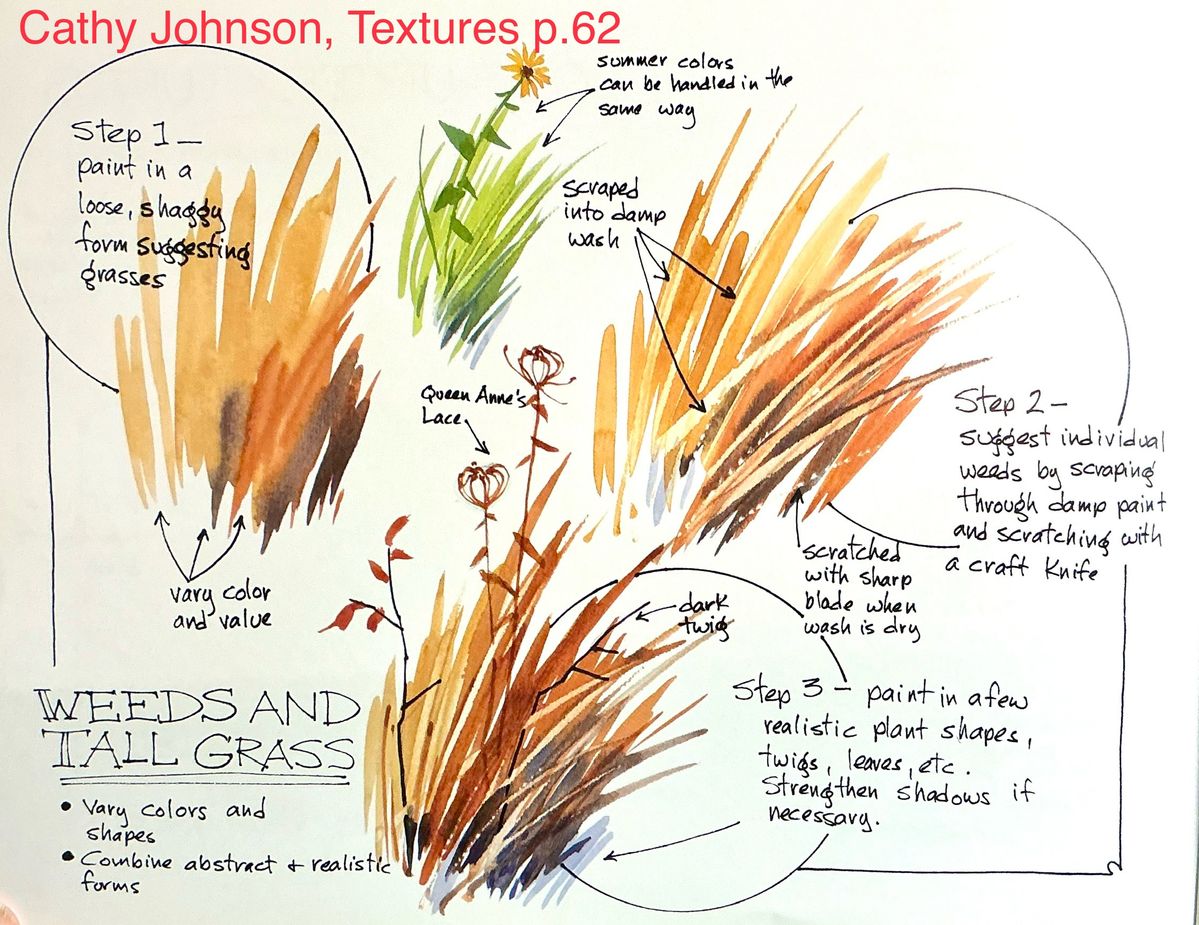
Mastering the loose, luminous quality of tall field grasses, summer weeds, and delicate wildflowers like Queen Anne’s Lace is one of the most rewarding skills in watercolor landscape painting. This detailed, step-by-step tutorial is directly inspired by Cathy Johnson’s classic techniques from her book on textures (page 62), where she demonstrates how to create convincing, airy stands of golden grasses and wild plants using a perfect balance of abstraction and realism.
The method relies on wet-into-wet washes, strategic scraping, dry-brush scratching, and selective detailing—producing that signature sunlit, windswept meadow look with rich variation in color, value, and texture.
Materials Recommended
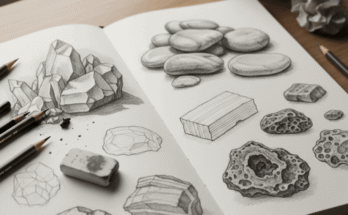
- Watercolor paper: 140 lb (300 gsm) cold-pressed (for natural tooth and lifting/scraping ability)
- Brushes: – Large round or mop (for initial loose washes) – Medium round (for shaping) – Small rigger or detail brush (for fine twigs and leaves)
- Colors (summer palette): – Warm yellows/oranges: Raw Sienna, Burnt Sienna, Quinacridone Gold, New Gamboge – Earthy browns: Burnt Umber, Van Dyke Brown – Greens (subtle): Sap Green, Olive Green, or diluted Phthalo Green – Dark accents: Payne’s Gray or Indigo (for deepest shadows)
- Tools for texture: – Sharp craft knife (for precise scratching) – Credit card edge, old credit card, or palette knife (for broader scraping) – Paper towel (for lifting)
- Optional: masking fluid (for tiny white highlights on seed heads)
Step-by-Step Watercolor Technique: Weeds & Tall Grasses
Step 1 – Lay the Loose, Shaggy Foundation Wash Wet a vertical area of your paper generously with clean water (leave some dry patches for texture). Working quickly wet-into-wet:
- Load a large brush with a juicy mix of warm golden-browns (Raw Sienna + Burnt Sienna + touch of Burnt Umber).
- Paint tall, upward-sweeping strokes that fan outward at the top, suggesting clumps of tall grasses.
- While still very wet, drop in darker values at the base (more Burnt Umber or Payne’s Gray) to create depth and shadow.
- Let colors bleed and mingle naturally—do not overwork. Goal: Create an abstract, energetic mass that reads as grasses from a distance.
Step 2 – Suggest Individual Weeds & Stems by Scraping & Scratching While the wash is still damp (shiny but not pooling):
- Use the edge of a credit card, palette knife, or your fingernail to scrape upward through the wet paint, revealing lighter paper underneath. This creates fine, light-colored grass blades and weed stems.
- When the surface is just beginning to lose its shine (semi-dry), take a sharp craft knife and lightly scratch thin vertical lines through the paint. These fine scratches produce crisp, delicate twigs, seed heads, and blade edges.
- Add Queen Anne’s Lace: Paint small dark brown dots for flower centers, then scratch radiating fine lines outward for the lacy umbel structure. Tip: Practice pressure control—too hard and you’ll tear the paper; too light and the scratch won’t show.
Step 3 – Add Selective Realistic Details Once the entire area is completely dry:
- Use a fine rigger or detail brush to paint a few distinct plant shapes: – Individual weed stems and leaves (mix of warm browns and subtle greens) – Tiny dark twigs crossing in front – One or two realistic wildflowers (e.g., black-eyed Susan or Queen Anne’s Lace) with precise petals and centers
- Strengthen shadows where needed with a stronger mix of Burnt Umber or Payne’s Gray.
- Add final bright highlights with a nearly dry brush loaded with pure Quinacridone Gold or Titanium White (for sunlit tips). Goal: Keep most of the painting loose and suggestive—only 10–20% should be crisp and detailed.
Key Principles from Cathy Johnson’s Approach
- Vary color and value constantly — Even within a narrow summer palette, shift temperature and intensity to prevent monotony.
- Combine abstract & realistic forms — Let most of the grasses remain loose and impressionistic; reserve sharp detail for focal plants.
- Use negative painting & lifting — Scraping and scratching are forms of negative painting—revealing light paper instead of adding white paint.
- Embrace spontaneity — The beauty of this technique lies in happy accidents: blooms, back-runs, and unexpected textures all contribute to realism.
Common Mistakes to Avoid
- Over-detailing the entire mass → kills the airy, windswept feeling
- Using the same color/value for every blade → creates flat, boring texture
- Scraping too early (too wet) → paint flows back in
- Scraping too late (bone dry) → no visible effect
- Making all strokes the same direction/height → looks unnatural
This method is incredibly versatile—use it for autumn fields, prairie scenes, roadside ditches, or golden-hour meadows. Once you master the rhythm of wash → scrape → detail, you’ll be able to suggest acres of waving grasses with just a few minutes of painting.
Practice on small studies first. Try different seasonal palettes (cool greens for spring, burnt oranges for autumn). Then incorporate the technique into larger landscape compositions.
Cathy Johnson’s elegant, painterly approach proves that suggestion is often more powerful than literal representation. Let your grasses dance in the breeze!
Happy painting! 🌾✨