
Mastering Foreshortening: How Eye Level Transforms Circular Forms in Perspective Drawing

Introduction
Foreshortening is one of the most powerful tools in realistic drawing, allowing artists to convincingly depict three-dimensional objects on a two-dimensional surface. When drawing rounded forms—such as fruits, spheres, cylinders, or even human heads and limbs—the cross-sections (like the cut face of a halved orange or apple) appear as ellipses rather than perfect circles. The shape, tilt, and width of these ellipses change dramatically depending on the viewer’s eye level (horizon line) relative to the object.
This tutorial explores this fundamental principle through a classic exercise: drawing halved citrus fruits (oranges, lemons, or similar) from three distinct viewpoints—above eye level, at eye level, and below eye level. By studying these variations, you’ll understand how perspective distorts circular planes and how to apply this knowledge to still life, figure drawing, product illustration, and concept art. The hand-sketched examples provide an excellent visual reference for observing the subtle (and not-so-subtle) changes in ellipse proportion and foreshortening.
Key Concept: Ellipses and Eye Level
- A true circle viewed head-on appears as a perfect circle.
- When tilted in perspective (i.e., not perpendicular to your line of sight), a circle becomes an ellipse.
- The degree of foreshortening depends on the angle between the circular plane and your eye level:
- Above eye level → Looking down → The ellipse appears narrower (more compressed vertically).
- At eye level → The plane is edge-on → The ellipse becomes a straight line (extreme foreshortening).
- Below eye level → Looking up → The ellipse appears wider (more open and rounded).
As the object moves farther from your eye level in either direction, the ellipse widens progressively. This is why distant spheres in a scene often look more circular, while closer tilted forms show dramatic distortion.
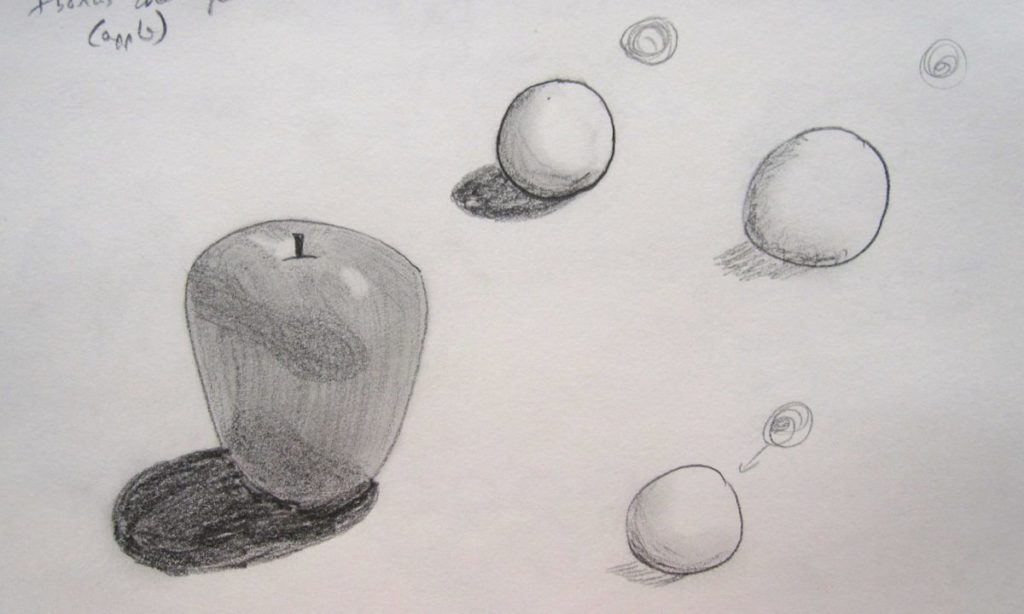
Here are excellent reference examples of foreshortened citrus fruits from various angles, demonstrating the changing ellipse shapes in pencil sketches:
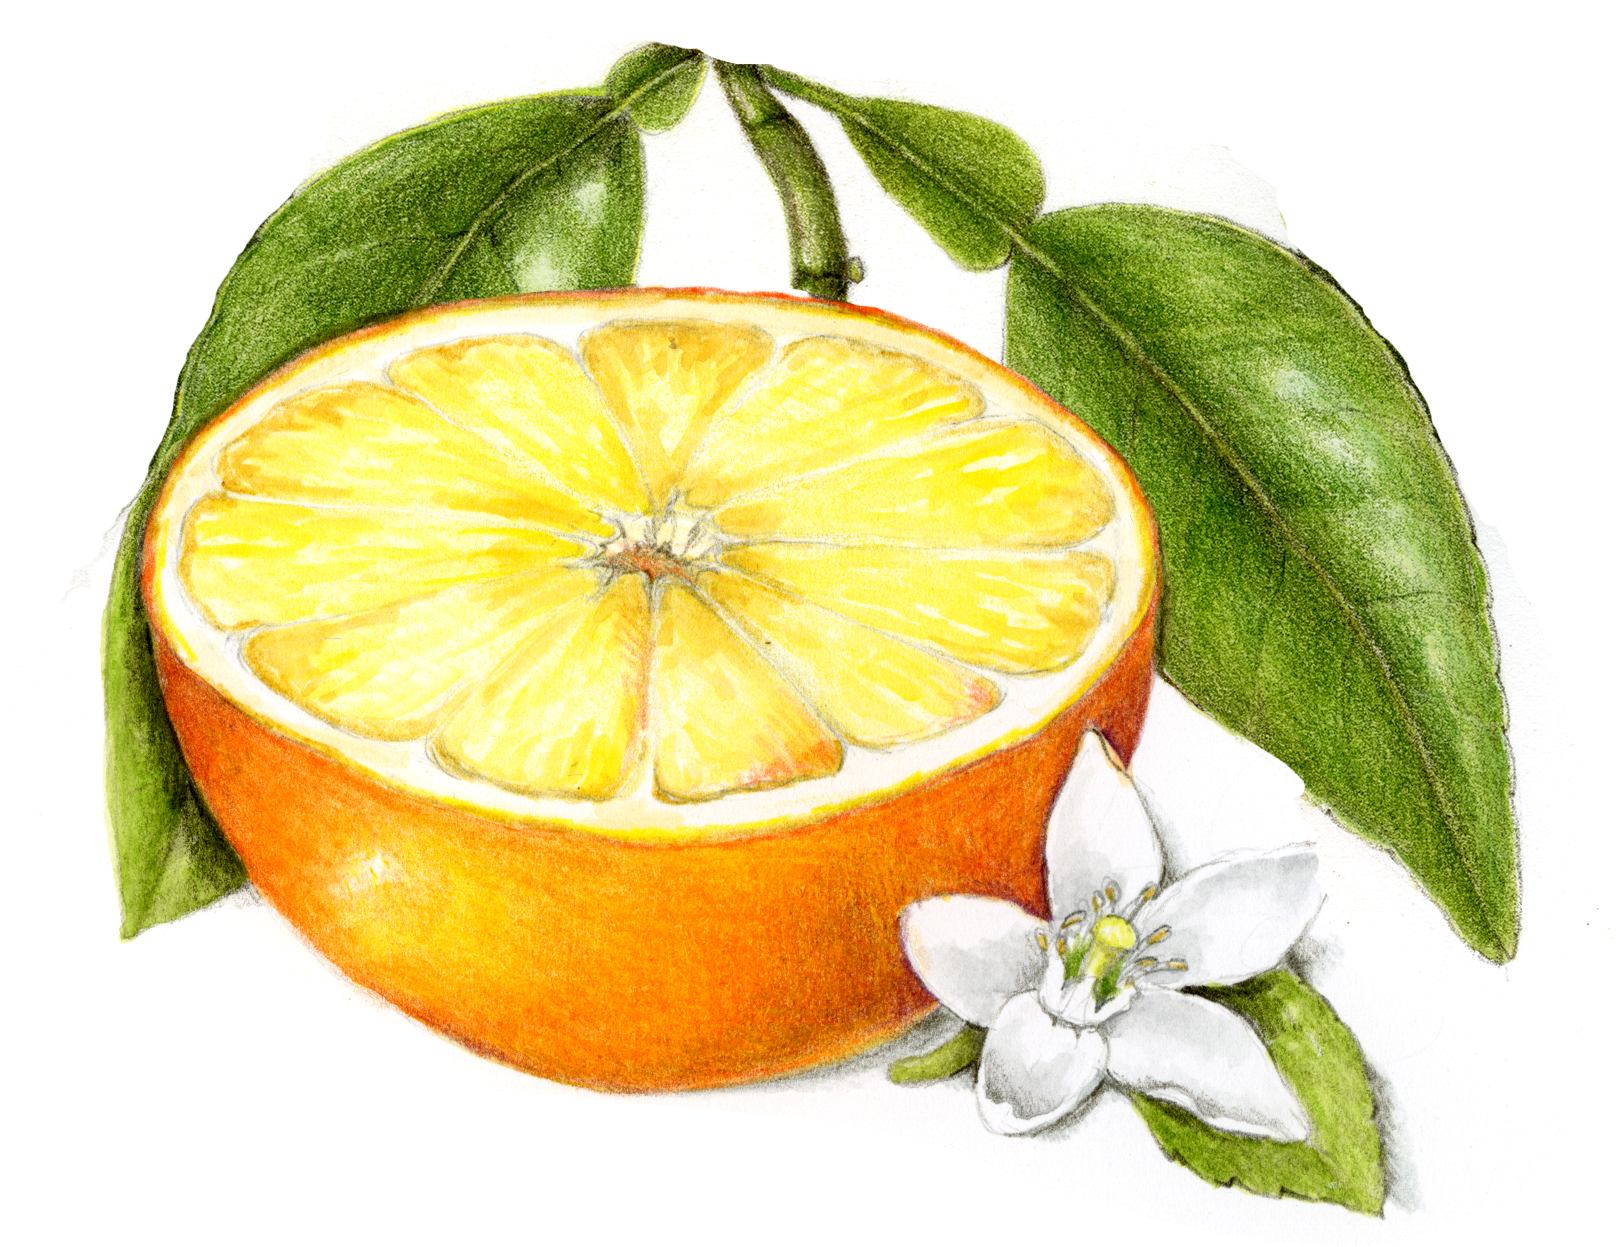
These drawings highlight how the cut face of the fruit transforms from a narrow oval (looking down) to a wide, almost circular shape (looking up).
Step-by-Step Tutorial: Drawing Halved Fruit in Three Eye Levels
Materials Needed
- Pencil (HB–4B for shading)
- Eraser
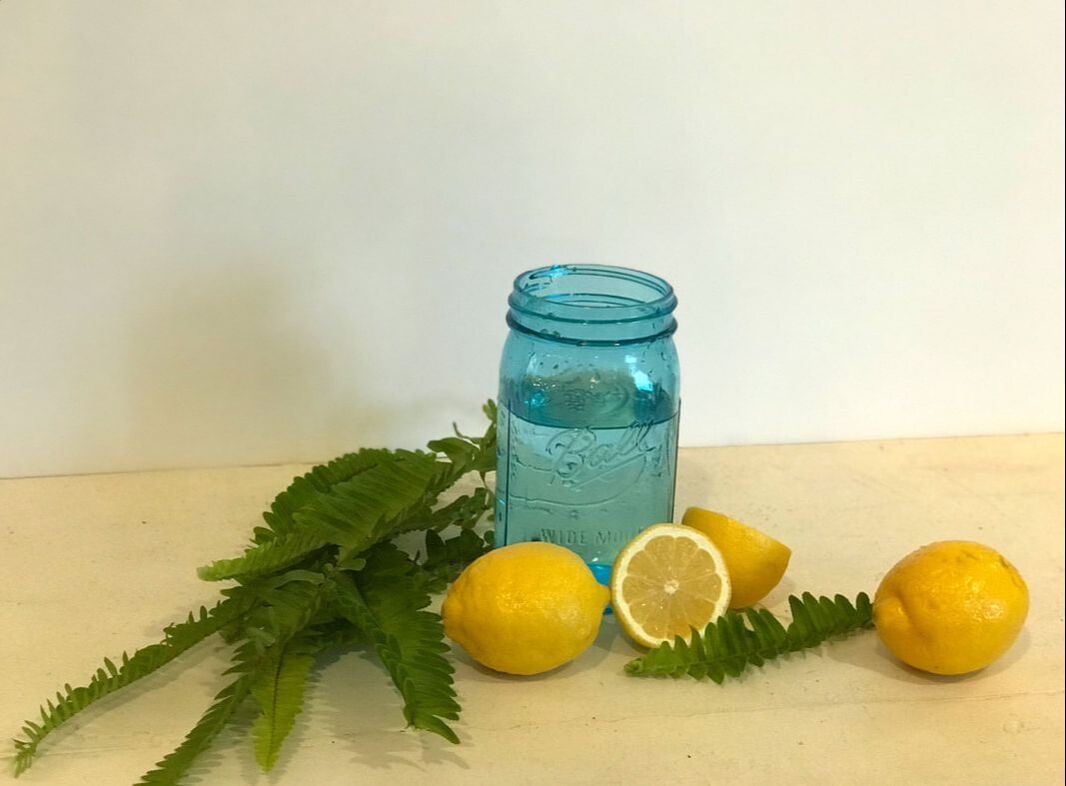
- Reference fruit (real halved orange/lemon or good photo)
- Straightedge (optional for checking axes)
Step 1: Establish Eye Level Draw a light horizontal line across your page—this is your horizon line (eye level). Everything above it is seen from above; everything below is seen from below. Place your fruit so its cut face sits at different positions relative to this line.
Step 2: Above Eye Level (Looking Down)
- Position the halved fruit well above the horizon line.
- The cut face appears as a narrow ellipse (flattened top-to-bottom).
- The top of the fruit curves downward more dramatically.
- Core/seeds appear smaller and more centered.
- Shading emphasizes the rounded form receding upward.
Observe these classic above-eye-level examples:
Step 3: At Eye Level (Edge-On View)
- Align the cut face exactly on the horizon line.
- The circular plane is seen exactly edge-on → the ellipse collapses into a straight horizontal line.
- The fruit appears as a half-circle profile with no visible interior depth on the cut face.
- This view is the most dramatic and often used for strong compositional impact.
Step 4: Below Eye Level (Looking Up)
- Place the halved fruit below the horizon line.
- The cut face becomes a wide, open ellipse (almost circular when very low).
- The interior details (pulp, seeds) appear larger and more spread out.
- The bottom curves upward more noticeably, creating a sense of volume pushing toward the viewer.
See the widening effect in these below-eye-level references:

Step 5: Shading and Details
- Use hatching or blending to model the spherical form.
- Pay attention to how light falls across the curved surface—cast shadows and highlights reinforce the 3D illusion.
- Add subtle texture (peel dimples, pulp segments) to enhance realism.
Practical Tips and Common Mistakes to Avoid
- Always check the major and minor axes of the ellipse—they must remain perpendicular.
- Don’t force perfect symmetry; slight imperfections add natural character.
- Practice with simple spheres first before moving to complex fruits.
- Use a mirror or flip your drawing to check proportions.
- Mistake: Drawing the cut face as a perfect circle regardless of angle—this flattens the perspective and kills realism.
Applications in Art
This principle extends far beyond fruit:
- Human heads (looking up/down)
- Wheels on vehicles
- Plates, coins, and round table tops
- Architectural domes and arches
- Any circular element in perspective
Conclusion
Understanding how eye level affects foreshortening of circular forms is a game-changer for achieving convincing depth and realism. By practicing with simple objects like halved citrus fruits, you’ll train your eye to see and draw ellipses intuitively—no complicated math required.
Grab a real fruit, set up your horizon line, and draw several versions from different heights. Compare your sketches to the references above and watch your still lifes come alive with three-dimensional power.
Happy drawing—your perspective skills are about to reach a whole new level! Share your own fruit foreshortening studies in the comments; we’d love to see your progress.


